


Unlock the Scanning Unit
6
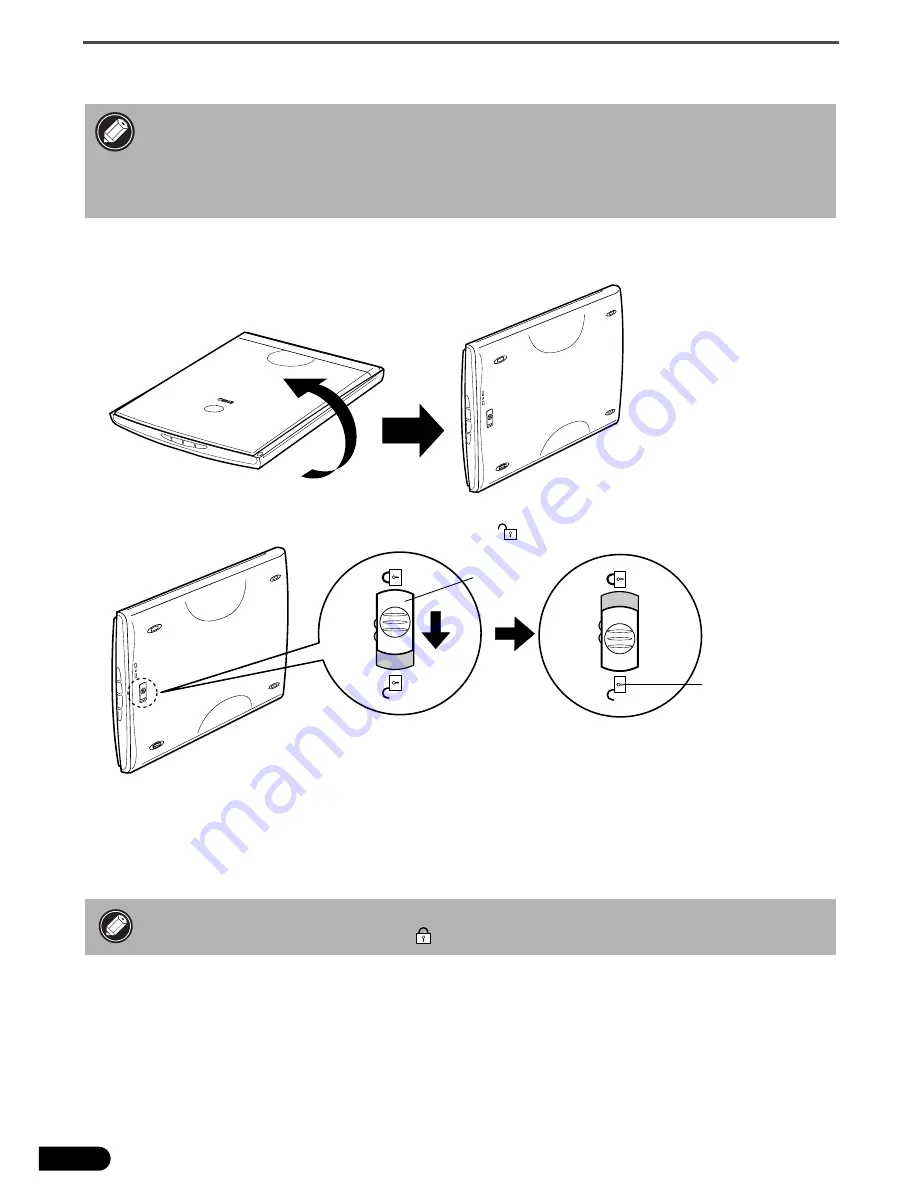
Unlock the Scanning Unit
1
Peel the seals off the scanner.
2
Gently turn the scanner over.
3
Push the lock switch toward the unlock mark (
).
4
Return the scanner to a horizontal position.
• Unlock the scanning unit before connecting the scanner to the computer. If it is left
locked, a malfunction or other problem may occur.
• Do not tilt the scanner more than 90 degrees from horizontal when releasing the lock.
• When locking the scanner, do not lift up the back and tilt the front (scanner button
location) downward. You may be unable to set the lock.
• When carrying or transporting the scanner, always lock the scanning unit by pushing the
lock switch toward the lock mark ( ).
Lock Switch
Unlock Mark


