


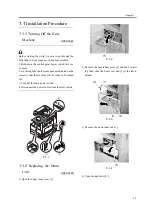


Chapter 1
1-3
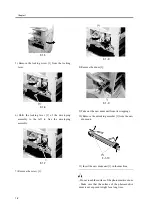
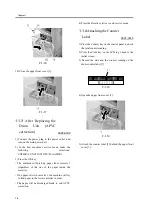
- Do not touch the spur of the drum unit.
F-1-11
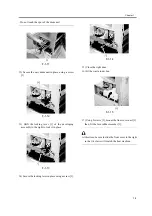
12) Secure the new drum unit in place using a screw
[1].
F-1-12
13) Shift the locking lever [1] of the developing
assembly to the right to lock it in place.
F-1-13
14) Secure the locking lever in place using a screw [1].
F-1-14
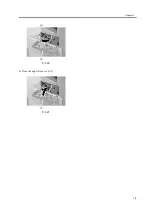
15) Close the right door.
16) Fit the waste toner box.
F-1-15
17) Using 2 screws [2], mount the front cover unit [3];
then, fit the face rubber member [1].
At this time, be sure to slide the front cover to the right
so that its claws will match the host machine.
Summary of Contents for C-EXV 11
Page 1: ...Aug 23 2004 Service Manual Drum Unit C EXV 11 12 ...
Page 2: ......
Page 6: ......
Page 8: ......
Page 9: ...Chapter 1 Installation ...
Page 10: ......
Page 12: ......
Page 17: ...Chapter 1 1 5 F 1 20 6 Close the upper front cover 1 F 1 21 ...
Page 18: ......
Page 19: ...Aug 23 2004 ...
Page 20: ......


