26
Canarm Tri-Lite 3LEC Series
9
installing Airfoils
9.2 Attach Boomerang Brackets:
Attach the Airfoil Boomerang Brackets using the Airfoil Hardware. Moving clockwise, position the Boomerang
Brackets as specified.
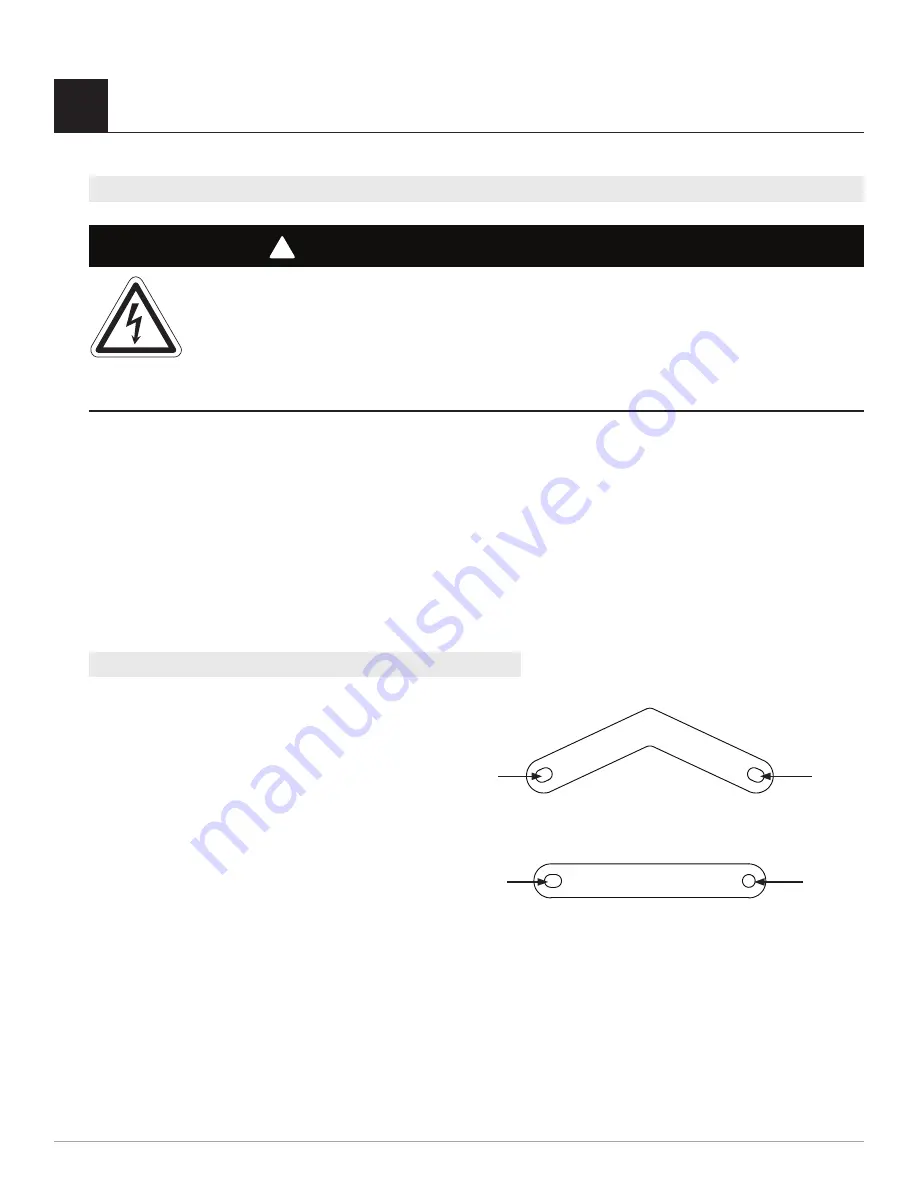
Hole D & C rests on the airfoil.
Hole A should be positioned over Hole B with Hole C along the outside and Hole D towards the inside.
First, tighten the bolts along the outside to 29 ft-lb(39 N-m) using a 1/2” socket with torque wrench.
Second, tighten the bolts along the inside to 29 ft-lb(39 N-m) using a 1/2” socket with torque wrench.
Boomerang Bracket Kit (supplied):
a.
(3) 5/16”-18x2” GR 5 Bolt
b.
(3) 5/16”-18x1-3/4“ GR 5 Bolt
c.
(12) 5/16” Flat Washer
d.
(6) 5/16”-18 Nylock Nut
ATTENTION: Upon completion of the mechanical installation of the fan and before powering on, spin
the fan around multiple times by hand to ensure all brackets are clear from contact with other parts on
the fan. Thoroughly inspect the hub, the bolts and brackets within the hub to guarantee clear and proper
rotation. If you find that the fan has a bracket that is hitting another object on the hub, contact Canarm
for a resolution.
WARNING/AVERTISSEMENT
!
!
Disconnect power to the motor before installing the airfoils.
Débranchez l’alimentation du du moteur avant d’installer les profils aérodynamiques.
Do not tighten the bolts until all the airfoil Boomerang Brackets are attached.
Ne pas serrer les boulons jusqu’à ce que tous les parenthèses de boomerang aérodynamiques sont attachés.
b
d
Airfoil Boomerang Brackets
a
c
Airfoil Straight Brackets


