


D-1
Appendix D.
NL200/201 Driver
Installation Instructions
If no NL200/201 has been previously plugged into your computer, it will be
necessary to install the drivers for the NL200/201 to enable communication with
this device. The driver is available on the Resource DVD that was shipped with
the NL200/201. If that disc is no longer available, you can also download the
drivers from Campbell Scientific’s website,
www.campbellsci.com
.
Whether you are installing an NL200 or an NL201, Windows will
identify it as an NL200.
D.1 Installing on Windows XP
If DevConfig 2.04 or later is installed on your computer, the
NL200/NL201 drivers were automatically copied to your computer
and you can skip to step 2.
1.
Before you plug the NL200/201 into a computer USB port, you must first run
the install utility on the Resource DVD. This will ensure that the driver files
are copied where the operating system can find them. To run the install
utility, insert the Resource DVD into your computer. Under Products, type
NL200 (or NL201) and press Enter. The NL200 (or NL201) screen will be
displayed. Under software, click on NL200/NL201 Drivers. This will open
the install utility. Follow the prompts and the drivers will be copied to your
computer.
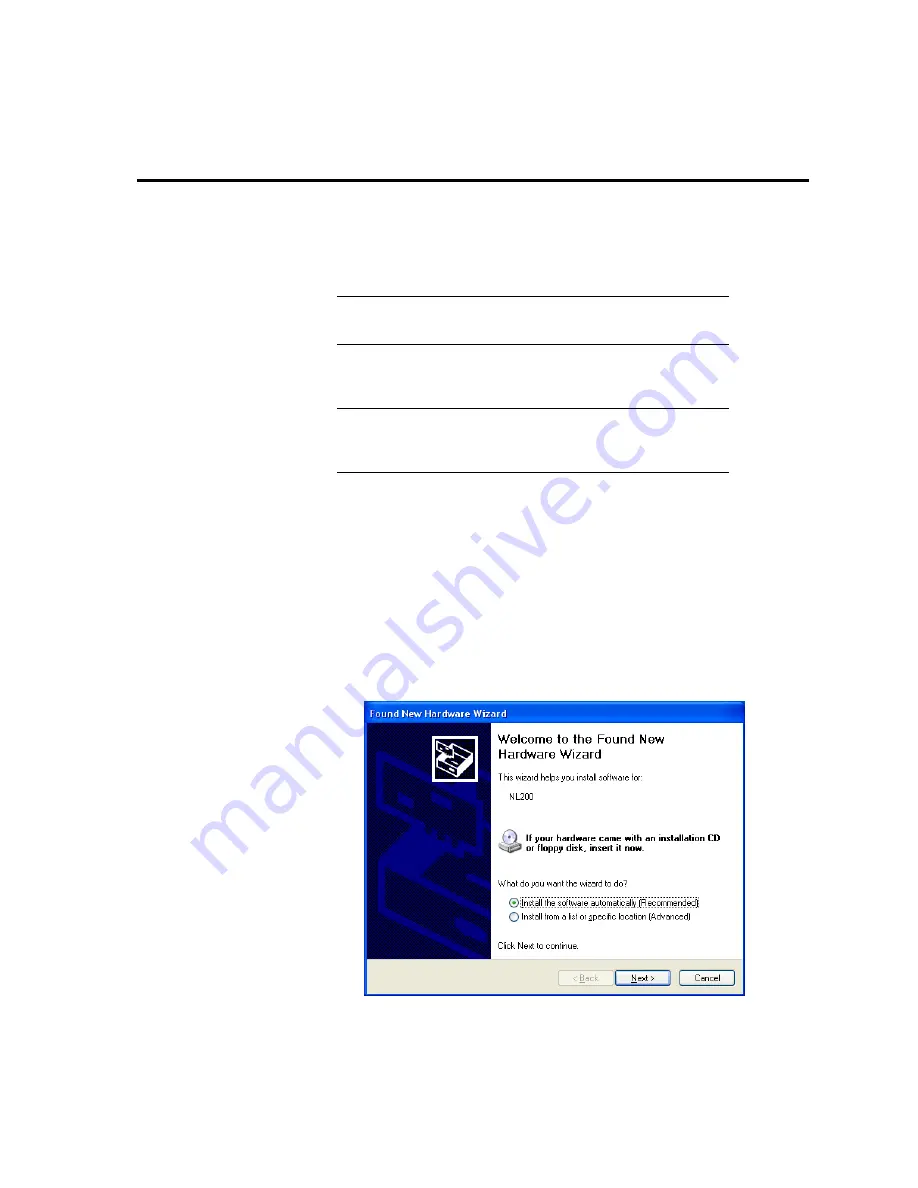
2.
Connect a USB cable to the NL200/NL201 USB port and one of your
computer’s USB ports. After some delay, your computer should display a
dialog box similar to that shown below:
3.
Select “Install the software automatically (Recommended)” and click Next.
4.
You will get a warning from the operating system indicating that the driver is
“unsigned”. In order to continue with installation, you need to select the
NOTE
NOTE
Summary of Contents for NL200
Page 2: ......
Page 4: ......
Page 6: ......
Page 10: ...iv...
Page 36: ...NL200 201 Network Link Interface 26...
Page 42: ...Appendix B Cables Pinouts LED Function and Jumper B 4...
Page 54: ......
Page 60: ...Appendix D NL200 201 Driver Installation Instructions D 6...
Page 62: ...Appendix E Sending a New OS to the NL200 201 E 2...
Page 63: ......


