


7
Scanner 3100 Wi-Fi & Advanced Networking Guide
Section 2
Connecting the Scanner 3100 to an existing managed network
Follow the steps in this section if you are connecting the Scanner 3100 for the first time using an existing work
or home network which is managed by a router or server.
IMPORTANT
Place hand over the left hand side of the Scanner 3100 LCD for 8 seconds to wake up the
gesture detection mode.
1.
Configure the Scanner 3100 as a “LAN Client (DHCP)” using the keypad on the Scanner 3100 faceplate:
a. Press
<ACCESS>
and
<LEFT>
keypad buttons together at the same time (Refer to
b. Release the buttons at the same time.
c.
Wait 3 seconds and a
Ethernet Mode Stand-Alone Off
message will appear.
d.
The Scanner 3100 will restart the network configurations. A
Restarting Network
message will
appear on the device and the restart will take 90 seconds.
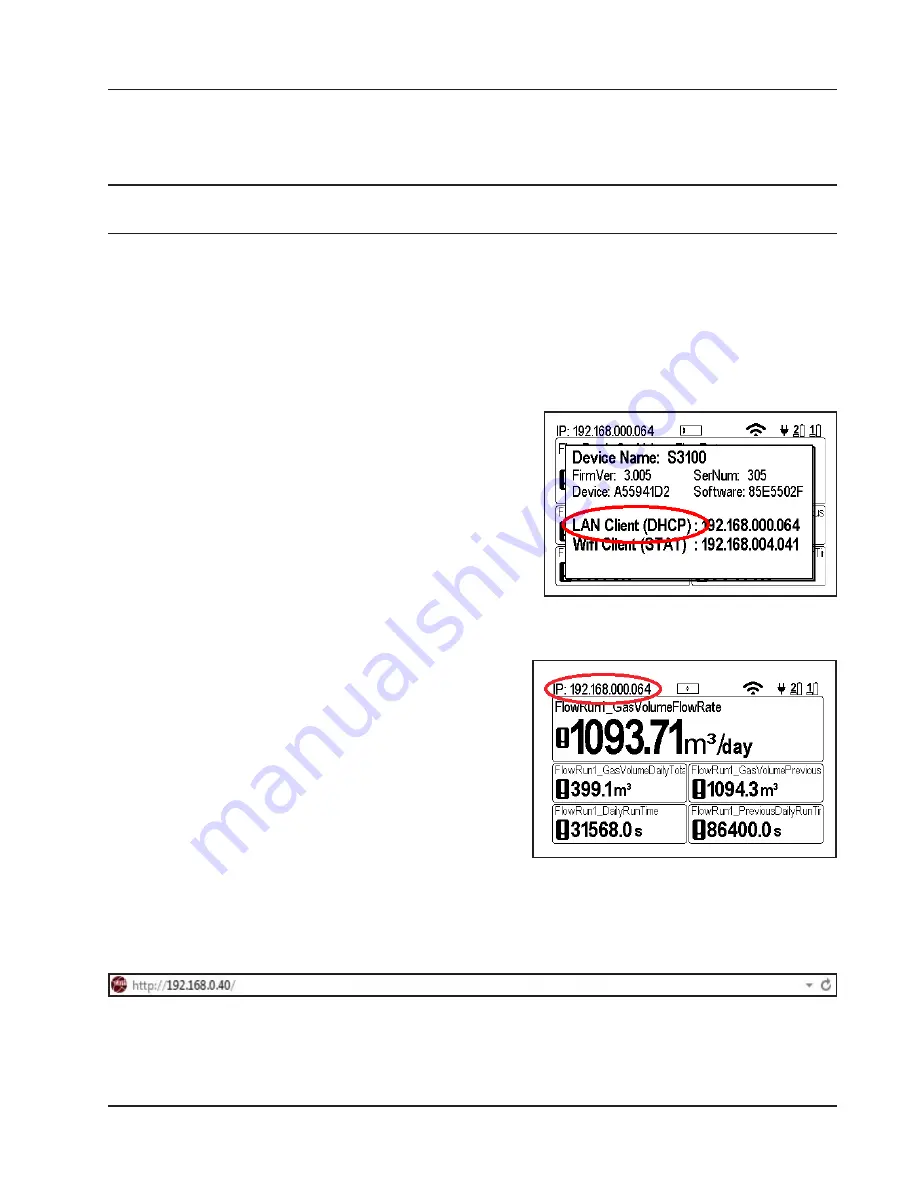
2.
To confirm if the Scanner 3100 is configured as a LAN
Client (DHCP), cover the left side of the Scanner 3100
LCD and after 3 seconds a window will appear as shown in
. The lower section of the window will show the
LAN
Client (DHCP)
.
3. Connect the Scanner 3100’s Ethernet Port to the managed
network with an Ethernet cable.
Figure 9 - LAN Client (DHCP)
4.
On the Scanner 3100 faceplate, top left corner of LCD:
a. A
Not Connected
or
Link Searching
message
may appear while the Scanner is negotiating its IP
address.
b.
The IP address appears (see
).
Figure 10 - IP Address
5.
Open any Web Browser (e.g. Chrome, Internet Explorer, Safari, etc.):
a. Type the IP address from the top left hand corner of the Scanner 3100 LCD into the browser’s ad-
dress bar, as shown on
. You may also enter
http://scanner
if there is only one scanner
on the network.
Figure 11 - Web browser entry of IP Address
Summary of Contents for Scanner 3100
Page 1: ...Scanner 3100 Wi Fi Advanced Networking Guide Manual No 50349155 Rev 2...
Page 2: ......
Page 37: ...Manual No 3100 01 01...


