


21
DMX
DEUTSCH
FRANCAIS
ESP
AÑOL
ENGLISH
IT
ALIANO
POLSKI
first digit, the previous preset name will be retained and you will immediately be taken to the next
processing step.
A
...
Z
_
0
...
9
Edit Loop Name
Save&Next ESC
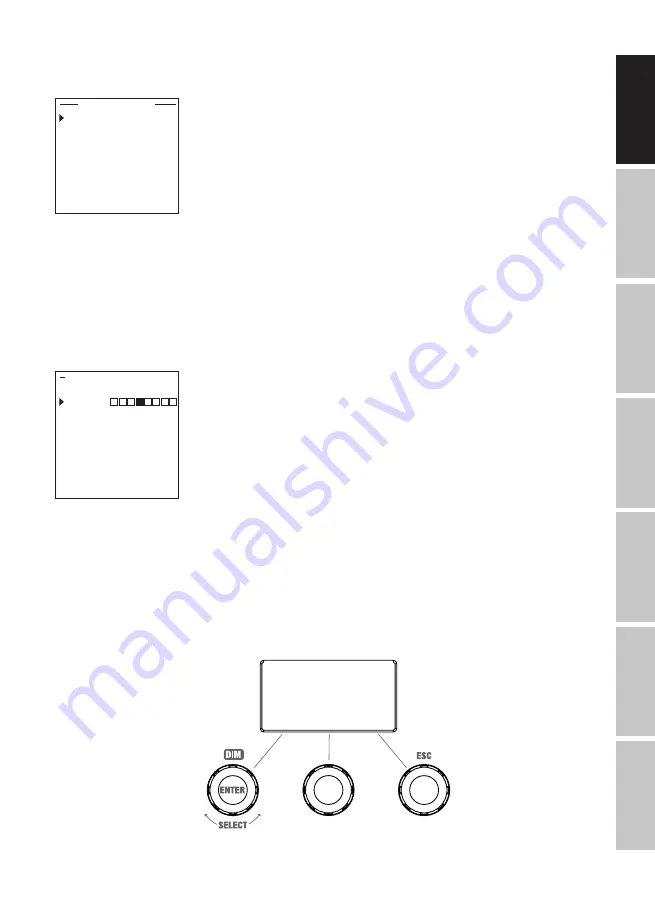
Select step 1 of the 8-step sequence (Step1–Step8) by turning the left encoder to set the colour of
the step (observe Step1, selection arrow). Now select one of the colours defined in the stand-
alone mode “User Colour” by turning the middle encoder and confirm the selection for step 1 by
pressing the middle encoder. The selected colour of the respective step is visually indicated by a
box with a light background below the colour numbers 1 to 8. Use the same procedure to set the
colours for steps 2 to 8. Complete the process and save the sequence by pressing the left encoder
(ENTER).
Step1
Step2
Step3
Step4
Step5
Step6
Step7
Step8
Edit Loop Colour to Step
Set Colour Back
User Colour 12345678
SLAVE MODE
Starting from the main display, press the left push button rotary encoder to access the menu for
selecting the mode. Rotate the encoder to select the menu item
Slave
(left arrow) and confirm by
pushing the encoder (ENTER). Slave mode is now enabled, and the main display is automatically
displayed. Connect the slave and master unit (same model, same software version) using a DMX
cable, and activate one of the standalone modes on the master unit. The slave unit will now follow
the master unit.
SLAVE | Signal in | Auto
Slave
Mode Menu


