


14
DMX
IT
ALIANO
POLSKI
ESP
AÑOL
FRANCAIS
DEUTSCH
ENGLISH
CONFIGURE DMX START ADDRESS
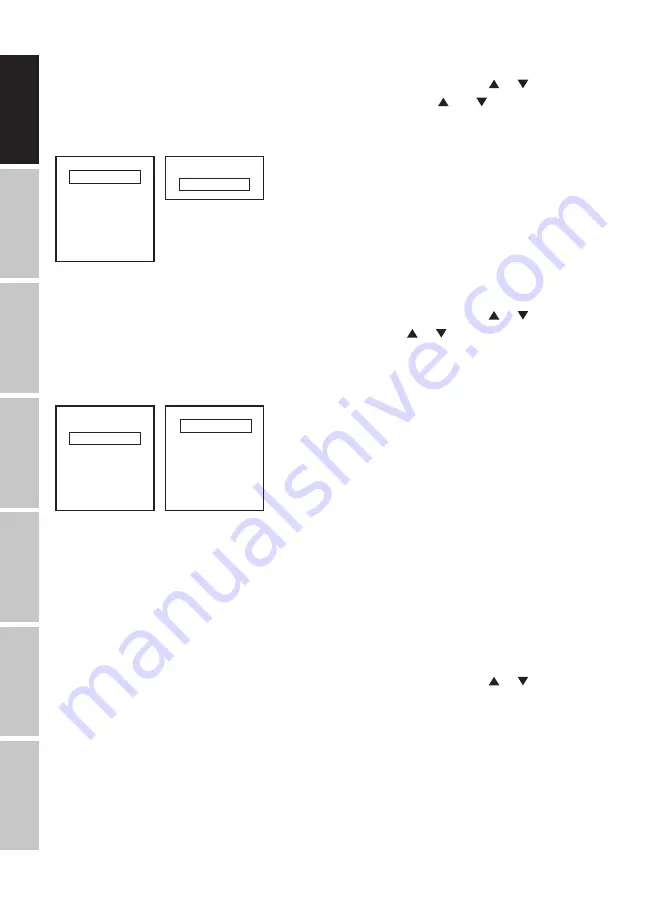
Starting from the main display, press MENU to enter the main menu. Now use or to select
the menu item
DMX address
and confirm with ENTER. Now use the and buttons to config-
ure the desired DMX start address and press ENTER to confirm (highest value dependent upon
activated DMX mode).
Menu
DMX Address
DMX Mode
DMX Delay
Stand Alone
Slave
Settings
System Info
DMX Address
001 - 512
CONFIGURE DMX MODE
Starting from the main display, press MENU to enter the main menu. Now use or to select
the menu item
DMX Mode
and confirm with ENTER. Again use or to select the desired DMX
mode and confirm with ENTER (DMX modes with DMX delay channel are identified with "D"). Ta-
bles with the channel assignment of the different DMX modes can be found in these instructions
under DMX CONTROL.
Menu
DMX Address
DMX Mode
DMX Delay
Stand Alone
Slave
Settings
System Info
DMX Mode
1CH DIM
D5CH 8Bit
2CH CCT
3CH 8Bit
D4CH Strobe CCT
8CH 16Bit
11CH Full Access
DMX DELAY
The DMX Delay function is a simple way to create a running light effect with a large number of
spotlights that are all the same model and that are all running the same software version. This
is otherwise only achievable with a suitable DMX controller and time-consuming programming.
All the spotlights used (same models, same software version) are set to the same DMX operating
mode with DMX delay channel and controlled via the same DMX start address.
Setting the DMX delay:
Starting from the main display, press MENU to enter the main menu. Now use or to select
the menu item
DMX Delay
and confirm 2x with ENTER.


