14
Stereo processing
Choose preferred stereo processing mode for the current source.
Multichannel processing
Choose preferred multichannel processing mode for the current source.
Lip sync
Adjust the audio delay if necessary to synchronise to video for the current
source.
Zone 2 (CXR200 only)
CXR Setup Menu
Speaker Setup
Input Setup
Zone 2 Settings
Network Setup
General Settings
HDMI Output Setup
Advanced Setup
Zone 2 Power
Zone 2 Source
Zone 2 Power On Volume
On
Follow Main Zone
- 30 dB
You can select sources independent from Main in Zone 2 or set to 'Follow
Main Zone'.
HDMI 2 will output the audio as formatted by the chosen source, either stereo
or multichannel unless set to 'Follow Main Zone' in which case a stereo
downmix signal will be output.
Zone 2 line level and speaker outputs
To get audio in Zone 2 from a HDMI source you must select 'Follow Main' or
select the same source as in the Main zone. If a different source is selected
for Zone 2, then the zone 2 source must have a stereo audio input selected.
Zone 2 speaker outputs
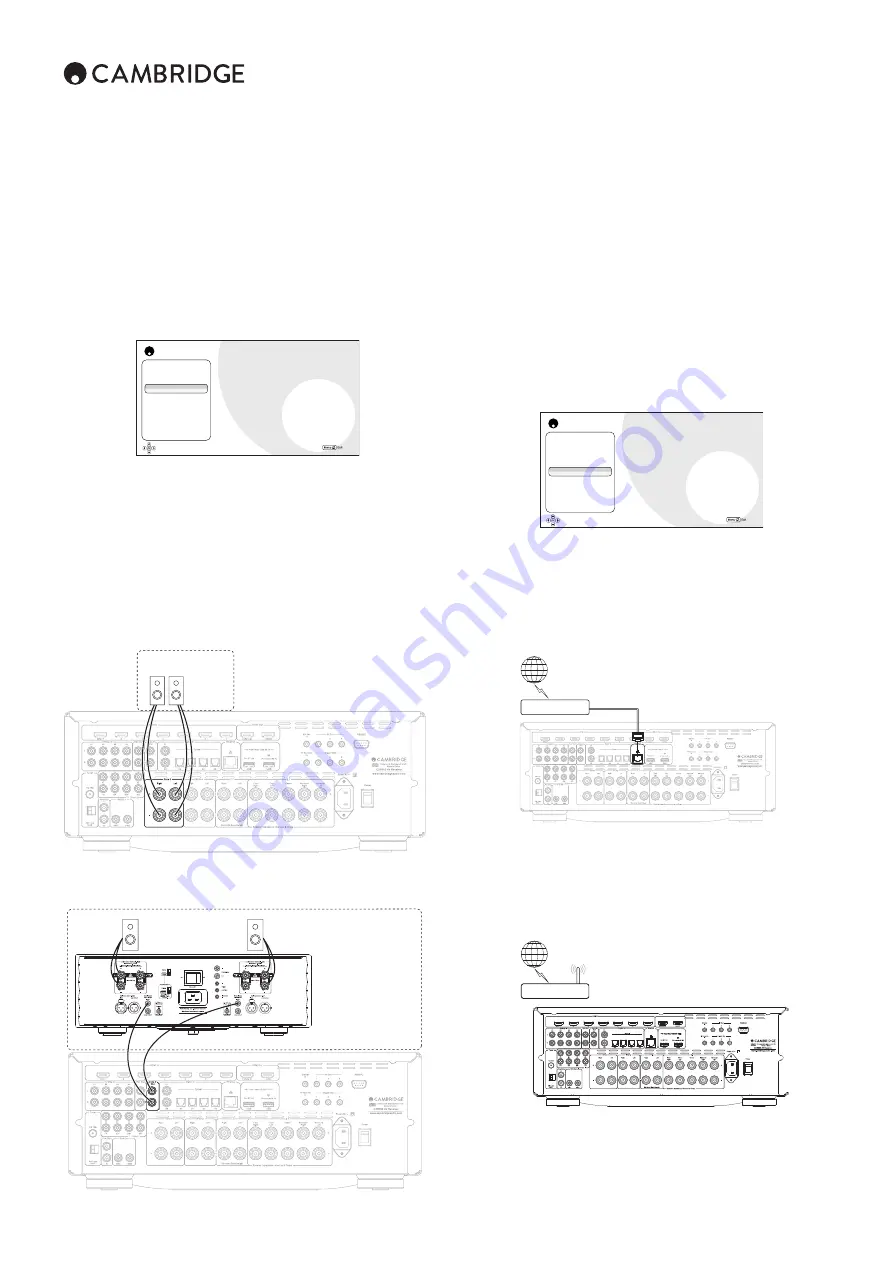
In the menu 'Speaker Setup > Back Amp Configuration' select 'Zone 2'.
Zone 2
Using Zone 2 with an external amplifier
The Zone 2 line level outputs can be connected to an amplifier for use in
zone 2.
Zone 2
Controlling zone 2
You can use the main remote handset, the buttons on the front of the unit
itself or the Cambridge 'Connect' App to control Volume, source and mute.
From the remote press and hold the Zone 2 button followed by the feature
you require.
Zone 2 power
Enables the Zone 2 function.
Zone 2 source
Select the video/audio source that will be sent to Zone 2.
Zone 2 power on volume
Set the desired maximum volume level when powering on Zone 2.
Network setup
Not Connected
CXR Setup Menu
Speaker Setup
Input Setup
Zone 2 Settings
Network Setup
General Settings
HDMI Output Setup
Advanced Setup
Connection Information
Network Setup
Wireless Setup
Retry Connection
►
►
►
To use CXR for Internet Radio/Audio Streaming you need:
• A broadband internet connection
• A wifi or wired network connection.
Use a wired connection for seamless playback of high resolution 24/176 and
24/192 files.
Connecting to a wired network
Internet
Router/Modem
Ethernet cable
Connect a network cable (Category 5/5E or better, straight through Ethernet
cable) between the CXR and your router.
Network setup
For advanced users wanting to use a static IP. Only select static IP if you
know exactly what you are doing!
Wireless setup
Internet
Router/Modem
Connect the supplied wireless antenna to the correct USB input on the rear
of CXR – it will need to be in range of your wireless router.
Input setup cont.
Summary of Contents for Topaz SR20
Page 1: ...CXR120 200 AV RECEIVER...


