background image

TV System Selection

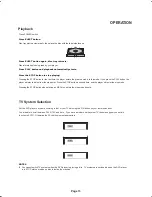
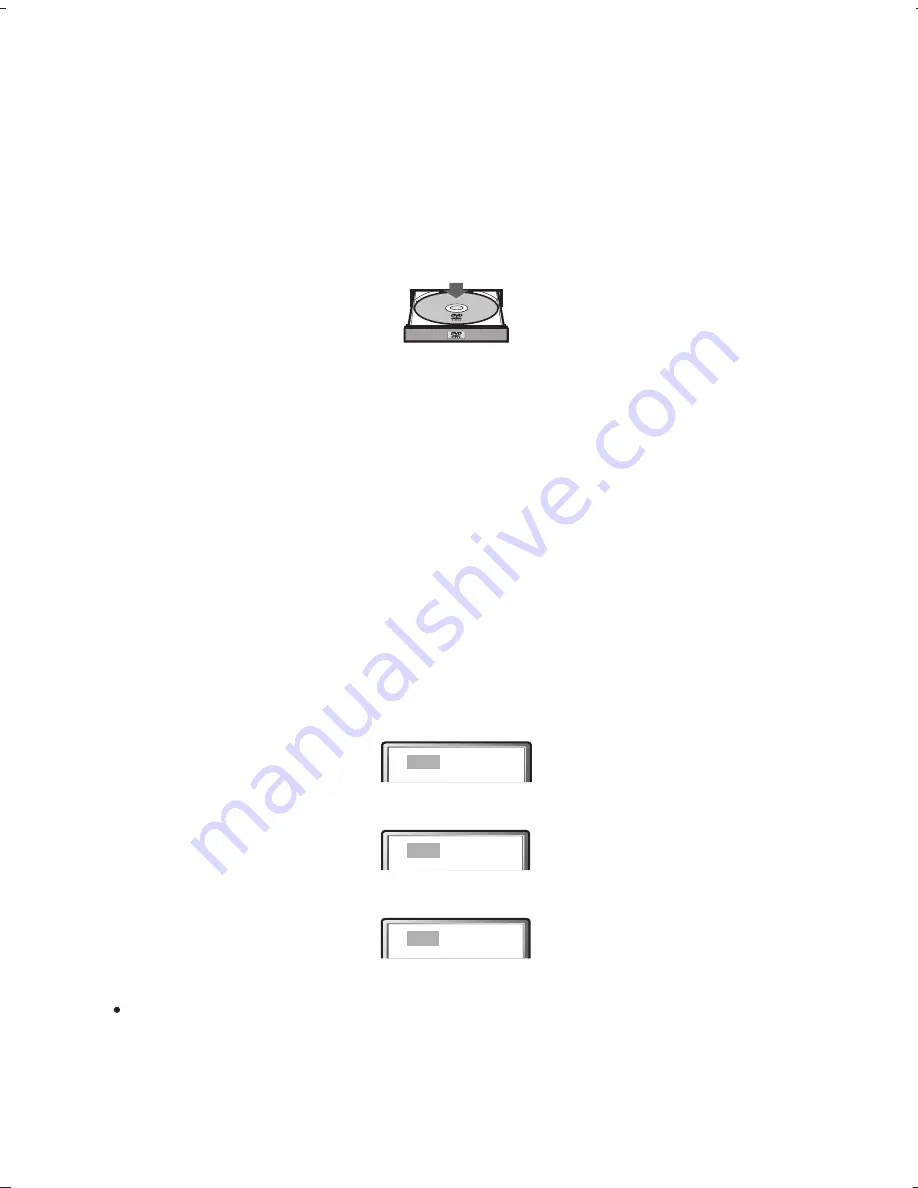
Set the DVD player’s system according to that of your TV set using the P/N button on your remote handset.

You cannot switch TV systems when the DVD player is playing a disc. TV systems are switchable when the DVD player 
is in STOP status or when no disc is inside the machine.

PAL

NTSC

AUTO

NOTES

Press POWER switch 

Press EJECT button.

Disc tray ejects automatically, then place the disc with the label side face up.

Press EJECT button again, disc tray retracts.

Disc information is being read by your player.

Press PLAY button and playback automatically starts.

Press the STOP button to stop playing.

Pressing the STOP button for the first time, the player enters the pre-stop mode. In this mode, if you press the PLAY button, the 

player will play the disc from the stop point. Press the STOP button a second time, and the player will enter the stop mode.

Pressing the STOP button when playing an MP3 disc, enters the stop mode directly.


Playback

Page 13

You are able to scroll between PAL, NTSC and Auto.  If you have a modern multi-system TV then we suggest you set this 

function to AUTO.  Otherwise the PAL setting is most appropriate 

OPERATION

Drawing Title

Drawing Title

Checked By

Checked By

Drawing No.

Drawing No.

AP13288/4

AP13288/4

Revisions & Date

Revisions & Date

As Per Sample I/M

As Per Sample I/M

Material

Material

Colour Definition

Colour Definition

Pantone  2768 (blue)

Pantone  2768 (blue)

1: 19/01/03 Original
2: 28/03/03 REVISIONS
3: mtk 1379 C revisions
4: 02/03/04 Revisions -VLB
5:

1: 19/01/03 Original
2: 28/03/03 REVISIONS
3: mtk 1379 C revisions
4: 02/03/04 Revisions -VLB
5:

Cambridge 53 55 57 instruction manual
REVISION 4

Cambridge 53 55 57 instruction manual
REVISION 4

Signed off

Signed off

: JJF

: JJF

VBW

VBW

Drawn

Drawn

N/A

N/A

Sheet

Sheet

NTS

NTS

Scale

Scale

(Orig Only)

(Orig Only)

Summary of Contents for SERIES50

Page 1: ...Owners Manual DVD Player Series 50...

Page 2: ...n to a TV Connection to an Audio System 2 Channel Audio Connection to an Amplifier with Dolby Digital or DTS 5 1 Channel Audio Home Theatre Surround Sound Operation Playback TV System Selection OSD On...

Page 3: ...to change the fuse it is important that a 3Aone is used If the plug needs to be changed because it is not suitable for your socket or becomes damaged it should be cut off and an appropriate plug fitt...

Page 4: ...rotect it from overheating and these openings must not be blocked or covered The openings should never be blocked by placing the product on a bed sofa rug or other similar surface This product should...

Page 5: ...ain or water d If the product does not operate normally by following the operating instructions Adjust only those controls that are covered by the operating instructions as an improper adjustment of o...

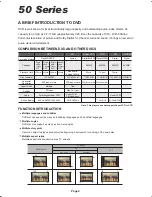
Page 6: ...bit 30CM 20CM 1 side 60min 2 sides 120min Digital MPEG2 Single sided 1 layer 4 7G Single sided 2 layers 8 5G Double sided 1 layer 9 4G Double sided 2 layers 17G 133min 500 lines or more Multiple Dolby...

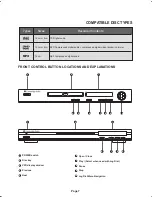
Page 7: ...al audio MP3 12cm DVD Compressed digital audio compressed digital video dynamic picture 12cm or 8cm Page 7 OPEN CLOSE PREV NEXT PLAY PAUSE STOP POWER 4 10 POWER switch 2 Disc tray 4 Previous 5 Next 3...

Page 8: ......

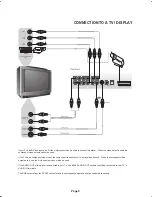
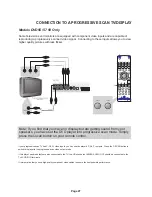
Page 9: ...TV has a component video input the component video output of this player can be used When the component video outputs are in use the S Video output cannot also be used If the AUDIO OUT of this player...

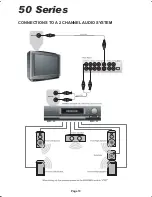
Page 10: ...Page 10 CONNECTIONS TO A 2 CHANNEL AUDIO SYSTEM 50 Series...

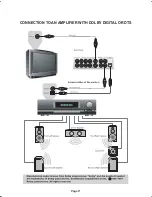
Page 11: ...Page 11 CONNECTION TO AN AMPLIFIER WITH DOLBY DIGITAL OR DTS...

Page 12: ...it possible to play discs recorded with Dolby Digital This is achieved simply by connecting your player to an amplifier or receiver with 5 1 channel amplification and an appropriate home theatre louds...

Page 13: ...ts Disc information is being read by your player Press PLAY button and playback automatically starts Press the STOP button to stop playing Pressing the STOP button for the first time the player enters...

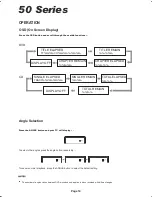
Page 14: ...ELAPSED TOTAL REMAIN DISPLAY OFF OSD On Screen Display Angle Selection Page 14 Press the ANGLE button and your TV will display To select other angles press the angle button repeatedly To resume normal...

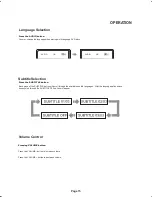
Page 15: ...n Press the VOLUME button to increase volume Press the VOLUME button to decrease volume Pressing VOLUME button Volume Control Page 15 Press the SUBTITLE button Each press of the SUBTITLE button will s...

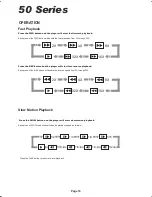
Page 16: ...n playback Press the PLAY button to resume normal playback 2X 16X 32X 8X 4X 2X 16X 32X 8X 4X 1 8 1 16 1 2 1 4 1 2 1 16 1 8 1 4 Fast Playback Slow Motion Playback Page 16 Press the REV button and the p...

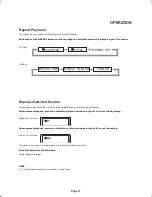
Page 17: ...B button at the desired point point A to set the beginning Under normal playback press the A B button at the desired point point B to set the ending The player returns to point A automatically to repe...

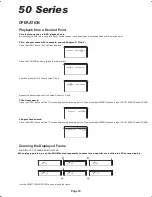
Page 18: ...he GOTO button until the TV screen displays the following picture Then press the NUMBER buttons to input HOUR MINUTE and SECOND TITLE 03 30 CHAPTER 02 TITLE 30 CHAPTER 01 02 TITLE 06 30 TIME CHAPTER 0...

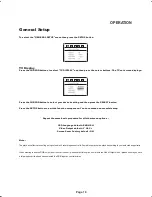
Page 19: ...19 TV Display Repeat the same basic procedure for all other menu options OSD Language default ENGLISH Video Output default Y Cb Cr Screen Saver Factory default ON OPERATION NORMAL PS NORMAL LB WIDE No...

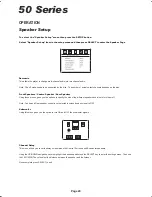
Page 20: ...these menus gives you the options to specify the size of the different speakers and also to turn them off Note Centre and Rear speaker control is not selectable unless downmix is set to OFF Subwoofer...

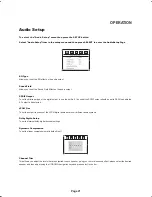
Page 21: ...o set the output frequency of the LPCM digital audio data to suit different audio systems Dolby Digita Setup To set the internaldolby digital decoder settings Dymamic Compression To set the linear com...

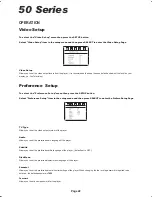
Page 22: ...he Prefere Setup Page To select the Preference Set up menu then press the SETUP button TV Type Allows you to set the video output system of the player Audio Allows you to set the preferred audio langu...

Page 23: ...he current path File Window Displays the current path s files Scroll Bar Window Indicates the current file s position Preview Window JPEG image preview Information Window Displays the current operatin...

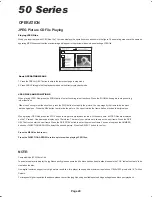
Page 24: ...the jpeg files using a suitable photo editing package to enable correct playback Page 24 JPEG FILES AND FUNCTIONS Press the MENU button to exit Press the DIRECTION ARROW to rotate a picture when play...

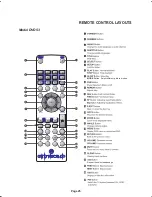
Page 25: ...3 4 STANDBY STANDBY EJECT EJECT GOTO TITLE SELECT SETUP RETURN PLAY PLAY PAUSE PAUSE STOP STOP MUTE SF SEARCH SKIP MENU VOL VOL EQ PAL NTSC OSD CLEAR A B REPEAT PSM AUDIO SUBTITLE ANGLE ZOOM MODE SLOW...

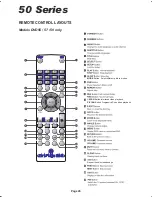
Page 26: ...LECT SETUP RETURN PLAY PLAY PAUSE PAUSE STOP STOP SEARCH SKIP MENU VOL VOL A B REPEAT PSM AUDIO SUBTITLE ANGLE ZOOM I SCAN P SCAN MUTE MODE SLOW CLEAR PAL NTSC OSD P SCAN Button Progressive Scan video...

Page 27: ...f this player s audio outputs are also connected to the TV the L R channels of MIXED AUDIO OUT should be connected to the Tv s AUDIO IN terminals It is imperative that you use high quality component v...

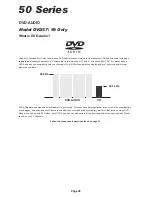
Page 28: ...music audio format previously available DVD Audio discs can also add a visual element to your music Discs can carry picture galleries lyrics notes or any combination of still images animation and text...

Page 29: ...ide Connect signal securely Clean your disc Press MUTE button again Connect signal securely Reset the AV TV status of your TV set Press the Interlace scan button on the remote See page 27 Press P N bu...

Page 30: ...t Digital Audio Output Coaxial Output Optical Out Jack Video Out S Video Output Scart Output RGB Composite 2 channel Audio Component Video Output N A Power Supply 110 250v AC 50 60Hz Power Consumption...

Page 31: ...u have an unaltered serial number and or you purchased from a CAMBRIDGE AUDIO authorised dealer This Warranty does not cover cosmetic damage or damage due to acts of God accident misuse abuse negligen...

Page 32: ...arks of Dolby Laboratories Confidentials Unpublished Works 1992 1997 Dolby Laboratories All rights reserved c This product complies with DHHS rules 21 CFR Chapter 1 Subchapter J Part 1040 at date of m...

Reviews: