Chapter 2: Getting Started
Establishing a Connection
phn-3965_006v002
Page 2-9
Connecting to the Unit with a LAN Connection
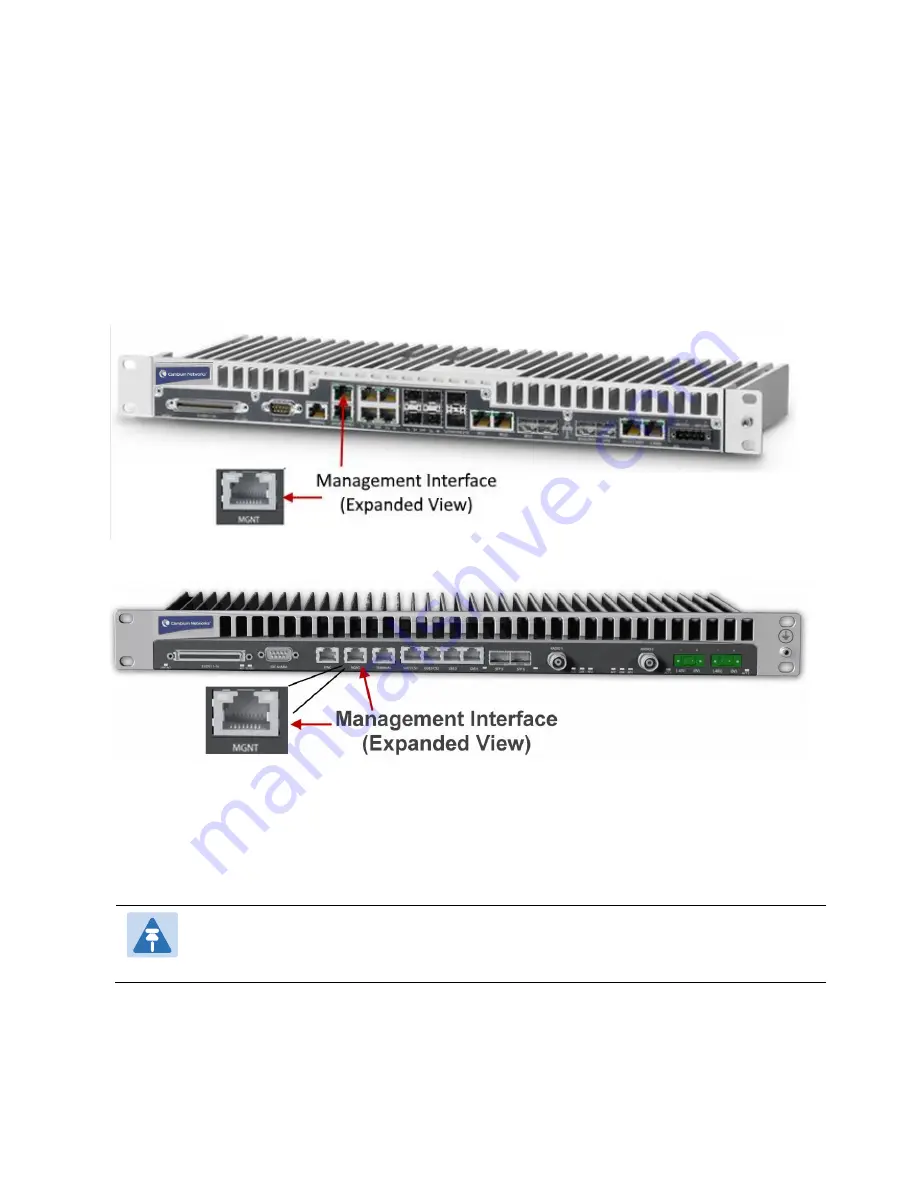
PTP 820G and PTP 820F contain two FE management interfaces, which connect to a single RJ-45 physical connector
on the front panel (MGMT). For details on which type of cable to use to utilize either one or both management
interfaces, see
Ethernet Management Interfaces
.
Connect the cable to the Management interface (MGMT) on the PTP 820G or PTP 820F front panel, and to the LAN
port on the PC.
Figure 19
Management Interface on Front Panel PTP 820F
Figure 20
Management Interface on Front Panel PTP 820G
To establish a connection with the PTP 820G or PTP 820F unit, it is necessary to configure an IP address on the PC
or laptop within the same subnet as the PTP 820G or PTP 820F unit. The default chassis IP address is 192.168.1.1.
For example, you can set the PC or laptop address to 192.168.1.10 and the subnet mask to 255.255.255.0. Note
the initial settings before changing.
Note
The chassis IP address, as well as password, should be changed before operating the system. See
Changing the Management IP Address
and
3
Select Control Panel > All Control Panel Items >Network and Sharing Center.
4
Click Change adapter settings.
Summary of Contents for PTP 820 Series
Page 1: ...User Guide ...
Page 49: ...Chapter 1 Introduction Configuration Tips phn 3965_006v002 Page 1 3 ...
Page 162: ...Chapter 3 Configuration Guide System Configurations phn 3965_006v002 Page 3 4 ...
Page 294: ...Chapter 4 Unit Management Upgrading the Software phn 3965_006v002 Page 4 19 5 Select FTP ...
Page 713: ...Chapter 14 Getting Started CLI Configuring the Activation Key CLI phn 3965_006v002 Page 14 18 ...
Page 731: ...Chapter 14 Getting Started CLI Operating in FIPS Mode CLI phn 3965_006v002 Page 14 36 ...


