


Page 4
Connecting to a PC
Once the unit is charged or during charging you can
copy files to the player.
1:
Follow steps
1
-
2
of
‘Getting started’
to connect the
player to a pc/ laptop.
2:
Once connected the player will power up and present
you with three options:- Power & Data
(Charge
the device & connect to a pc/ laptop)
, Charge
(Charge only)
& Charge & Play
(Use the device while
charging)
. Select the
‘Power & Data’
option by using
your fingertip to press the on-screen button or use
the supplied stylus.
3:
When the unit is connected a hardware driver
is automatically installed and the device is then
available in the list of devices
(Named CMP43_8G)
.
On some operating systems an auto play window will
appear. Choose to take no action and click
OK
to close
the window.
4:
Double click
‘My Computer’
Or
‘Computer’
on some
operating systems. Look for
‘Removable disks
or storage’
option and locate the device named
‘CMP43_8G’
and double click.
NOTE: Do not disconnect the USB cable at any
time when copying data to or from the device.
5:
Drag & drop media files into the applicable folders on
the removable device.
6:
Close the removable device window and disconnect
the player from your pc/ laptop after data transfer has
completed.
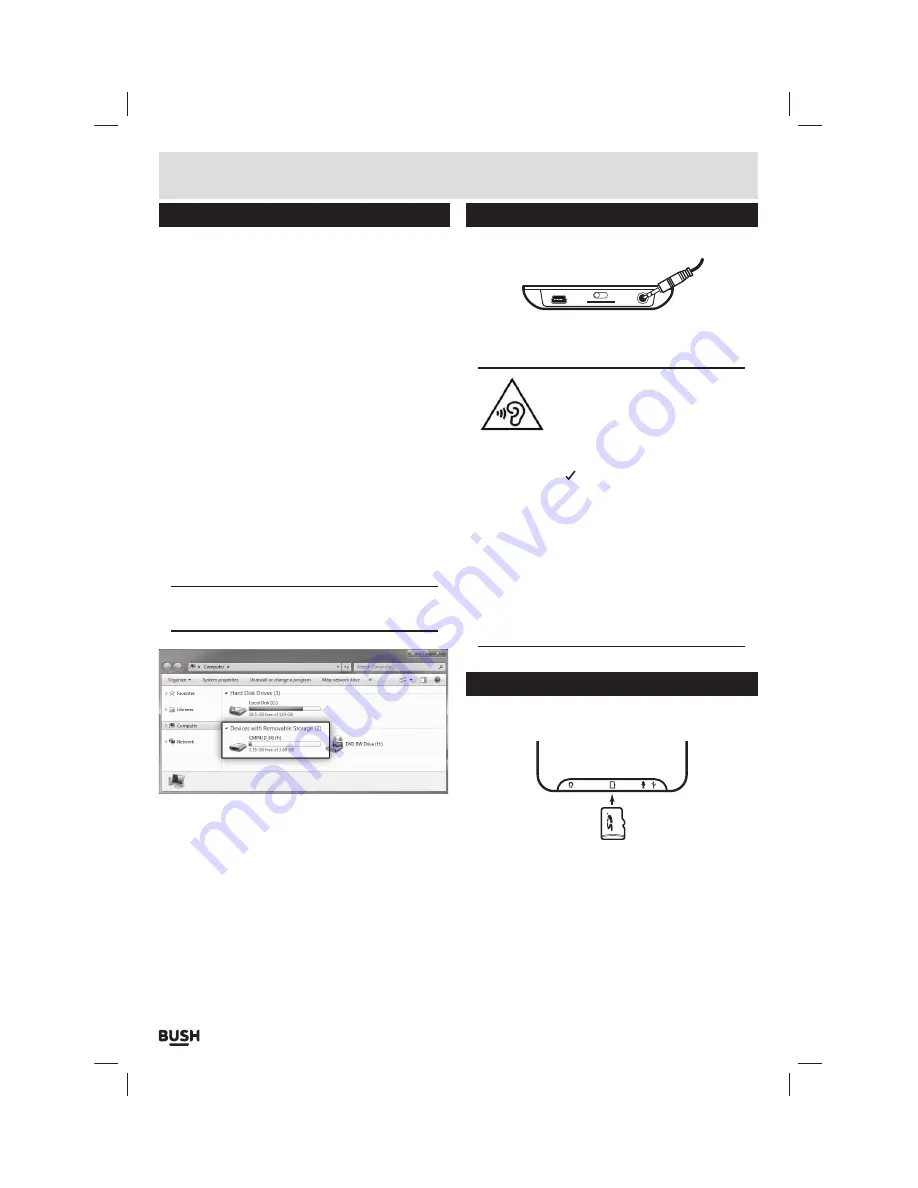
Earphone connection
Instructions for earphone usage.
ON
OFF
1:
Connect the
3
.
5
mm earphone plug into the
EARPHONE
socket on the bottom of the unit.
To prevent possible hearing damage,
do not listen at high volume levels
for long periods.
In music mode, when the volume is adjusted to
85dB the above warning will appear on the
display. Tap the ‘ ’ button to continue.
If you hear no sound during playback, do not turn
the volume up as the music may suddenly begin
at a high volume.
Excessive sound pressure from earphones and
headphones can cause hearing loss.
To avoid damaging your ears, adjust the volume to
the lowest safe level before playing, and turn up to
the desired level when playback has started.
SD card
Follow the below instructions to insert and remove a
micro SD card to expand the storage capacity.
1:
Insert a
‘Micro SD’
card as shown. Make sure the side
with writing on faces the back of the player. Push the
SD
card in gently until you feel/ hear a click. And the
card remains inside the player.
2:
To remove the card push the card inwards gently until
you feel/ hear a click and the card pops out of the
player.
User instructions
Summary of Contents for CMP43D
Page 1: ...Instruction Manual CMP43D...