OPERATOR'S MANUAL
BUSH HOG®
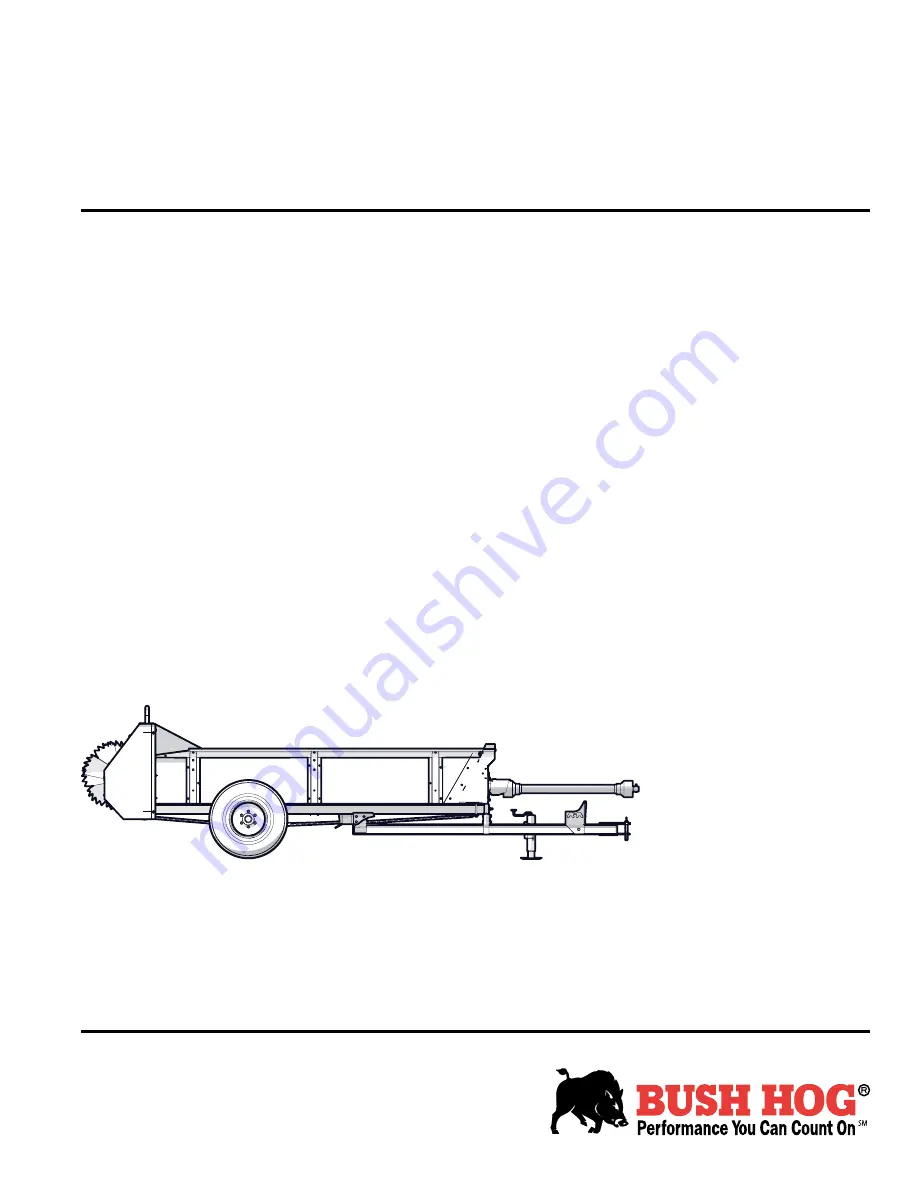
Manure Spreader
MS1300P
Document Number: Z97908
Rev Apr-2021
Keep this manual with the machine at all times
Page 1: ...OPERATOR S MANUAL BUSH HOG Manure Spreader MS1300P Document Number Z97908 Rev Apr 2021 Keep this manual with the machine at all times...
Page 2: ...og parts which are manufactured with the same precision and skill as our original equipment Our trained service personnel are well informed on methods required to service Bush Hog equipment and are re...
Page 3: ...Attaching to a Tractor 18 6 PTO Shaft 19 6 1 Sizing a PTO Shaft 19 6 2 Installing a PTO Shaft 20 7 Controls 21 8 Operating Instructions 22 8 1 Operating Safety 22 8 2 Stopping 23 8 3 Stopping in an E...
Page 4: ...er than cost approved by Bush Hog duty taxes charges for normal service or adjustment loss of crops or any other loss of income rental of substitute equipment expenses due to loss damage detention or...
Page 5: ...to the authorized Bush Hog dealer from whom he purchased it for service or replacement of defective parts which are covered by warranty Repairs to be submit ted for warranty consideration must be made...
Page 6: ...ate ZIP Phone Number Dealer Inspection Checklist All belts are aligned and the tension is correct Drive chain tension is correct PTO shaft telescopes and shield turns Clutch is adjusted and functions...
Page 7: ...can be either vertical or horizontal Safety Notice Decals are pictorial with a blue background and generally rectangular with single or multiple symbols The following example decal informs operators...
Page 8: ...be used to alert against unsafe practices CAUTION Indicates a potentially hazardous situation that if not avoided may result in minor or moderate injury It may also be used to alert against unsafe pr...
Page 9: ...acent to the operator over a long term basis may cause permanent total hearing loss Keep a first aid kit available for use should the need arise and know how to use it Keep a fire extinguisher availab...
Page 10: ...less act It is the operator s responsibility to read understand and follow ALL safety and operating instructions in this manual Train all new personnel and review instructions frequently with existing...
Page 11: ...standard practice for all operators Operators should review these topics at the start of each season The following sign off form can be used to document the required training The design and manufactur...
Page 12: ...d and the bottom or right hand panel shows the message how to avoid the hazard Hazard How to avoid the hazard Practicing good safety means becoming familiar with safety signs decals and warnings and b...
Page 13: ...thing and long hair away from the beater bar paddles while they are operating 2 WARNING Risk of injury from flying debris Stay clear of manure discharge The beater bar can expel manure or other materi...
Page 14: ...ve PTO speeds above 540 rpm or incorrect rotation can result in machine damage 6 WARNING Risk of entanglement in rotating drive line Stay clear of the PTO shaft when the machine is operating Do not op...
Page 15: ...safety sign replaced Requirements The installation area must be clean and dry The application surface must be clean and free of grease or oil The ambient temperature must be above 50 F 10 C A squeegee...
Page 16: ...perator It is the responsibility of the owner or operator to read this manual and to train all other operators before they start working with the machine Follow all safety instructions exactly Safety...
Page 17: ...wo speeds and a clean out speed setting The heavy duty beater bar includes ten replaceable paddles Fig 5 Manure Spreader Components 1 PTO shaft 2 Speed control indicator 3 Speed control rope guide hol...
Page 18: ...cts 1 Keep bystanders clear of the area 2 Make sure that there is enough space and clearance to safely back up to the tractor 3 Use the trailer jack to raise the clevis hitch to the height of the trac...
Page 19: ...2 inches 50 mm from this measurement Call this measurement B L 2 50 mm B 00944 L Fig 8 Measurement B 4 If the collapsed length A from Step 2 is longer than measurement B from Step 3 the PTO shaft must...
Page 20: ...on the implement a Press the locking pin button and push the shaft end onto the input PTO b Connect the safety chain to the implement so that the shielding does not turn during operation 2 Slide out...
Page 21: ...cting position 5 will cause damage to the drive gearbox The beater bar and apron drive speed are controlled by the tractor driver using the nylon speed control rope The driver pulls and releases the s...
Page 22: ...pinning beater bar paddles and other moving parts can cause injury or death Do not allow anyone within 20 ft 6 m of the manure spreader during operation Objects thrown from the rear of the manure spre...
Page 23: ...all covers and shields are in place Make sure that they are secure Check the tightness of all fasteners Make sure that your equipment is working and in good repair Make sure that the operator is wear...
Page 24: ...g hazard Load the manure spreader from front to back This loading method spreads the manure uniformly in the main box Do not overload the manure spreader Break up any large chunks of manure Be cautiou...
Page 25: ...contact your Bush Hog dealer or go to BushHog com 8 8 Cleaning Out WARNING Moving parts are exposed and an entanglement hazard is present Make sure that the engine is turned off and the PTO is diseng...
Page 26: ...se or transport on public roadways Therefore it does not include the required lights reflectors and markings Before taking the manure spreader on a public roadway install the required lighting reflect...
Page 27: ...machine Storing the Manure Spreader IMPORTANT Do not store the manure spreader with wet manure in it or store it outdoors when it is loaded Failure to do this can cause the metal parts to corrode 1 P...
Page 28: ...rstand how to use them Have a qualified tire dealer or repair service complete all required tire maintenance Do not attempt to mount a tire unless you have the proper equipment and experience for this...
Page 29: ...Remove and clean it thoroughly Clean the lubricant passageway If required replace the fitting Location Every 8 hours of Operation Number of Grease Points 1 PTO shaft universal joints 2 2 PTO shaft sli...
Page 30: ...Service and Maintenance MS1300P Manure Spreader 30 01459 9 6 7 3 4 5 4 5 3 8 8 10 Fig 16 50 hour Grease Points...
Page 31: ...chain every 50 hours or monthly Use a good quality chain lubricant for the best performance The apron chain pushes manure into the beater bar paddles for spreading It must be oiled frequently and kept...
Page 32: ...letely loosen the tension on both sides of the apron chain 2 Determine how many chain links 2 to remove 3 On one side of the apron chain Find the clevis pin 3 Remove the cotter pin 1 from the clevis p...
Page 33: ...a clean lint free cloth to clean the check level and fill plugs and then replace them 8 Close and secure the left hand side rear shield door 9 7 2 Change the Gearbox Oil Change the gearbox oil after...
Page 34: ...two lock nuts to secure the shift cable to the shift rod 9 8 Drive Belt WARNING Machine shown with shields removed for illustrative purposes only Never operate machine with shields removed W001 9 8 1...
Page 35: ...For optimal performance inspect the beater bar paddles on a regular basis and replace paddles that are worn or damaged Contact your Bush Hog dealer to purchase replacement paddles 2 1 3 01467 Fig 25 P...
Page 36: ...ne speed is too slow Set the tractor throttle to 540 rpm Apron drive speed is set too slow Increase the apron drive speed Apron chain is frozen to the floor Use hot water to free the apron drive chain...
Page 37: ...x 23 330 cm x 122 cm x 58 cm Dimensions LxWxH 214 x 79 x 42 544 cm x 201 cm x 107 cm Loading Height 42 107 cm Tire size 11L 15SL Number of Paddles 10 Weight 2180 lb 989 kg Tongue Weight 330 lb 150 kg...
Page 38: ...by 5 NOTE Bolt grades are identified by their head markings Imperial Bolt Torque Specifications Bolt Diameter Torque Value SAE Gr 2 SAE Gr 5 SAE Gr 8 lbf ft N m lbf ft N m lbf ft N m 1 4 6 8 9 12 12 1...
Page 39: ...must be installed and kept at the proper torque value to prevent loose wheels broken studs or possible separation of wheels from axle Start all lug nuts onto the threads by hand Tighten lug nuts in st...
Page 40: ...perator Orientation 16 To the New Operator 16 Fasteners Maintenance schedule 28 Form Delivery inspection report 6 Pre operation checklist 23 Product information 5 Sign off 11 G Gearbox Maintenance 28...
Page 41: ...tions 12 Sign replacement 15 Training 10 Warning definition 8 Why is SAFETY important 8 Safety Rules 9 Safety Sign Locations 12 Sealing flap main box 32 Service and Maintenance Apron Chain 31 Beater b...
Page 42: ......
Page 43: ......
Page 44: ...BUSH HOG...