IP Address
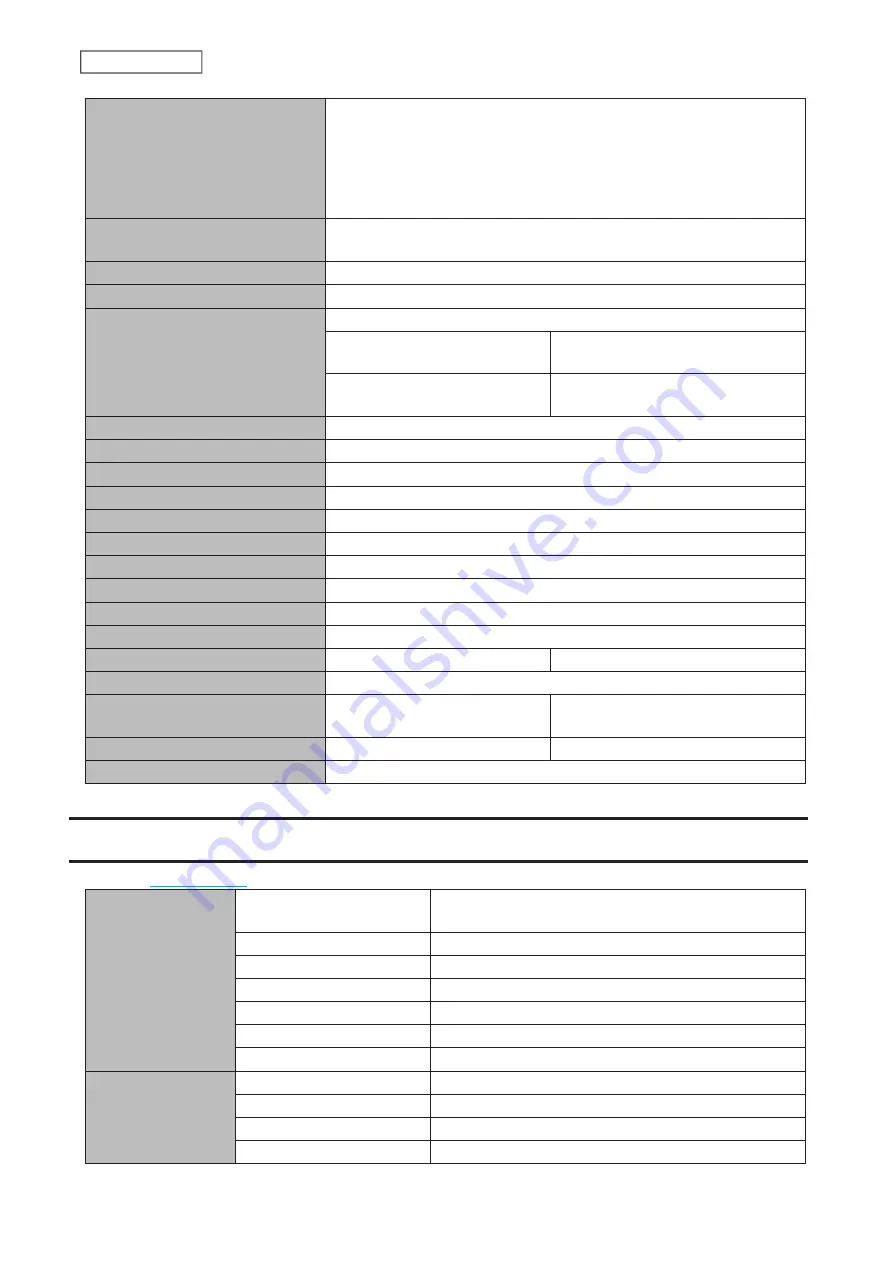
The LinkStation will get its IP address automatically from a DHCP server
on the network. If no DHCP server is available, then an IP address will be
assigned as follows:
IP Address: 169.254.
xxx.xxx
(“xxx” is a number randomly assigned when
booting the LinkStation.)
Subnet Mask: 255.255.0.0
Registered Groups
“hdusers”, “admin”, and “guest”
You cannot edit or delete these default groups.
Microsoft Network Group Settings
WORKGROUP
Ethernet Frame Size
1,500 bytes
SMB
Enabled
SMB Protocol
Switch between SMB2 and SMB1
automatically
Exclude Mac OS temp files from
recycle bin
Yes
AFP
Disabled
FTP
Disabled
WebAccess
Disabled
RAID Scanning
Disabled
DLNA Server
Disabled
iTunes Server
Enabled
Print Server
Disabled
BitTorrent
Disabled
Time Machine
Disabled
Direct Copy
Disabled
Name/Time/Language
Date/Time Source (NTP)
Enabled
Email Notification
Disabled
Restore/Erase
Administrator Username and
Password
Restore factory default settings
Update
Update Notification
Enabled
RAID Mode
LS220D and LS220DR: RAID 1
Specifications
for the latest product information and specifications.
LAN Interface
Standards Compliance
IEEE 802.3ab (1000BASE-T), IEEE 802.3u (100BASE-TX),
IEEE 802.3 (10BASE-T)
Data Transfer Rates
10/100/1000 Mbps (auto sensing)
Number of Ports
1
Connector Type
RJ-45 8-pin (auto MDI-X)
Supported Protocols
TCP/IP
Network File Services
SMB/CIFS, AFP, FTP/FTPS
Ethernet Frame Sizes
1,500, 4,084, 7,404, and 9,216 bytes
USB Interface
Standards Compliance
USB 2.0
Data Transfer Rates
Max. 480 Mbps
Number of Ports
1
Connector Type
Type A
140
Chapter 9 Appendix
Summary of Contents for LinkStation 200 Series
Page 27: ...4 Configure the desired settings then click OK 26 Chapter 2 File Sharing...
Page 28: ...Using a Mobile Device 1 From Settings tap Folder Setup 27 Chapter 2 File Sharing...
Page 29: ...2 Tap Create Folder 28 Chapter 2 File Sharing...
Page 33: ...4 Enter the desired settings then click OK 32 Chapter 2 File Sharing...
Page 34: ...Using a Mobile Device 1 From Settings tap Users 33 Chapter 2 File Sharing...
Page 35: ...2 Tap Create User 34 Chapter 2 File Sharing...
Page 38: ...3 Click Add Group 37 Chapter 2 File Sharing...
Page 42: ...Using a Mobile Device 1 From Settings tap Folder Setup 41 Chapter 2 File Sharing...
Page 43: ...2 Tap the shared folder that you want to set access restrictions for 42 Chapter 2 File Sharing...
Page 74: ...73 Chapter 4 Remote Access...
Page 90: ...6 Click Time Machine 89 Chapter 5 Backup...
Page 91: ...7 Click Select Backup Disk 8 Select the shared folder then click Use Disk 90 Chapter 5 Backup...


