

Item Code:
024887
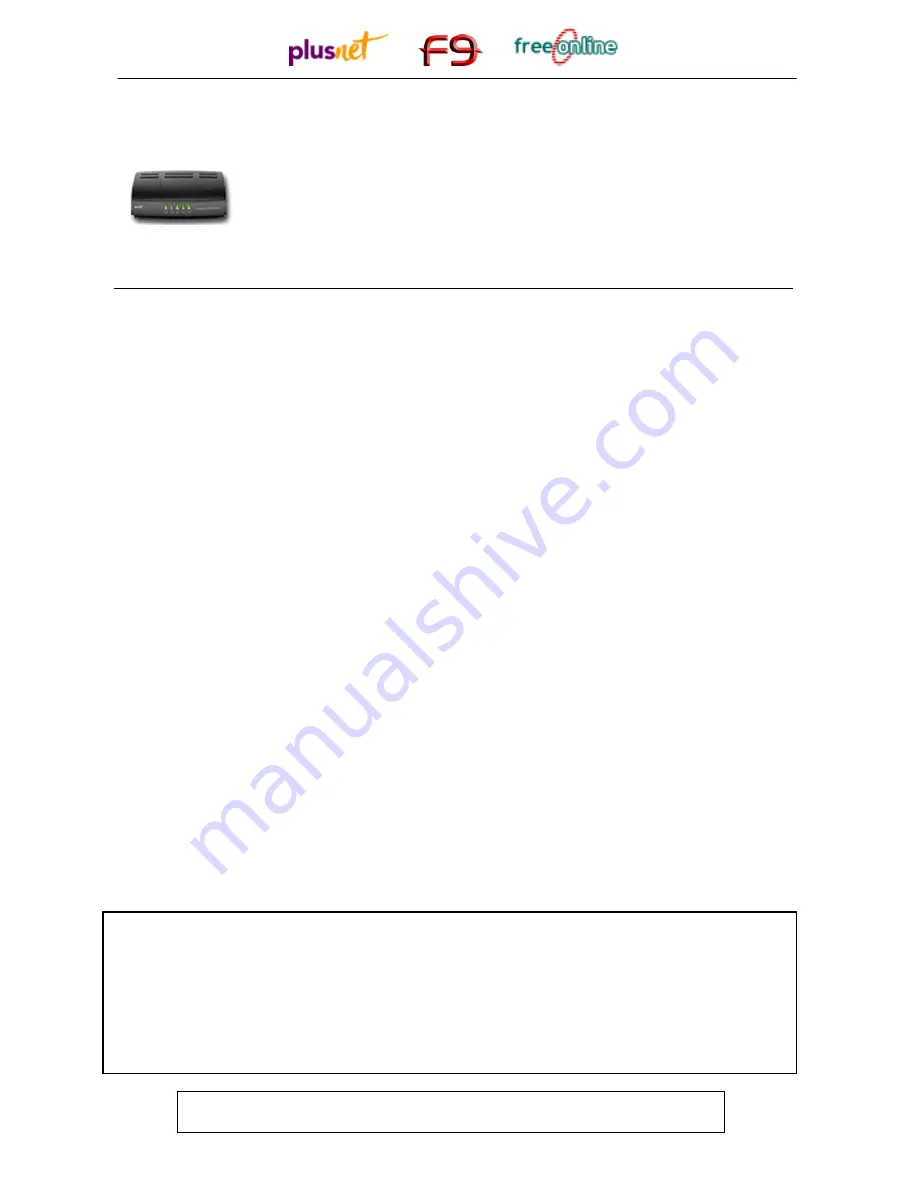
Your BT Voyager
210
USB Modem/Router Guide
Important –
if you have another broadband modem installed on your
computer it must be uninstalled before continuing
.
Fitting Microfilters (splitters)
You need to ensure that all the devices
connected to your phone line are filtered using the supplied microfilters,
in order for ADSL to work correctly.
Your Starter Pack Contents:
1 x BT Voyager 2
10
USB Modem/Router
1 x Ethernet cable (grey)
1 x Telephone cable (black)
1 x USB cable (blue)
1x Power Supply
2 x Microfilters (boxed)
1x Instruction CD and foldout Quick Start Guide
1
Fit a microfilter in between the wall socket and each device that shares the telephone line. This
applies not just to telephones but can also include fax machines, burglar alarms, and any digital
satellite equipment. You should have received two boxed microfilters with your router.
2
Plug the Power Supply into the back of your router (socket marked Power), then plug the
other end of the Power Supply into the nearest mains socket.
3
Plug one end of the black telephone cable into the DSL socket on the back of the router and
plug the other end into the microfilter (attached to your phone line in step one). The microfilter
socket is also marked DSL.
4
Press the Power switch on the back of the router to switch it on. The Power light on the front
will turn Green.
5
Wait until the DSL light stops flashing and goes solid green. This may take a minute or
more. Once the light is green, your Voyager
210
router has been successfully set-up. You
can now plug computers into the router using either the USB (blue) or Ethernet (grey)
cables.
Troubleshooting
If the DSL light continues to flash for more that a minute, check your ADSL cable and
microfiters, and only use the cables provided in the pack. Ensure no other broadband
equipment is installed on your computer. For more help, view the included foldout Quick
Start Guide, or go to the support section of our portal website.
Instructions continue on other side


