


EMBROIDERY
14
e
Rotate the pattern to align the upper-right
corner with the chalk reference line.
a
Upper-right corner
f
Touch
to display the embroidery
screen.
g
Press the “Start/Stop” button to embroider
the first part.
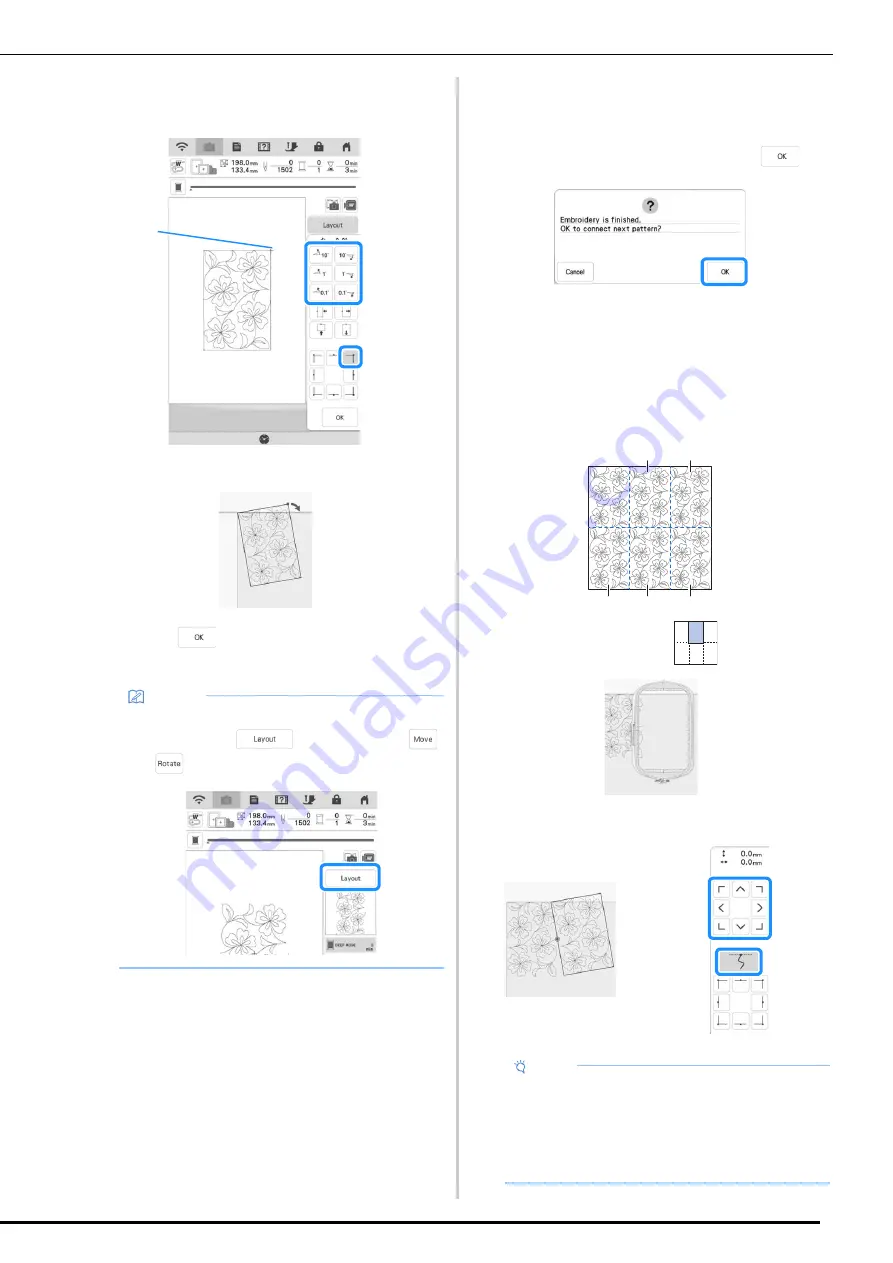
h
When embroidering is finished and the
following message appears, touch
.
The next part to be embroidered appears.
i
Position each part and embroider it
according to the on-screen instructions.
You will be prompted to align the starting
point and to rehoop the quilt when
necessary.
a
Second column of first row (
)
Use the move pattern keys to align the start point with the end
point of the previous pattern.
Memo
• To readjust the position or angle of the
pattern, touch
, and then touch
or .
a
Note
• For precise positioning of the start point,
rotate the handwheel toward you to check the
exact needle drop point. After checking the
needle position, be sure to use the needle up/
down key to return the needle to its highest
position.
a
b
d
c
e