11
Before Use
Contents
Installing the Software
Getting Started
Menu Bar Commands
●
●
Print Preview
Allows you to preview the pages before they are printed.
About Print type and Print option:
1
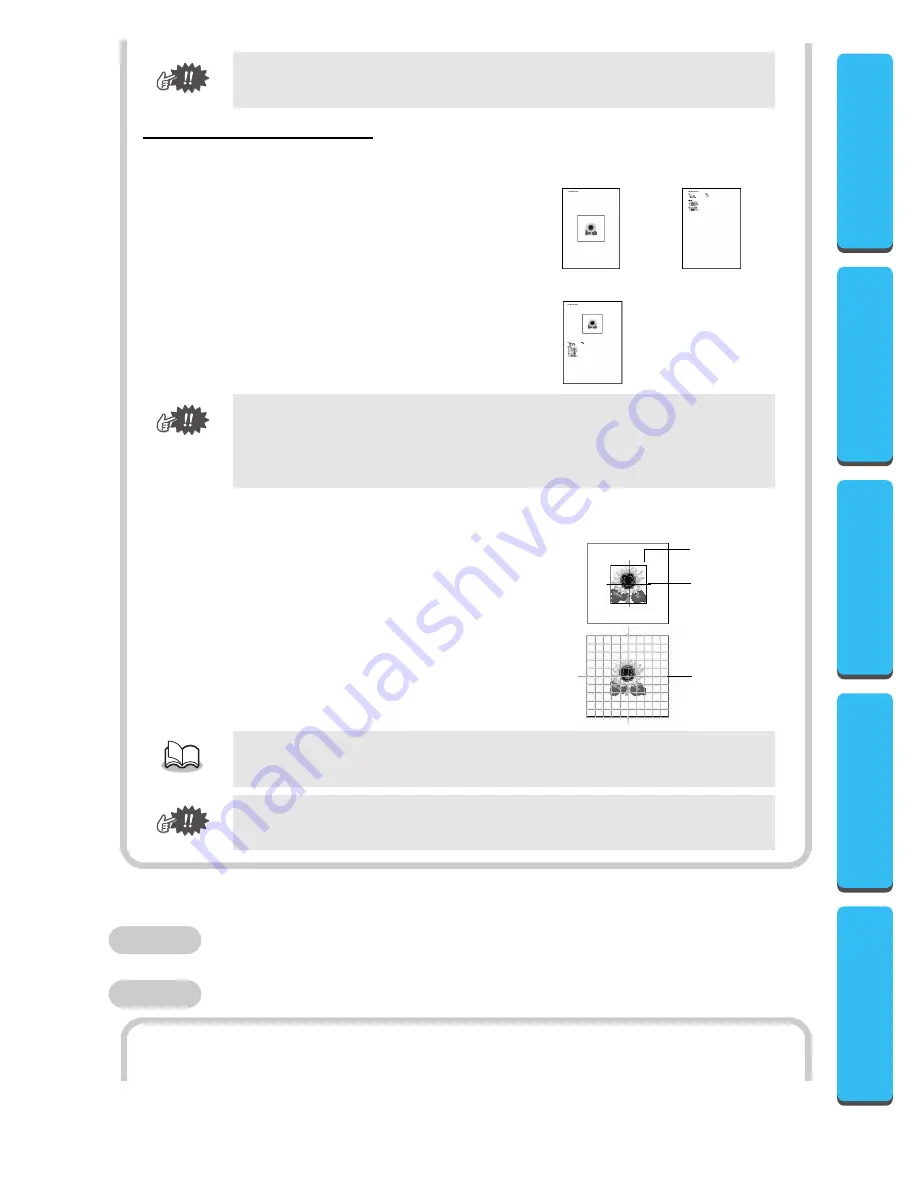
Print type
Actual Size:
For each pattern, an image of the pattern in its
actual size is printed on the first page, and the
pattern information (size, number of stitches, and
colors) is printed on the second page.
Reduced Size:
For each pattern, a reduced image of the pattern
and the pattern information are printed on one
page.
2
Print option
Print sewing area box & center axis:
The sewing area of the pattern and the center axes
are printed in black. This setting is only available
when Actual Size is selected for the Print type set-
ting.
Print template grid:
A green grid is printed to represent the grid printed
on the embroidery sheet supplied with the embroi-
dery hoop for your machine.
1
Select one pattern from the “Available patterns list” or the “Selected patterns list.”
The pages that will be printed can be previewed using Print Preview. Check the pages
before they are printed.
First page
Second page
First page
•
With both settings, the file name is printed on all pages.
•
With patterns for optional hoops (100
×
172 mm and 130
×
300 mm), an image of
the entire pattern is printed on the first page. On the following pages, an image of the
various sections that make up the pattern and the pattern information are printed
according to the selected Print type setting.
Sewing area
Center axes
Grid
If you cut out the grid sheet, you can use it for a template for design placement on your
garment.
The size of the grid that is printed may differ slightly from the grid printed on the
embroidery sheets for some home embroidery machines.
Function
Operation
Summary of Contents for PED-BASIC
Page 19: ......


