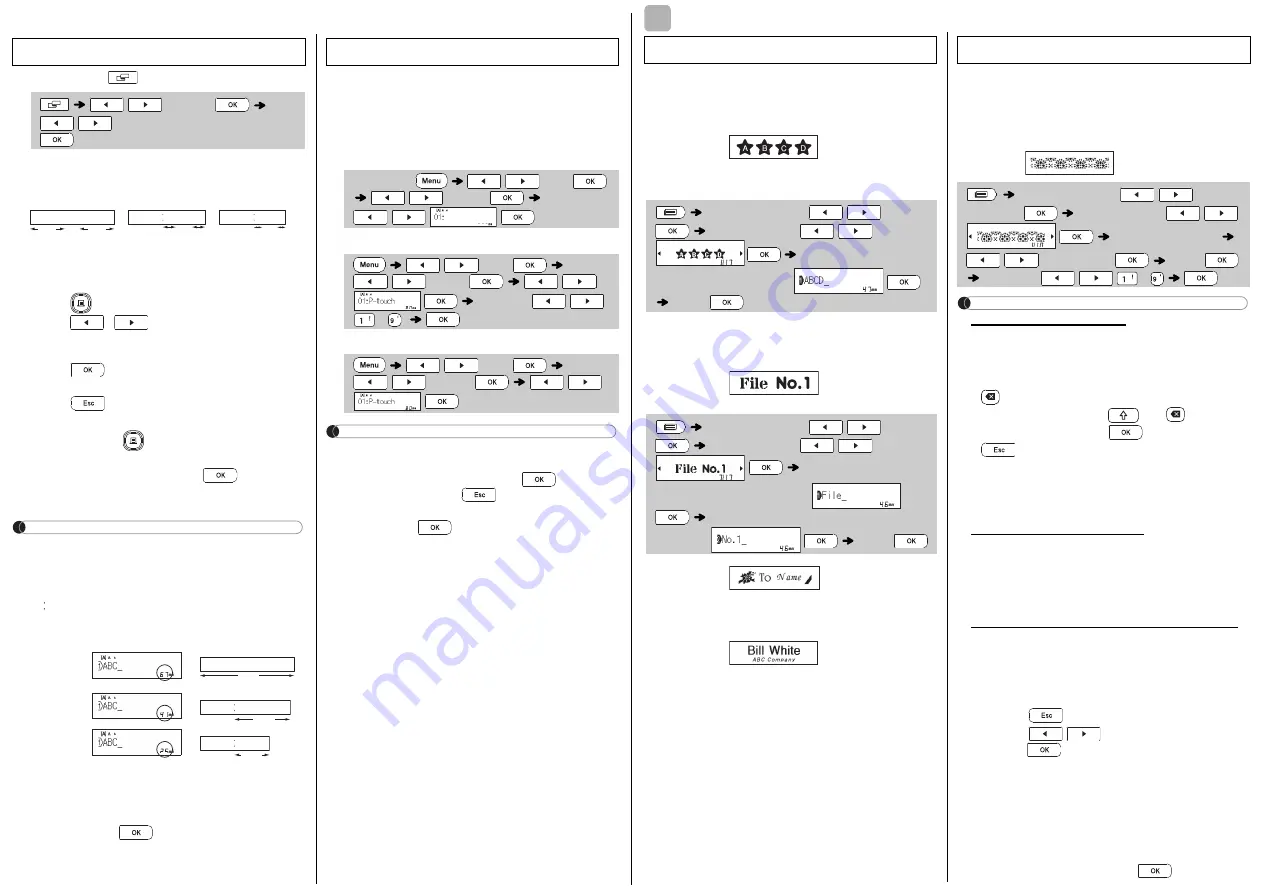
USING TEMPLATES
This function allows you to create various labels
using the built-in templates. Refer to the Text Label
templates table included in this insertion sheet.
Example 1:
[A template that includes one
repeated graphic]
• To use two different fonts on one label, select
one of the three additional Text Label templates
(Examples 2-4).
Example 2:
[A template that includes two fonts]
Example 3:
[Template that includes two fonts
and a frame]
• Please see the procedure in Example 2.
Example 4:
[Template that includes two fonts on
two lines]
• Please see the procedure in Example 2.
This function allows you to create unique labels by
using built-in templates. Refer to the Pattern Label
templates table included in this insertion sheet.
You cannot enter text when using Pattern Label
templates.
Example:
NOTE
For Text Label Templates
• You cannot use Set Label Length when printing
Text Label templates.
• To clear the text, move the cursor to the right
side of the text you want to clear, and then press
.
• To clear all text, press
and
. When “All
Clear” appears, press
to clear. Press
to cancel.
• To preview labels, press the Preview key when
[Print] appears on the LCD.
• The copy print function is disabled when using
Text Label templates.
For Pattern Label Templates
• Press the Space key to return to the factory
setting for the “Label Length” mode. The factory
setting is [100 mm].
• You cannot use the preview feature when using
Pattern Label templates.
For Text Label and Pattern Label Templates
• These templates are only available when using
12 mm wide tape cassettes.
• The templates cannot be edited.
• To exit templates and return to the text input
screen, do one of the following:
a) Press .
b) Press
/
to select [Quit], and then
press
when "Print" appears.
• You cannot save labels created using templates
to memory.
• When you access Text Label or Pattern Label
templates, your most recently printed Text
Label or Pattern Label template label length will
be recalled.
• "Please Cut" appears on the LCD for
two seconds after pressing
.
Text Label
[Select Category]
/
[Text]
[Select Design]
/
[Input Text 1] Clear the
text, and then enter text
[Print]
[Select Category]
/
[Text]
[Select Design]
/
[Input Text 1] Clear
the text and then enter text
[Input Text 2] Clear the text and then
enter text
[Print]
3
Pattern Label
[Select Category]
/
[Patterns]
[Select Design]
/
[Set Label Length]
/
[30-999 mm]
[Print]
[Copies: ]
/
/
-
Set Margins (
)
[Full]/[Half]/[Narrow]
Sets equal margins on both sides of the text.
[Chain Print]
Allows to print several labels with minimum margins.
1.
Enter text.
2.
Press
, then [Copies: ] appears.
3.
Press
/
, or enter a number using
the number keys, to select the number of
copies.
4.
Press .
Printing
will
start, and then the
message "Feed OK?" appears.
5.
Press
to enter more text.
6.
Clear the text, enter the text for the next label,
and then press
.
7.
When the message "Feed OK?" appears after
the last label is printed, press
.
8.
After the tape is fed, press the cutter lever to
cut off the chain of labels.
NOTE
• When [Chain Print] is set, feed the tape before using
the cutter; otherwise a part of the text may be cut off.
• When [Half] or [Narrow] is set, the displayed
label length is the length from the printed dots
( ) to the end of the label. Cut along the printed
dots (:) with scissors.
• To print more than one copy of a label with a
minimum margin, set the margin to [Narrow].
• Do not pull the tape since this may damage the
tape cassette.
• After pressing
, "Accepted" appears for
about one second.
You can save up to 30 labels and recall them for
printing at a later date. A maximum of 80 characters
can be saved per file and a maximum of 2400
characters can be saved in the device's memory.
You can also edit and overwrite the stored labels.
Save
Open
NOTE
• If you try to store a label when there is already a
label stored with that number, a message
“Overwrite OK?” appears. Press
to save
your new label. Press
to cancel.
• You must type text before using the save function.
• After pressing
, "Accepted" appears for
about one second.
Printing Labels (continued)
/
[Margin]
/
[Full/Half/Narrow/Chain Print]
LCD
Label image
Full
Half
Narrow
25mm
4mm
4mm
ABC
ABC
12mm
12mm
ABC
25mm
Full
Half
Narrow
67mm
ABC
41mm
ABC
25mm
ABC
Saving Label Files
Enter Text
/
[File]
/
[Save]
/
/
[File]
/
[Print]
/
[Copies: ]
/
/
-
/
[File]
/
[Open]
/
Summary of Contents for P-touch D210
Page 7: ......


