13
Modos de tipo de
etiqueta
2
2
Modos de tipo de etiqueta
Selección de un modo de tipo de etiqueta
Pulsando
a
, podrá seleccionar uno de los dos modos normales de diseño e impresión
de etiquetas personalizadas, o cualquiera de los seis modos especiales disponibles para
imprimir etiquetas preformateadas para la identificación de paneles de conexiones, cables,
conectores y otros componentes.
1
Pulse
a
.
2
Pulse
u
o
d
(o siga pulsando
a
) hasta que se visualice el modo
deseado. (Para obtener más información sobre cada modo de tipo de etiqueta,
consulte las secciones siguientes).
3
Pulse
n
para aplicar el modo de tipo de etiqueta seleccionado.
• Si ha seleccionado
NORMAL
o
VERTICAL
, siga escribiendo el texto de la
etiqueta como se describe en capítulo 3,
Funciones básicas
.
• Si ha seleccionado
ROTADO
,
ROT REP
,
PORT
,
PANEL1, PANEL 2
o
BANDERA
, siga estos pasos.
4
Pulse
l
o
r
hasta que se visualice el parámetro deseado.
5
Pulse
u
o
d
hasta que se visualice el ajuste deseado (o utilice las teclas
numéricas para escribirlo).
6
Pulse
n
para aplicar los ajustes seleccionados.
7
Escriba el texto de cada etiqueta en un bloque de texto diferente.
8
Imprima las etiquetas.
• Para imprimir una sola copia de cada etiqueta, presione
p
.
• Para imprimir múltiples copias o varias copias con ciertos caracteres que se
incrementan, o bien para imprimir usando cualquier otra función de impresión
especial, presione
g
y luego
a
y elija sus opciones. (Para obtener más
información, consulte
Uso de funciones de impresión especiales
en la página 35).
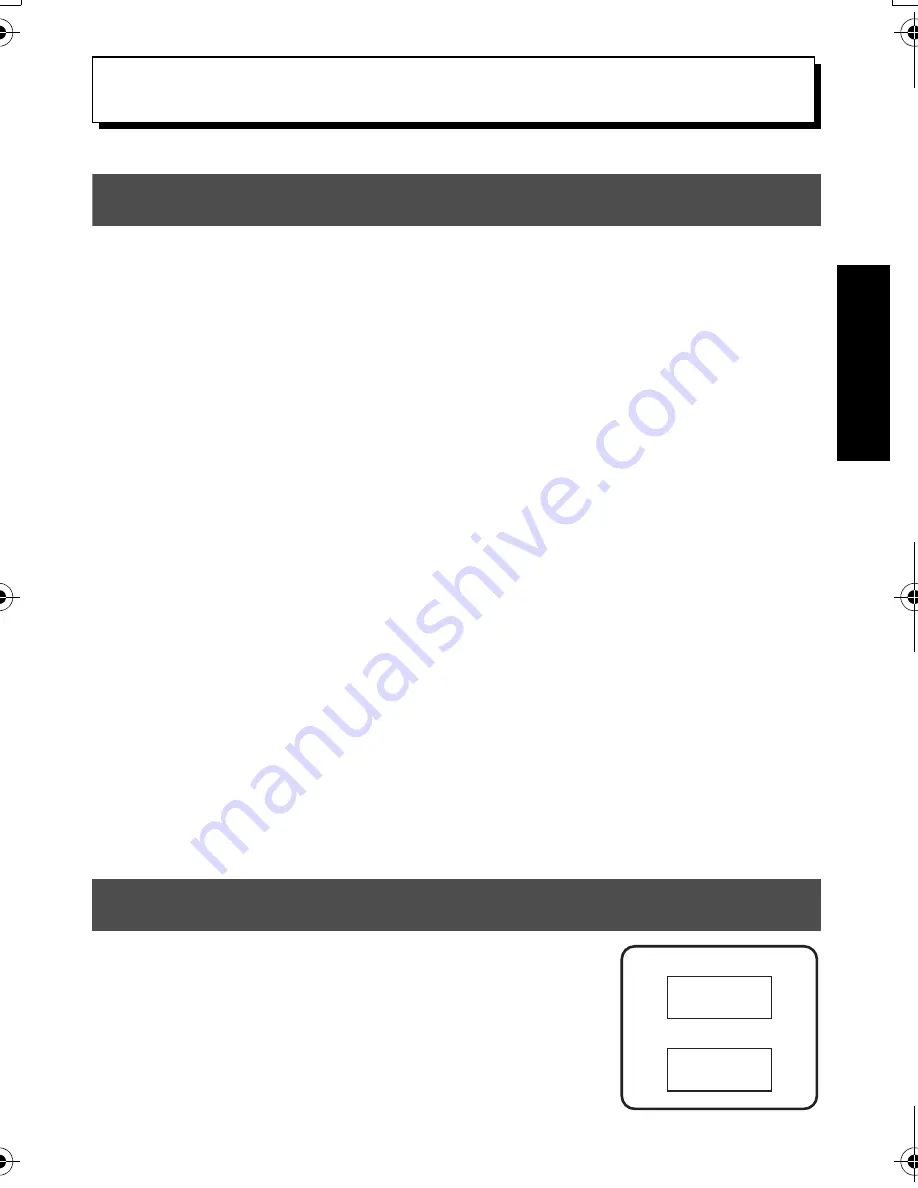
Modos Normal y Vertical
Con los modos
NORMAL
y
VERTICAL
se pueden
formatear e imprimir etiquetas para todas las necesidades.
ABCDE
NORMAL
VERTICAL
A B C D E
PT7500-7600_sp.book Page 13 Wednesday, February 27, 2008 3:06 PM
Summary of Contents for P-TOUCH 7500
Page 2: ...USER S GUIDE ...
Page 104: ......
Page 105: ...GUÍA DE USUARIO ...
Page 203: ...87 Información de contacto sólo para EE UU ...
Page 204: ......
Page 205: ......
Page 206: ......
Page 207: ......
Page 208: ...PT 7500 7600 User s Guide English Guía de usurario Español ...