


•
To enable IEEE 802.1x authentication for wired networks, select
Enabled
for
Wired 802.1x status
on
the
Wired 802.1x Authentication
page.
•
If you are using
EAP-TLS
authentication, you must select the client certificate that has been installed
(shown with certificate name) for verification from the
Client Certificate
drop-down list.
•
If you select
EAP-FAST
,
PEAP
,
EAP-TTLS
, or
EAP-TLS
authentication, select the verification method
from the
Server Certificate Verification
drop-down list. Verify the server certificate using the CA
certificate, imported to the machine in advance, that has been issued by the CA that signed the server
certificate.
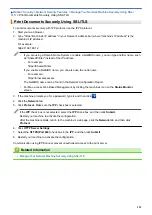
Select one of the following verification methods from the
Server Certificate Verification
drop-down list:
Option
Description
No Verification
The server certificate can always be trusted. The verification is not performed.
CA Cert.
The verification method to check the CA reliability of the server certificate, using the
CA certificate that has been issued by the CA that signed the server certificate.
CA Cert. + ServerID
The verification method to check the common name
value of the server certificate,
in addition to the CA reliability of the server certificate.
7. When finished with configuration, click
Submit
.
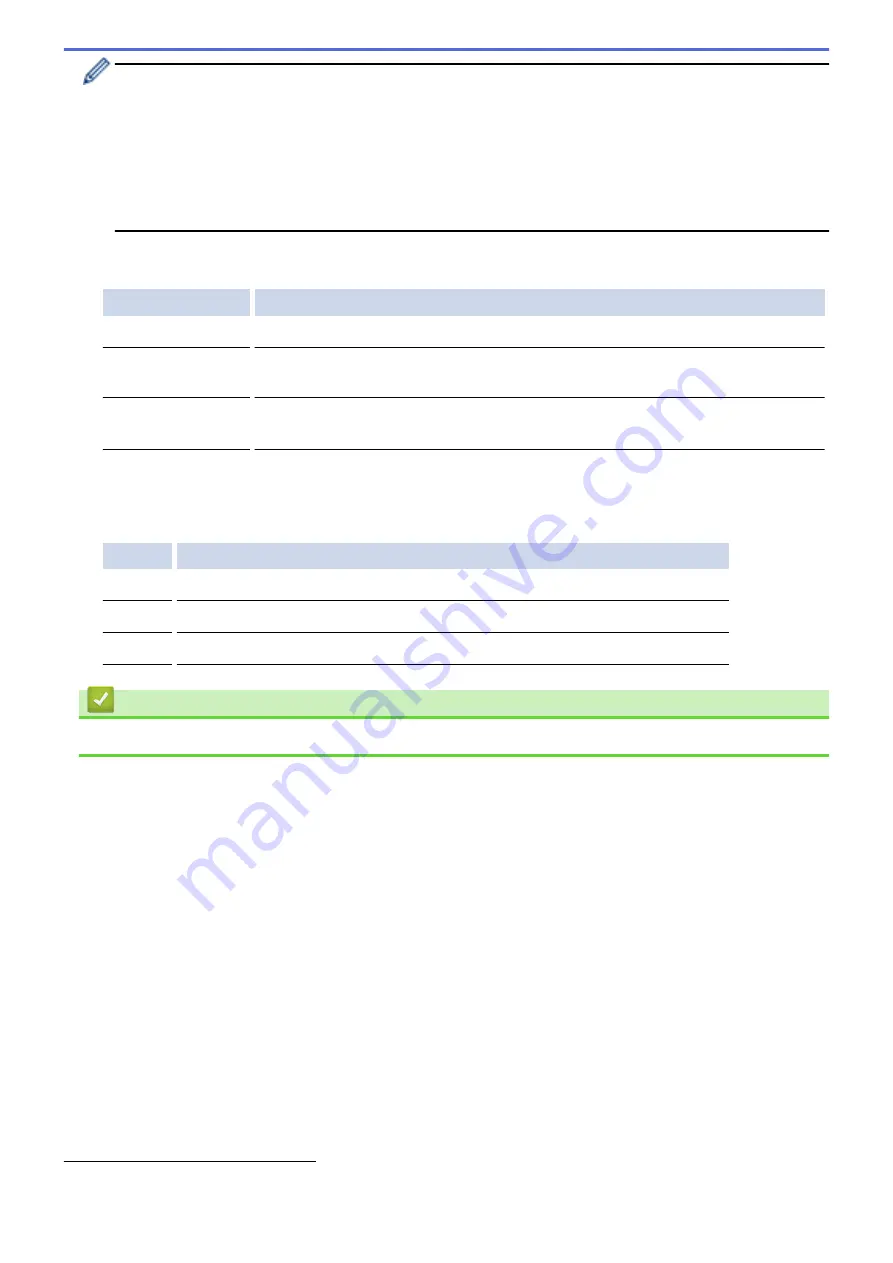
For wired networks: After configuring, connect your machine to the IEEE 802.1x supported network. After a
few minutes, print the Network Configuration Report to check the <
Wired IEEE 802.1x
> Status.
Option
Description
Success
The wired IEEE 802.1x function is enabled and the authentication was successful.
Failed
The wired IEEE 802.1x function is enabled; however, the authentication failed.
Off
The wired IEEE 802.1x function is not available.
Related Information
•
Use IEEE 802.1x Authentication for a Wired or a Wireless Network
1
The common name verification compares the common name of the server certificate to the character string configured for the
Server ID
.
Before you use this method, contact your system administrator about the server certificate's common name and then configure
Server ID
.
161
Summary of Contents for HL-3160CDW
Page 16: ...Related Information Introduction to Your Brother Machine 12 ...
Page 20: ...5 Press Med 6 Press Related Information Introduction to Your Brother Machine 16 ...
Page 46: ...Related Information Print from Your Computer Windows Print Settings Windows 42 ...
Page 51: ... Print a Document Windows 47 ...
Page 115: ...Home Security Security Lock the Machine Settings Network Security Features 111 ...
Page 155: ...Related Information Manage Your Network Machine Securely Using SSL TLS 151 ...
Page 197: ...5 Put the paper tray firmly back in the machine Related Information Paper Jams 193 ...
Page 202: ...Related Information Paper Jams 198 ...
Page 275: ...Related Information Routine Maintenance 271 ...
Page 316: ...Related Information Appendix Replace Supplies 312 ...
Page 319: ...Visit us on the World Wide Web www brother com CHN ENG Version 0 ...


