10
Windows
®
Wired Network
For wired network interface users
(Windows
®
XP Home/XP Professional/Windows Vista
®
/Windows
®
7)
8
Before you install
Make sure that your computer and machine are on
and you are logged on with Administrator rights.
9
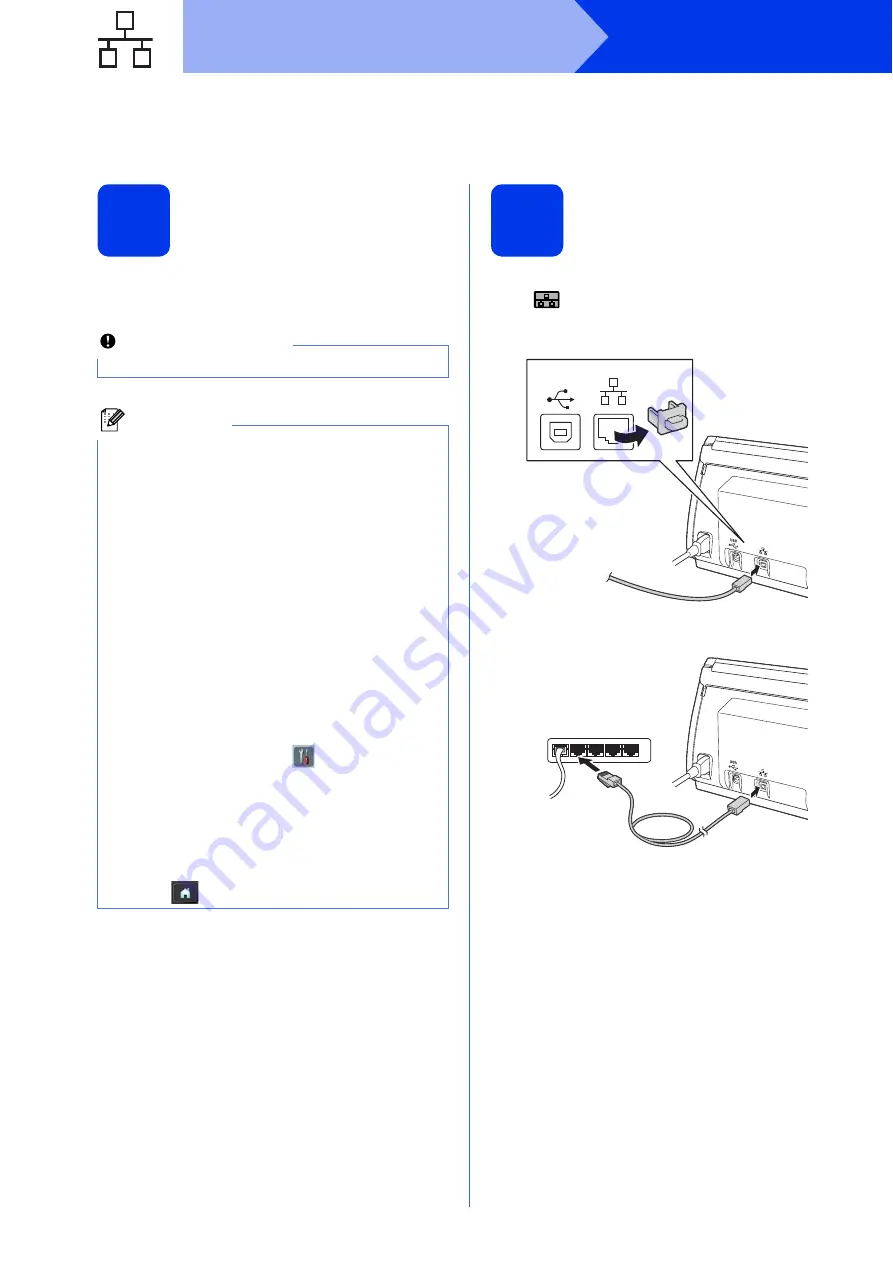
Connect the network
cable
a
You will find the Ethernet port marked with a
symbol on the back of the machine as
shown below. Remove the protective cap and
connect the network cable to the Ethernet port.
b
Connect the cable to your network.
Important
If there are any programs running, close them.
Note
• The screens may differ depending on your
operating system.
• The DVD-ROM includes Nuance™
PaperPort™ 12SE. This software supports
Windows
®
XP Home (SP3 or greater), XP
Professional (SP3 or greater), Windows Vista
®
(SP2 or greater) and Windows
®
7. Update to
the latest Windows
®
Service Pack before
installing MFL-Pro Suite.
• If you have previously set up your machine for
a wireless network and then want to set it up on
a wired network, you should check that the
machine’s
Wired Enable
is set to
On
. The
wireless network interface will become inactive
with this setting.
On your machine, press
and
Network
.
Swipe up or down, or press
a
or
b
to display
Wired LAN
, and then press
Wired LAN
.
Swipe up or down, or press
a
or
b
to display
Wired Enable
, and then press
Wired Enable
.
Press
On
.
Press .
USB


