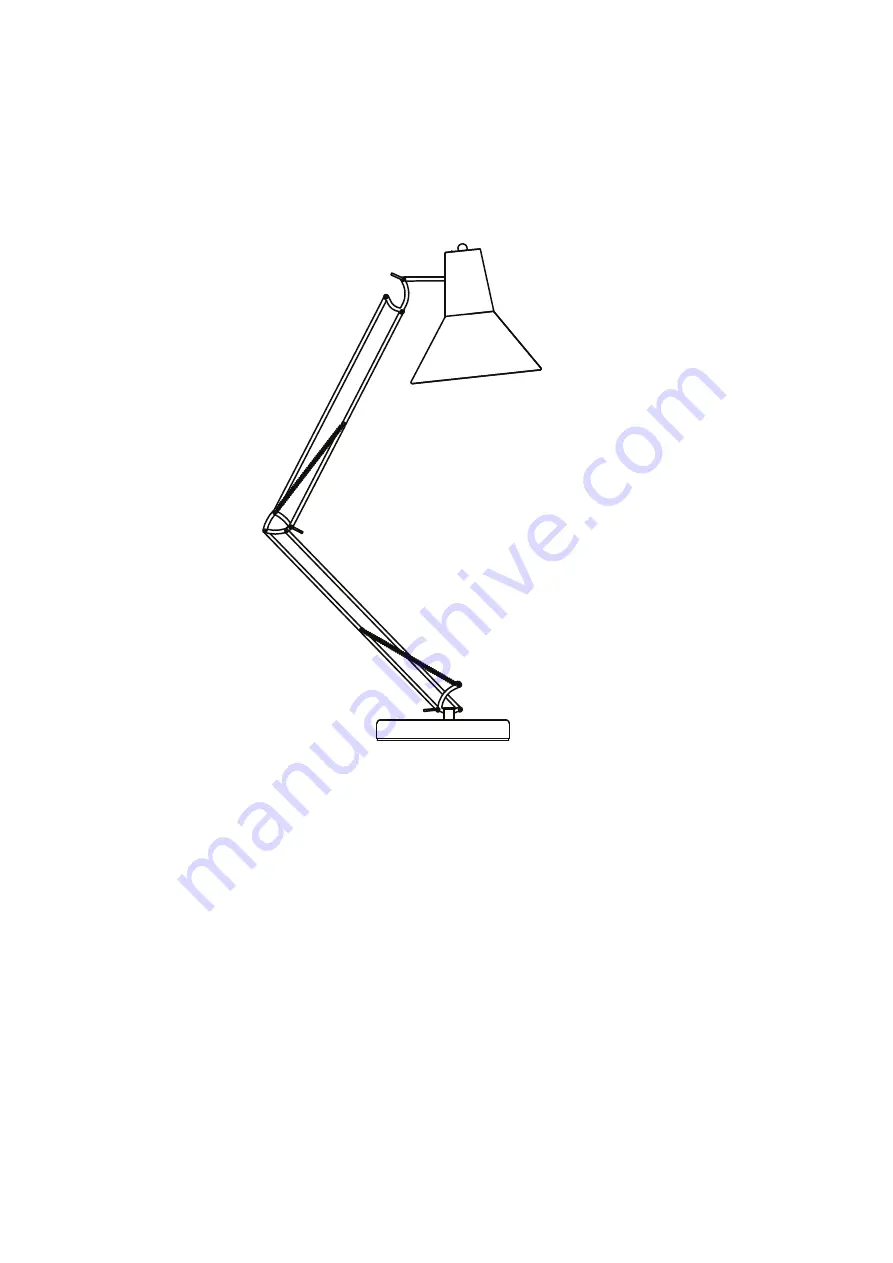
Step 3
Check if all parts are secure.
Enjoy! We hope your new lamp lights up your life.
Page 1: ...ASSEMBLY GUIDE Pictor Floor Lamp v1 0...
Page 2: ...check you have all of the pieces below If anything s missing please visit www brosa com au pages product return and parts request and we ll sort it out right away Light Stand x 1 Shade x 1 Screw cap x...
Page 3: ...be replaced by a professional 4 Never use a bulb of a greater wattage than recommended 5 To replace the bulb unplug the lamp from its power source and allow it to 6 Periodically check and re tighten...
Page 4: ...2 and firmly screw them together Align the shade 3 to the light stand 1 Use a screw cap 4 to tighten the shade to the light stand Pull the springs and attach to the poles Gently screw the correct bul...
Page 5: ...Step 2 Gently turn the handles to change the light direction and pole angles...
Page 6: ...Step 3 Check if all parts are secure Enjoy We hope your new lamp lights up your life...