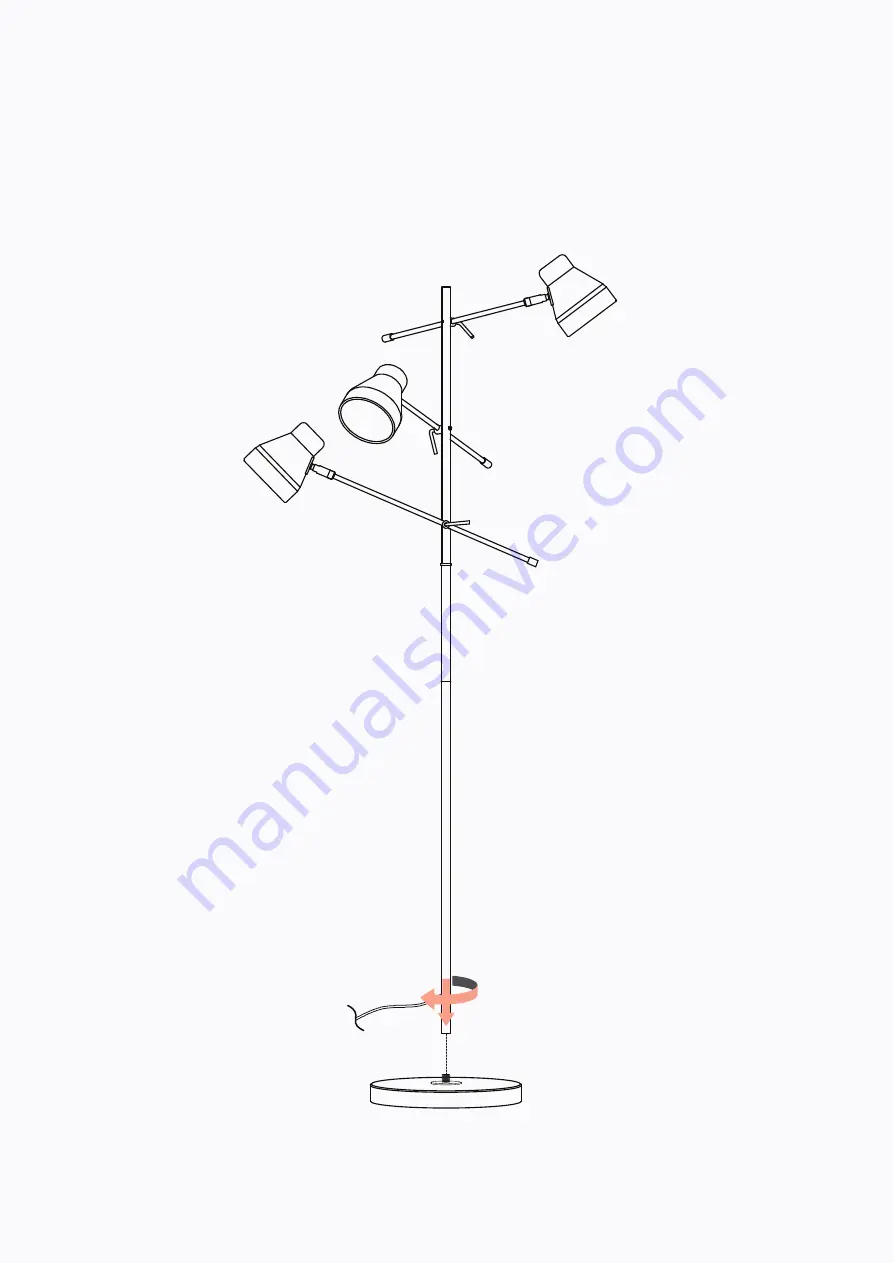
Step 2
Align the pole with the rod on the base
②
.
Screw the pole until it is attached to the base tight and secure.
Page 1: ...Hydra Floor Lamp A S S E M B LY G U I D E V2...
Page 2: ...duct Avoid loose screws Tighten xtures every few months Assembly requires 2 people It s always easier with a friend Contact our support online or call 1300 027 672 Check the assembly guide for require...
Page 3: ...recommended 5 To replace the bulb unplug the lamp from its power source and allow it to cool rst Then change the bulb plug it in and switch it on 6 This product is not suitable for children under 14...
Page 4: ...ents Before you get started check you have all of the pieces below If anything s missing we ll sort it out right away Simply visit www brosa com au pages product return and parts request Stand x 1 Bas...
Page 5: ...Step 1 Align the lower pole with the top pole and rmly screw them together...
Page 6: ...Step 2 Align the pole with the rod on the base Screw the pole until it is attached to the base tight and secure...
Page 7: ...Step 3 Gently screw the correct bulbs not included into the bulb holders...
Page 8: ...Step 4 Direct the light where you want it as the arms and heads are adjustable Enjoy We hope your new Hydra Floor Lamp lights up your life...