


KDR Series User Manual
21
3.2.2
Connecting the Console
To connect an LCD console to a computer, perform the following steps
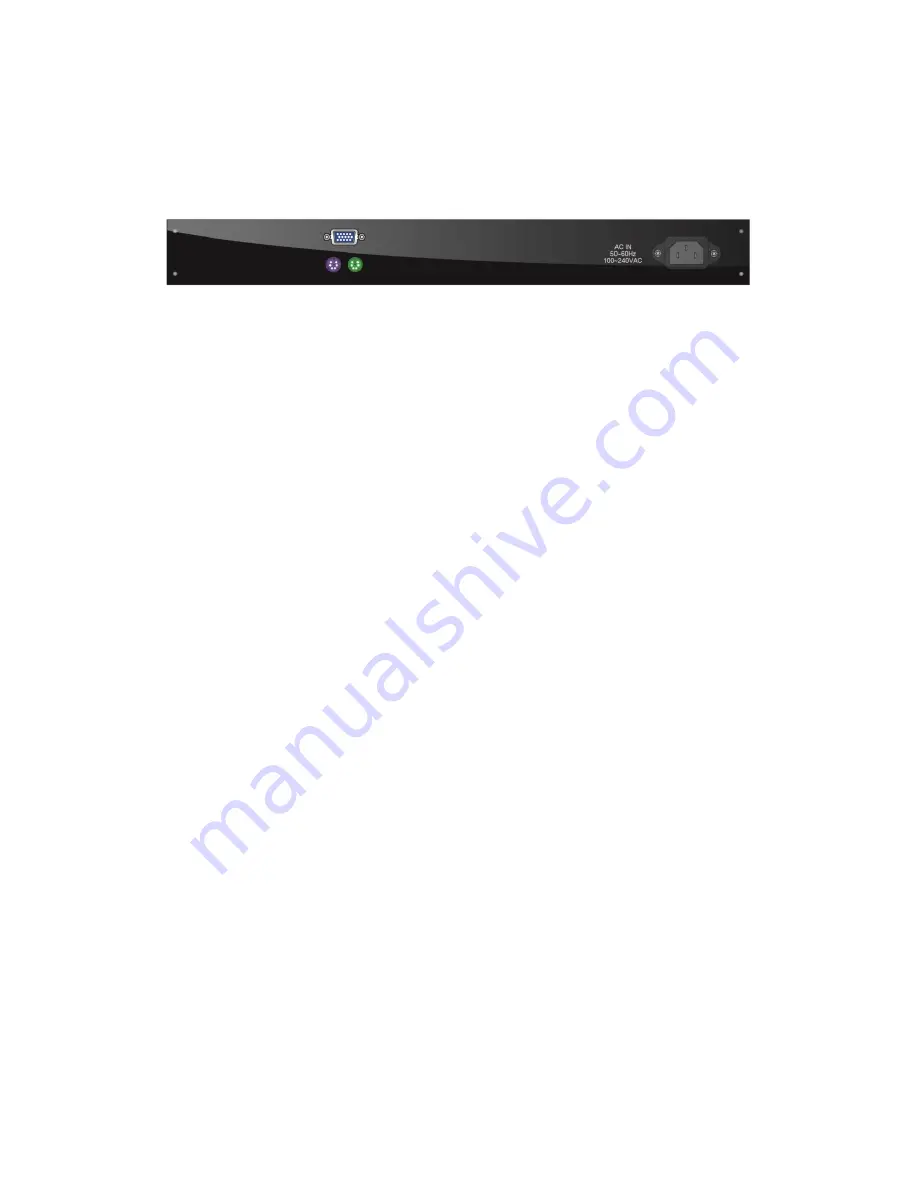
Figure 3-1. The Rear View of Single Port LCD Console
1. Turn off your computer. You should always turn off your computer before
connecting or disconnecting a device.
2. Connect the video (VGA) connector of the KVM cable to the video card connector
on the rear panel of your computer.
3. Identify and connect the PS/2 mouse and PS/2 keyboard connector to the correct
PS/2 ports on the rear panel of your computer.
4. Connect the AC power cord to the power inlet on the console and then to a power
outlet.
3.3
Turning on the Console
Make sure all cables and the power cord are connected properly. Be sure to tighten all
connector screws. Grab the front handle of the panel. Pull the panel all the way out
then lift the panel up. This will disengage the momentary on/off switch and the unit
should power on. And check on/off switch in the front of keyboard plate is on. The
LED left or underneath of the panel will be green light. Then grab the handle of
keyboard to pull the keyboard all the way out.
3.4
Testing the Console
To test that the console is working properly, perform the following steps:
1. Power up the console, and then turn on your computer.
2. Make sure the video image is centered within the screen area. Use the OSD
controls to adjust the image (see note below) or press the Auto button on the left
or underneath of the panel.
Summary of Contents for KDR Series
Page 1: ...KDR Series Dual Rail LCD Console with Single Port KVM Switch User Manual Rev 1 0 ...
Page 8: ...KDR Series User Manual 3 Figure 1 1 KDR 11501 Dimension ...
Page 10: ...KDR Series User Manual 5 Figure 1 2 KDR 11701 Dimension ...
Page 12: ...KDR Series User Manual 7 Figure 1 3 KDR 11901 Dimension ...


