5
Installation
6. If necessary, complete the installation of the power and control wiring
7. With the power off, install the lamps. Make sure they are firmly seated in their sockets and clips.
8. Energize the fixtures and test for proper operation.
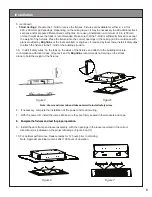
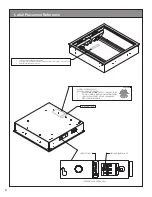
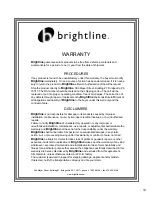
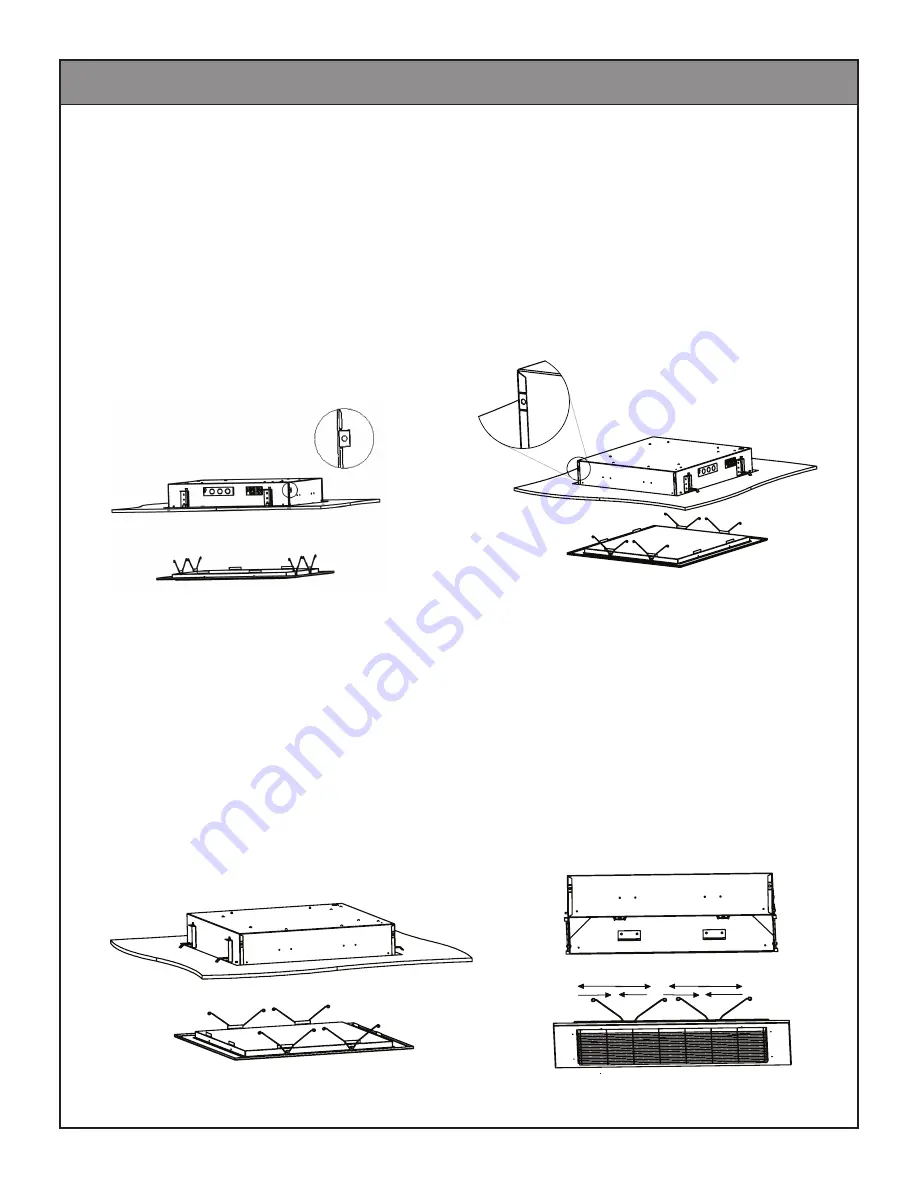
9. Install the door frame and louver assembly, with the openings in the louvers pointed in the correct
direction(s) as indicated on the project drawings. (Figure 6 and 7)
10. For optimal performance, Season lamps for 12 hours prior to dimming.
Note: Approximate initial Lumens after 100 hours of operation.
Figure 6
Figure 7
Figure 5
Figure 4
8. Energize the fixtures and test for proper operation.
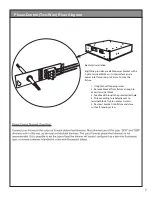
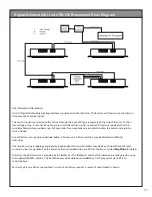
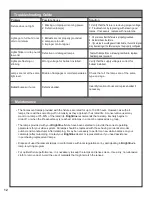
5A. Install “safety wires” on the tabs on the sides of the fixtures and attach to the building structure,
in compliance with local codes. (Figures 4 and 5)
Brightline
recommends not relying on the t-track
alone to hold the weight of the fixtures.
5. (continued)
•
T-Grid Ceilings
: Prepare the T-Grid to receive the fixtures. Fixtures are available for either 2- x 2-ft or
600- x 600-mm grid spacings. Depending on the ceiling layout, it may be necessary to add additional track
sections and/or prepare different sized ceiling tiles. For ease of installation, a minimum of 8 in (200 mm)
of clear height above the track is recommended. Make sure that the T-Grid is sufficiently braced to accept
the weight of the fixtures. Place the fixtures into the correct openings in the ceiling grid in accordance with
plans provided by
Brightline
or the local architect or engineer. If required by local code, install “safety clips”
to attach the fixtures to the T-Grid or the building structure.
Note: Use screwdriver to bend tabs outward to install safety wires.
Summary of Contents for Stealth-T
Page 9: ...9 Page left blank intentionally ...
Page 14: ...14 Notes ...


