12
Directions for use
SOL 80 ALU IP 44
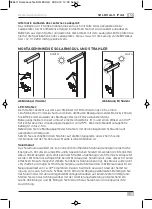
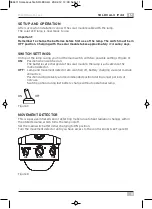
CONTROL KNOBS TIME / SENS / LUX
1.
TIME
= Light duration
Set the lamps On time after detecting motion within the detection area between 10 and
60 seconds. Turn the TIME control knob towards (+) to increase the On time and towards
(–) to decrease the On time.
Note:
The set On time starts with triggering the motion detector. After further movement
is detected in activated lamp mode the On time is started again. A red indicator light in
the motion detector signals motion detection.
2.
SENS
= Sensitivity
The ambient temperature influences the motion detector’s sensitivity.
The lower the ambient temperature, the more sensitive is the motion detector. Use the
SENS control knob to adjust to changing temperatures. The sensitivity increases on the
(+) side of the control knob.
3.
LUX
= response sensitivity
Twilight setting to differentiate between daylight and twilight operation. Set the lamps
desired response threshold continuously between approx. 2 and 2000 Lux. This adjusts
the lamps response sensitivity to the ambient brightness. With the control knob in (
)
position the motion detector responds in daylight and at night. The lamp is enabled during
night and day
➞
daylight operation
. With the control knob in (
) position the motion
detector responds only in twilight
➞
twilight operation
. Adjust according to ambient
brightness with the control knob.
Set the control knob further to (
) if the lamp responds too sensitive in daylight.
Set the control knob further to (
) if the lamp does not switch on in twilight or at night
despite setting to (
). In this case the motion detector might be compromised by other
light sources such as street lights.
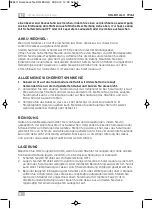
FUNCTION TEST
Set the TIME control knob to minimum (–) and the LUX control knob to bright position (
).
Turn the motion detector back until the arrow (at the bottom of the motion detector) is
directed to the centre of the detection area. Test by walking slowly through the detection
area. Achieve the desired response time and sensitivity by adjusting the three described
control knobs.
Check the motion detector’s direction if the lamp does not respond as desired and adjust
die control knob settings, if necessary.
MAINTENANCE AND NOTES ON BATTERIES
The integrated rechargeable batteries last with proper and correct use of the lamp
800-1000 charge cycles. This corresponds to up to 2 years.
If reliability and brightness of the lamps decrease, first try to achieve a better
battery capacity by charging similar to initial charging (see description above,
3-4 days charge with switch in OFF position or with separate battery charger)
or change the batteries.
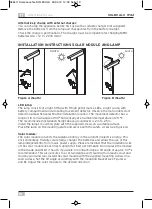
CHANGE BATTERIES:
Change the batteries if the lamp does not turn on or the batteries are exhausted.
Set the main switch to OFF position, disconnect the connecting cable, loosen the safety
screw and slide the lamp from the mounting plate.
066411 Solar-Leuchte SOL 80 ALU 20.02.12 14:30 Seite 12


