7-24
¡
Selecting Objects
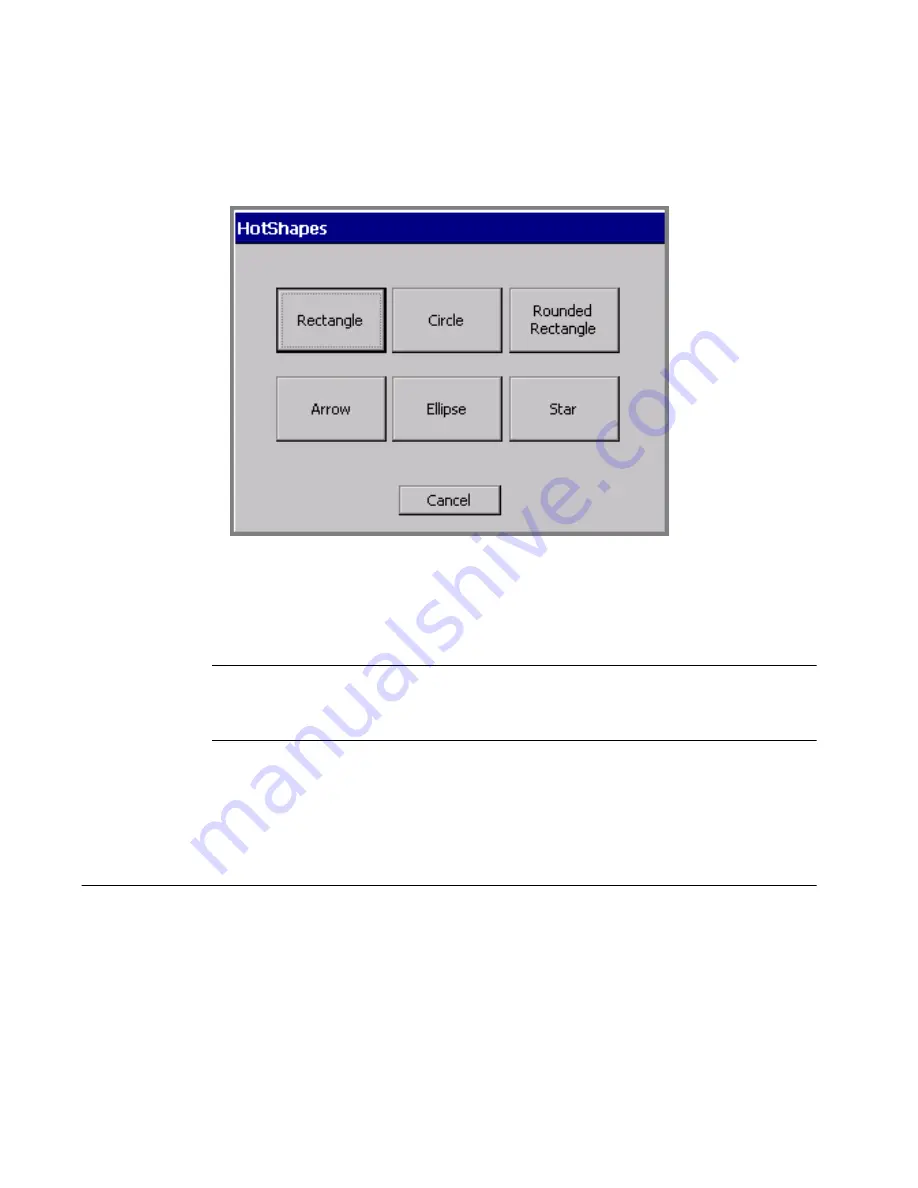
To add HotShape objects to your label, select the HotShape option on
the Insert Object screen (Figure 7-2 on page 7-4). The HotShape
screen displays.
Figure 7-14. The Hot Shapes screen.
Choose a HotShape by selecting one of the HotShape buttons. The
HotShape object is automatically added to your label on the Editor
window.
Hint!
You can change the size, color, rotation, and location of a
HotShape object just like any other type of object, but you may
not open and edit a HotShape.
To cancel adding a HotShape and return to the Editor window, choose
Cancel.
Selecting Objects
You must select an object in the Editor window before you can move,
resize, copy, or edit it. (See Selecting in the Editor window on
page 4-7 for detailed information about selecting text objects using the
touch screen, the keyboard, or the mouse.)
Summary of Contents for label maker
Page 8: ...x ...
Page 16: ...Contents 8 ...
Page 22: ...1 6 Contacting Technical Support ...
Page 36: ...2 14 Cleaning your system ...
Page 56: ...3 20 Accessing Online Help ...
Page 168: ...7 44 Changing Objects ...
Page 232: ...11 26 Printing Tab Options ...
Page 235: ...Special Characters A 3 TABLE 1 CONTINUED ...
Page 236: ...A 4 Special Characters TABLE 1 CONTINUED ...
Page 237: ...Special Characters A 5 TABLE 1 CONTINUED ...
Page 239: ...Special Characters A 7 TABLE 2 CONTINUED ...
Page 240: ...A 8 Special Characters TABLE 2 CONTINUED ...
Page 241: ...Special Characters A 9 TABLE 2 CONTINUED ...
Page 242: ...A 10 Special Characters ...
Page 254: ...B 12 Cleaning the Stylus ...


