Page 33/38
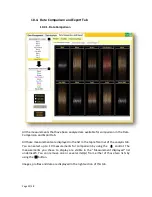
The
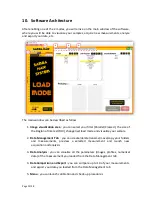
Images
are separated into:
Non-normalized images:
Those are images with the exposure time they were
taken with. For example, a black untreated hair tress might have a specular
exposure time of 50ms after auto exposure. After application of a product
increasing the shine, the exposure time after auto exposure can be 25ms, for
example, because the hair tress reflects more light and if the camera kept
the exposure time of 50ms it would saturate the camera and the data would
be inaccurate. Therefore, it is not fair to compare images directly on the non-
normalized panel. If a visual assessment needs to be made after application
of a treatment, please use the Normalized Images.
Normalized images
: Those are images that are normalized by the exposure
time relatively to the image with the greatest exposure time. This allows
comparing images directly on the screen.
Colored images
: They
use the normalized or non-normalized images and add
a color coding to them.
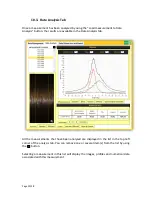
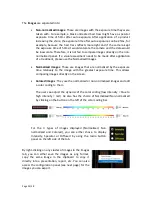
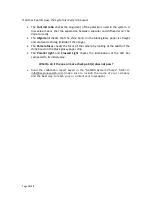
The user can adjust the dynamic of the color coding (low intensity = blue to
high intensity = red). He also has the choice of Normalized/Non-normalized
by clicking on the button on the left of the color coding bar
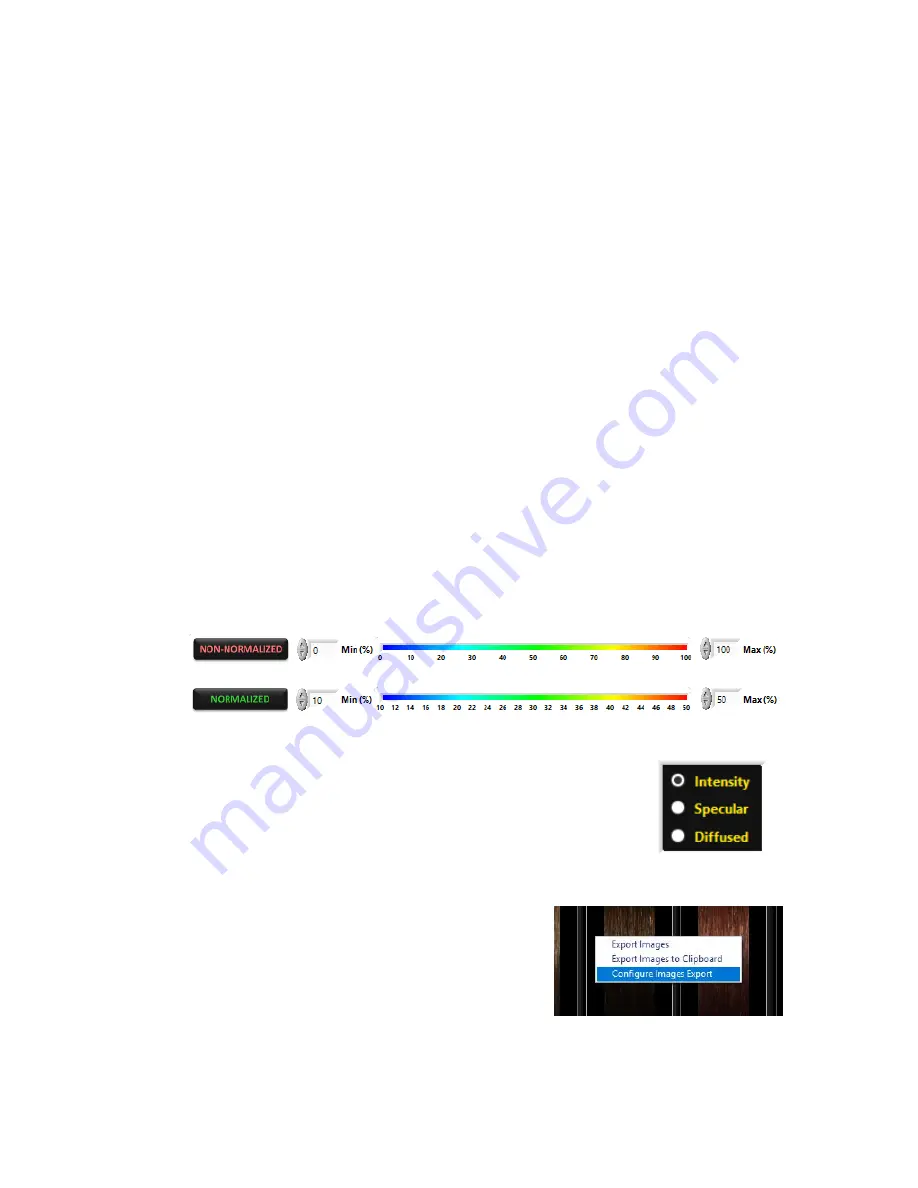
For the 3 types of images displayed (Normalized, Non
normalized and Colored), you can either chose to display
Intensity, Specular or Diffused by using the radio button
panel on the left side of the tab.
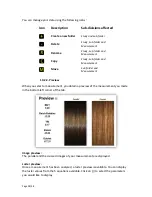
By right-clicking on any cluster of images in the Images
tab, you can either save the images as .png format,
copy the same image in the clipboard to copy it
directly into a presentation, report, etc. You can also
access the configuration panel (see next page) for the
images you can export.

