background image

2. Common Operation

1. To turn on/off the unit

In power off mode, short press the POWER button to turn on the unit.
In power on mode, long press the POWER button on the front panel or short
press the POWER button on the remote control to turn off the unit.

2. To slide the monitor of the Car Audio System out of/into the chassis

Pressing the OPEN button can slide the monitor of the Car Audio System out
of the chassis or slide it into the chassis.

3. To select an optimal angle of the monitor of the Car Audio System

To select an up-down optimal angle of the monitor of the Car Audio System,
press the DOWN/UP button on the monitor or ANG button on the remote control
repeatedly.

4. To select function mode

5.

6. To mute sound

Press the MUTE button on the remote control to turn on/off MUTE mode.
pressing the POWER button on the front panel shortly also can turn on/off MUTE
mode.

7.

8. To select a desired

9. To turn on/off LOUD mode

Press the LOUD button to turn on/off LOUD mode.
When turning on LOUD mode, it will enhance bass level immediately when bass
is not enough.

10.To remove the front panel and reset the player

When the monitor or the small LCD display wrongly or some buttons are not
available or sound is distorted, press the REL button on the front panel to detach
the front panel and then pull it rightward and then leftward to remove it, then
press the RESET button to rehabilitate the distorted program to zero.

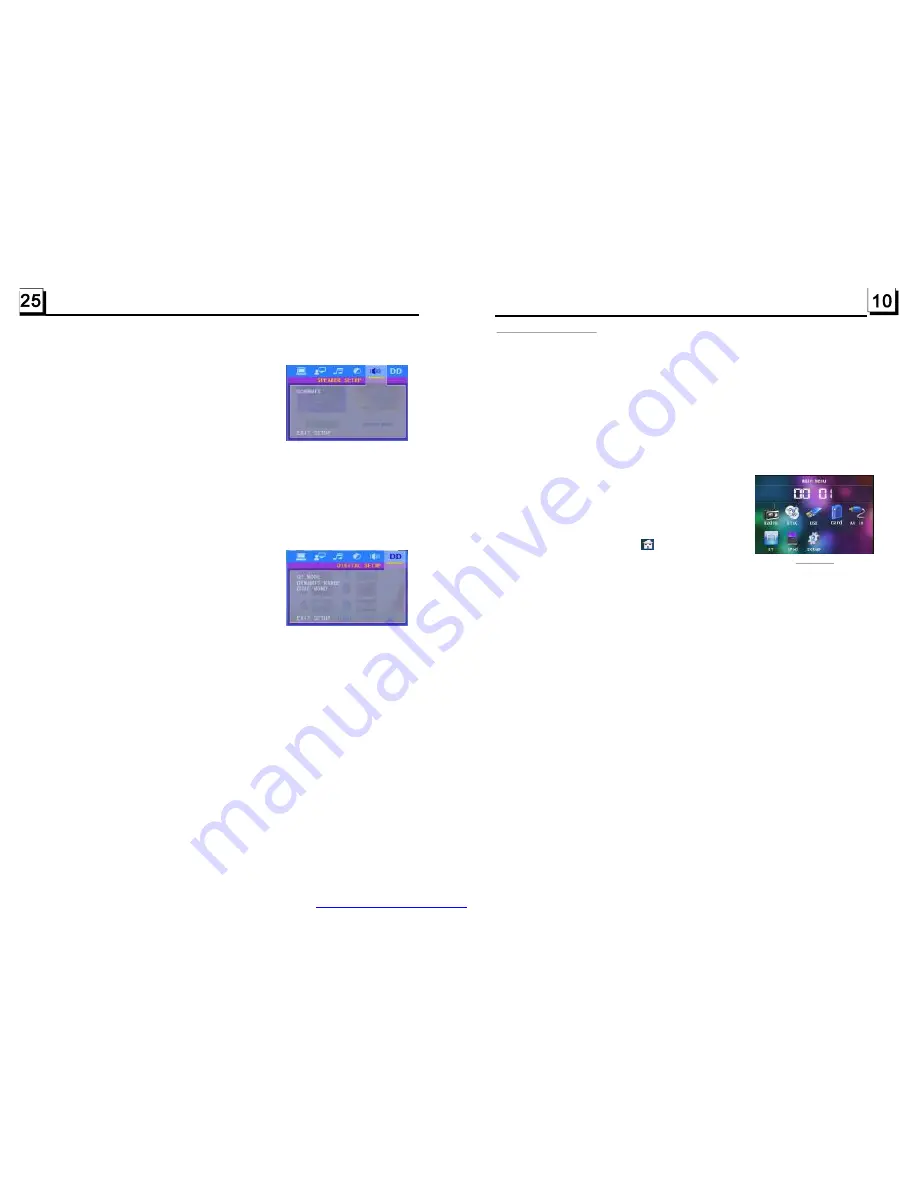
Press the MODE button to select RADIO, DISC
(After inserting a disc), USB(After inserting a USB
storage), CARD(After inserting a card), AUX,
BLUETOOTH or Ipod mode.
During playback, tapping the

icon after popping

up Keyboard interface can pop up Mode Menu as
right. then tap one icon in it to select your desired mode.

Note: This unit has front and rear USB. Only one will work at a time.

To adjust sound level

Rotate the VOL knob on the front panel or press or hold the + or - button on the
remote control to directly adjust the volume level.

To display clock time

Press the CLK button to display clock time on the small monitor of the front panel.

After sliding the monitor into the chassis, pressing the CLK button can display

clock time on the small LCD.

EQ mode

Press the EQ button on the remote control to select one of the preset music
equalizer curves: POP, ROCK, CLAS, FLAT. The sound effect will be changed.

Mode Menu

It is for selecting your desired sound effect
when there is not central speaker and subwoofer.
There are 3 mode: LT/RT, STEREO, VSS.
LT/RT: When playing a disc with PRO LOGIC

stereo effect, choose the item, so it will
output audio signal with vivid theatre effect.

STEREO: If you choose this item, when outputting

audio signal with 5.1 channels, it will output the left
and right channels of signal ; when outputting audio
signal with 2 channels, it will output the common 2 channels of stereo signal.

VSS: If you choose this item, when playing a disc recorded with 5.1 channels,

the main channel speaker s can output audio signal with VSS effect.

It is for selecting audio output mode
LINE OUT: It can linearly compress the

audio signal. So the volume level is lower.
You should select the item at night.

RF REMOD: It can make the volume level higher.

You should select it at daylight.

After selecting the compression mode of LINE OUT, set the item, so you can
adjust the linear compression ratio. If you set it to be FULL, the Peak-to-Peak
value of the audio signal is the minimum; if you set it to be OFF, the Peak-to-
Peak value is the maximum.

It is for selecting a desired audio output mode for the left and right ways of signal.
It is mainly for Karaoke of Ac3. There are 4 modes in all as follows:
STEREO, MONO L, MONO R, MIX MONO.

5.23.5 SPEAKER SETUP

DOWNMIX

5.23.6 DIGITAL SETUP

OP MODE

DYNAMIC RANGE

DUAL MONO

PDF created with FinePrint pdfFactory trial version 

http://www.pdffactory.com

Summary of Contents for BV9986BI

Page 1: ......

Page 2: ...garantizar la seguridad al manejar y cumplir con las leyes el conductor no debe ver videos ni operar ningun dispositivo de video PDF created with FinePrint pdfFactory trial version http www pdffactor...

Page 3: ...i d ad saque e l d i sco p r im e r o 3 No abra la cubierta o toque ninguno de los componentes expuestos fuera de la unidad son s lo para personal cuali cado 4 No exponga la unidad a la luz directa de...

Page 4: ...ucci n Con Velocidad 16 5 8 Reproducci n A Velocidad Lenta 16 5 9 Mostrar Fotogramas Paso A Paso 16 5 10 Reproducir Repetidamente 16 5 10 1 Repetir Uno Todo 16 5 10 2 Repetir A B 17 5 11 Reproducir en...

Page 5: ...o VCD Generalmente cada canci n de disco Karaoke es una pista 1 2 Precauciones Seguridad 1 Fuente de alimentaci n la unidad debe estar conectada a una fuente de alimentaci n s lo del tipo descrito en...

Page 6: ...istancia por primera vez re d el p r ot ector d e p l s code l mando a distancia en la direcci n indicada por la e cha ver g 1 2 Presione el bloque m vil sosteni ndolo en la direcci n indicada por la...

Page 7: ...BOT N MUTE 30 BOT N STOP 31 BOT N VOLUME 32 BOT N 33 BOT N OK 34 BOT N VOLUME 35 BOT N BAND 36 BOT N PROG 37 BOT N OSD 38 BOT N LOUD 39 BOT N STEP TEL 40 BOT N TA 41 BOT N AF 16 BOT N SEARCH 17 BOT N...

Page 8: ...NURA USB 7 RANURA TARJETA SD MMC 8 BOT N MODE 9 RUEDA DE VOLUMEN 10 BOTON 11 BOT N 12 BOT N 1 PLAY PAUSE 13 BOT N INT 2 14 BOT N RPT 3 15 BOT N RDM 4 16 BOT N 10 5 17 BOT N 10 6 18 BOT N BAND TEL 19 B...

Page 9: ...odr a parpadear La descripci n del diagrama de cableado para tipo 2 Descripci n para conectar la l nea del freno de mano al sistema del freno de mano del NOTAS 1 S lo podr an ser usados altavoces de 4...

Page 10: ...ICA DE INSTALACI N COMO SE INDICA A CONTINUACI N PARA REDUCIR SALTOS O DA OS EN LOS DISCOS POR FAVOR FIJE LAS LENG ETAS AL CHASIS DEL COCHE LENG ETA METALICA SALPICADERO COLLARIN leng etas de sujeci n...

Page 11: ...trasero solo funcionan uno a la vez 5 Para ajustar el nivel de sonido Gire la rueda de volumen del panel frontal o presione y mantenga los botones VOL o VOL del mando a distancia para ajustar directa...

Page 12: ...a banda de radio deseada de FM1 FM2 FM3 AM1 y AM2 y la banda seleccionada ser mostrada en el peque o monitor del panel frontal 3 BOTONES TUNE SEEK UP DOWN En modo RADIO 1 Presione y mantenga el bot n...

Page 13: ...grupo PTY est activo presione el bot n VOL o VOL para seleccionar uno de los programas PTY NOTICIAS DEBATE INFO DEPORTES EDUCACI N DRAMA CULTURA CIENCIA VARIADO TIEMPO FINANZAS NI OS SOCIAL RELIGI N T...

Page 14: ...programa de tr fico haya sido recibido 4 Operaci n de iPod 1 Entrar en modo iPod Al insertar el conector iPod en un iPod entrar en modo iPod y mostrara el men del iPod en la pantalla t ctil como se v...

Page 15: ...el conector USB conectado en la parte trasera de la carcasa Nota el icono es para archivos de audio el icono es para archivos de v deo el icono es para archivos de imagen Pulse el icono para ir al me...

Page 16: ...o Presione el bot n o durante la reproducci n para seleccionar siguiente o anterior cap tulo pista a reproducir Nota Presionando el bot n o m ltiples veces puede avanzar m ltiples cap tulos pistas hac...

Page 17: ...cidad hacia delante o hacia atr s a m ltiples velocidades como x2 x4 x8 x20 la velocidad normal Durante la reproducci n r pida presione el bot n PLAY para regresar a la reproducci n normal 5 8 Reprodu...

Page 18: ...sar las teclas de direcci n para iluminar el elemento tiempo luego use las teclas num ricas para introducir el tiempo de reproducci n deseado en el que quiere comenzar la reproducci n finalmente presi...

Page 19: ...tiempo de reproducci n del t tulo el tiempo restante del t tulo en reproducci n etc 2 En el estado de reproducci n VCD CD presione el bot n OSD en el mando a distancia repetidamente para activar desac...

Page 20: ...TA o reproducir el archivo seleccionado o reproducir solo este tipo de archivo Cuando se muestre el men ra z puede tambi n usar las teclas num ricas para seleccionar la serie num rica del archivo y re...

Page 21: ...o use las teclas de direcci n para iluminar SALIR y luego presione el bot n OK para salir del Men de Sistema Para el men sistema DVD hay 6 p ginas en total Se mostrar n como sigue 5 23 1 AJUSTE SYSTEM...

Page 22: ...ne el bot n para entrar luego use las teclas de direcci n para seleccionar el ratio de nivel deseado y presione el bot n OK para confirmar 3 Seleccione el elemento CONTRASE A de nuevo y luego presione...

Page 23: ...eo VSS si elije el elemento cuando reproduzca un medio grabado con 5 1 canales el canal principal de los altavoces puede sacar se al de audio con efecto VSS 5 23 6 AJUSTE DIGITAL MODO OP Es para selec...

Page 24: ...pantalla Si el nivel de ratio del disco es mayor que el ajustado en el reproductor DVD el reproductor DVD no puede reproducir el disco El nivel de ratio puede estar protegido por una contrase a Una v...

Page 25: ...n c digo nombrando un c digo regional Los c digos regionales y los pa ses o reas representadas por los c digos regionales son los siguientes Regi n 1 Am rica Canad Islas del Pac fico Este Regi n 2 Jap...

Page 26: ...que introduzca una contrase a introduzca la contrase a 0000 y a continuaci n pulse enter Entonces le dir que su par es Aceptado 3 En algunos tel fonos m viles se pueden conectar autom ticamente con e...

Page 27: ...amada aparece el n mero de tel fono 7 Para transferir el sonido de un archivo reproducido en el tel fono m vil al reproductor de sonido del coche En el estado de la conexi n entre los dispositivos Blu...

Page 28: ...e tv correcto esto es PAL NTSC DEFECTOS DE IMAGEN O SONIDO Compruebe si la configuraci n de SONIDO es correcta Compruebe que el disco no est ara ado o sucio Compruebe si el conector AV y el terminal d...

Page 29: ...gen Tipo de Imagen 16 9 and 4 3 Nivel Salida de Imagen Composite 1 0 0 2Vp p Impedancia 75 ohms Resoluci n horizontal 500 Especificaciones Sonido Salida de Sonido Sonido Anal gico 2 0 0 1 0 Vrms Frecu...

Page 30: ...ensure safety while driving and to comply with laws drivers should not watch video or operate the video device while driving PDF created with FinePrint pdfFactory trial version http www pdffactory co...

Page 31: ...t hand 3 Switch off the main power when the unit is not in use Disconnect the power plug from the power outlet when you do not intend to use the unit for a prolonged period of time Before moving the u...

Page 32: ...5 7 Playback with Speed 1 7 5 8 Playback with Slow Speed 17 5 9 Display Still Frame Step by Step 18 5 10 Playback Repeatedly 18 5 10 1 One All Repeat 18 5 10 2 A B Repeat 18 5 11 Playback in Scan Mod...

Page 33: ...allow the speaker wires to be shorted together when the unit is switched on Otherwise it may overload or burn out the power amplifier 4 Do not install the detachable panel before connecting the wire...

Page 34: ...PICTURE SOUND AND INDICATION Ensure that the power switch is on Ensure that the power cord is not damaged or the fuse is not blown Ensure that the power plug is connected to the inlet tightly NO SOUN...

Page 35: ...buttons 0 9 Press CLEAR button briefly to cancel the wrongly input number if necessary 2 Press TEL briefly to execute the dialling 5 3 To redial the last phone number dialled Press REDIAL button brie...

Page 36: ...the paired BT device and press the CONNECTION button When connection is ok the LCD of the car audio system will show LINK OK when pairing is failed press and hold the PAIR button on the remote contro...

Page 37: ...ith any ground connection BLACK ISO CONNECTOR GREY YELLOW YELLOW VIDEO RCA OUT PARKING LINE GREEN REAR VIEW CAMERA BLACK YELLOW REAR AUDIO RCA OUT GREY REVERSAL LINE WHITE WHITE L RED R Fixing Screw B...

Page 38: ...hange the Parent Control setting to higher rating level For the factory preset password of the DVD player The Parental Control function of a DVD player can control the playback of movie rated level in...

Page 39: ...To adjust sound level Rotate the VOL knob on the front panel or press or hold the or button on the remote control to directly adjust the volume level To display clock time Press the CLK button to dis...

Page 40: ...ory bank The AS operation is implemented in the each bank of the selected band When the AS operation is finished it will scan each preset station for 5 seconds in FM or AM band from M1 as briefly pres...

Page 41: ...Menu Press the or button to select an desired setup page 3 Press the or v button to select an setup item in the selected setup page 4 Press the button to enter the setup item Then press the v or butt...

Page 42: ...ect the IMAGE file sort icon press the or button to select the first IMAGE file then press the v button to select the desired IMAGE file finally press the OK or PLAY PAUSE button to display the image...

Page 43: ...red sequence 4 Use the direction button to move cursor onto Play item then press the OK button to play the programmed titles chapters tracks in programmed order only pressing the PLAY button also can...

Page 44: ...WMA CD discs the buttons are not available 1 When playing DVD discs press the AUDIO button repeatedly on the IR remote controller to select the desired language type depend on the media used 2 When pl...

Page 45: ...nt View Angle 5 15 Playback in Zoom Mode 1 When playing VCD PBC OFF CD discs press the INT button to play the previous 15 seconds part of each track on the disc Press the INT button again to resume no...

Page 46: ...o select your desired title and then press the OK or PLAY button to open the root menu of the selected title 3 Press the direction buttons to select your desired chapter finally press the OK or PLAY b...

Reviews: