background image

INSTRUCTIONS

INSTRUCTIONS

BASIC FUNCTION

You can touch this button under the Bluetooth mode to select the next mode.

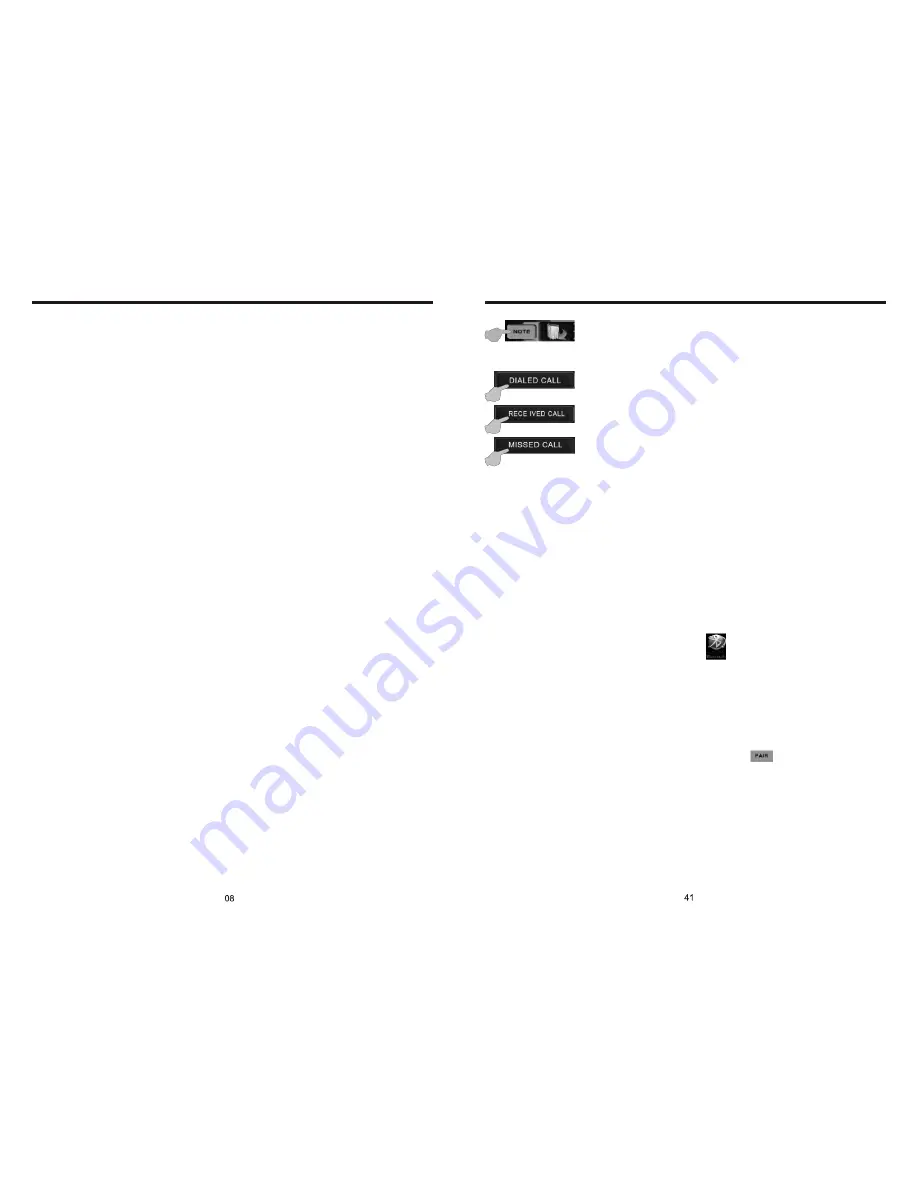
Contact book mode switching

Touch this function key to search the dialed numbers. Each time 
this key is touched, the cursor will move to the next dialed number.

Touch this function key to search the received numbers. Each time 
this key is touched, the cursor will move to the next received number.

Touch this function key to search the missed numbers. Each time 
this key is touched, the cursor will move to the next missed number.

1. Features of the Bluetooth function

1) You can use the function buttons on the unit to receive a call or dial a phone number.
2) You can directly use the hand-free microphone to talk on the phone.
3) You can use the build-in volume control switch to adjust the volume at will.
4) You can switch between the Bluetooth hand-free mode and the cell phone mode.
5) You can use your voice to dial a new number (valid only for cell phones with voice 
    dialing function).
6) With the Bluetooth function, you can use the Bluetooth microphone in the car to talk 
    with your folks and friends without having to hold your cell phone, so that your hands 
    are dedicated for driving, which is safer and law-observing. In the mean time, magnetic 
    radiation from the cell phone is avoided.

2. Bluetooth match conditions

You can shortly touch the Bluetooth function key         under the main menu to directly 
access the Blueetooth interface.
With a cell phone that supports the function of Blueetooth wireless connection, you can 
establish a connection between your cell phone and the automobile-loaded unit under the 
Bluetooth mode to achieve date exchange and synchronization.

3. Matching and connections between the cell phone and the Bluetooth of the unit

Set your cell phone to the Bluetooth mode, and use the cell phone to search equipments.
After the Bluetooth equipment of the unit is searched, the cell phone will ask you for the 
Bluetooth password. Press the unit matching setup button          , and enter the Bluetooth 
password (0000) and confirm it, and then the cell phone will ask you whether you authorize 
the connection with this equipment or not. Please select “YES”, and the cell phone will be 
automatically connected with the said Bluetooth equipment within 30 seconds. “OK LINK” 
will be displayed on the Bluetooth interface to show that a connection between the cell
 phone and the Bluetooth device has been successfully established. Under and mode 
(radio, TV, DVD, etc.), if there is an incoming call to your cell phone which has been stably 
connected to the Bluetooth device of the unit, the unit will switch from other mode to the 
Bluetooth mode after the cell phone rings for about 10 seconds. Current mode will be 
automatically restored after hang-up.

Operations and Settings for the Bluetooth Function

1. SOURCE Button

Press this button to power on. Press it shortly to switch audio source mode.
 At AUX IN mode, press it longer to power off.

2. MUTE / TFT on/off Button

Press this button to shut off the sound output, re-press this button can resume the sound
output, long press this button can turn off the TFT LCD display.

3. OPEN Button

Press this button can eject the disc.

4. VOLUME - Button

Press this button shortly increase volume level one step by one step. Press this button 
longer increase volume level continuously.

5. Button

Press this button shortly decrease volume level one step by one step. Press this button 
longer decrease volume level continuously.

6. DN Button

Press this button to make the LCD monitor down.

7. UP Button

Press this button to make the LCD monitor up.

8. AUX INPUT JACK 

External connected audio input.

9. MINI USB PORT

Connect the USB memory to this socket, and the unit can play music format files 
supported by this unit in the USB memory.

10. REMOTE CONTROL RECEIVER

It is able of receiving infrared signals launched by the remote control matching the unit.

11. RELEASE Button

Press this button to release the panel.

12. SD Input

Connect the SD memory card to this socket, and the unit can play MP3 music.

Summary of Contents for BV8965B

Page 1: ......

Page 2: ...Operation DVD Basic Operation VCD Basic Operation CD MP3 Basic Operation Music Surroundings Setting EQ Setting Audio Frequency Tone Other Play Mode Trouble Shooting Wiring Diagram Specifications Accessory BLUETOOTH Touch Operation BLUETOOTH Operation Setting Up 3 3 4 5 6 7 8 10 11 12 13 15 16 17 19 21 22 32 35 37 38 39 40 41 42 43 44 45 46 Bluetooth Enabled In Dash DVD MP3 CD Receiver With 7 Wides...

Page 3: ...y cause hearing issues You should play this unit at a moderate listen level 3 This unit is set up by precision parts If you open up this unit you will void any and all of your warranty 4 Please do not touch LCD display with any hard object so that you prevent it from getting scratched or damaged 5 To avoid an accident caused by watching the LCD screen This unit has a vehicle lock out wire so that ...

Page 4: ...d image Sound only Sound only 12cm 12cm 12cm 12cm INSTRUCTIONS INSTRUCTIONS Power supply Power range Max operate current Dimensions Ground system FM tuner European frequency range Signal Noisse ratio Stereo separation Search station volt Distortion rate AM tuner Limit noise sensitivity DVD PLAYER Signal Noise ratio Frequency response DC 12V 10 8 16 0V DC 10A 155X182X53MM Negative ground 87 5 108MH...

Page 5: ... playing music LCD DISPLAY 1 7 16 9 TFT LCD Display 2 Touchscreen WIRING DIAGRAM This player is equipped with ISO standard connector please follow below instruction Yellow 12 V Constant Black Ground wire Blue Power Antenna Remote Amp Turn On Orange Back Up Camera Trigger Pink Parking Brake White White black Left front speaker Purple Purple black Right rear speaker Green Green Left rear speaker Red...

Page 6: ...should start working correctly afterwards 2 After reset all settings will resume back to the factory default settings VOL BAS TRE L R F R INSTRUCTIONS INSTRUCTIONS TROUBLE SHOOTING After ignition switch off setting information all lose Remote control no function Poor performance of radio station Can not load disc Can not play disc Can not switch language subtitle No image PROBLEM Can not power on ...

Page 7: ...mera 1 If there is a back up camera installed onto your car you will need to connect it to the CCD video input 2 When you are backing up the car there you will see this image on your screen 3 You can set CCD image according to your car s own position in general setting mode PANEL ARRANGEMENT 1 SOURCE Button 2 MUTE TFT on off Button 3 OPEN Button 4 VOLUME Button 5 VOLUME Button 6 DN Button 7 UP But...

Page 8: ...phone will ask you for the Bluetooth password Press the unit matching setup button and enter the Bluetooth password 0000 and confirm it and then the cell phone will ask you whether you authorize the connection with this equipment or not Please select YES and the cell phone will be automatically connected with the said Bluetooth equipment within 30 seconds OK LINK will be displayed on the Bluetooth...

Page 9: ...s her name stored in the cell phone then the name of the person to be called will be played by the speaker and the telephone number of this person will be displayed on the screen and automatically dialed To cancel voice dialing If you wish to disable the voice dialing function in the voice dialing mode you can press the Voice dialing key again and this function will be disabled after you hearing t...

Page 10: ...D GPS POWER OSD SET TV CDC INSTRUCTIONS INSTRUCTIONS AUDIO FREQUENCY This function shows that the effect of standard audio output TONE Note You can change the timbre of the sound in DVD mode We suggest keep it in the original place This unit without CDC TV GPS function ...

Page 11: ...of afternoon OSD SETUP PIC 2 Exit Minute Hour Radio frequency setting RDS on off optional Time setting Note Touch corresponding function it will display in yellow words reminding and blue back ground reminding Remark This unit is with RDS function it will automatically adjust the time when you activate RDS function or have received RDS radio channels At no received RDS radio channels or AM state y...

Page 12: ...ST MODE PIC 3 Volume press button to adjust volume Sharp press button to adjust sharp sound high and low Bass press button to adjust bass level Back main menu Adjust front and rear speaker Adjust left and right speaker EQ mode From Rock POP Classic Off DBAS on off press once to DBAS on press again to DBAS off Loud press once off LOUD on press again to turn off Choose the best listening place this ...

Page 13: ...r of the song you want to program by the remote control program the first song input your desired song for example the sixth song and press number button 6 on the remote control Program the second song press button move the cursor to 2 Input your desired song for example the ninth song press number button 9 on the remote control Press button to program play Back to the normal mode press the ST PRO...

Page 14: ...ery Put battery into controller Insert battery holder into controller Slide in CD MP3 disc unit will play it automatically If disc is in slot press DVD touch button on main menu can to play 1 Repeat Play In CD MP3 mode press AMS RPT button on remote control to startup following repeat 2 Fast Forward Fast Rewind Press SEEK SEEK button on remote control or touch button on display to speed forward or...

Page 15: ...the control 2 PBC is suitable for the SVCD and VCD 2 0 disc 3 In PBC mode you can not press number button only to choose song 16 VCD Program Playing In VCD mode you can set playing sequence of songs by program play function The program playing operation steps are as follows In VCD mode press ST PTOG button display will show Input the songs which you want to programmed by the number buttons on remo...

Page 16: ...Note This function can only be worked by the remote control 10 Repeat Play In playing mode press AMS RPT button on remote control to startup following repeat function Single song repeat Repeat play off Note 1 When playing VCD disc if PBC is on no repeat function 2 After unit is power off or mode is switched to other playing mode except VCD mode if you switch back to VCD mode repeat playing will be...

Page 17: ...ol or touch button on display unit will play from the first song 3 Fast Forward Rewind Function In playing mode press SEEK button on remote control or touch button on display to speed play When you need quick back press SEEK button on remote control or touch button on display to quick back play Note Hold above button a bit longer to operate 4 Previous Next Song Play In playing mode press SEEK SEEK...

Page 18: ...eo mode When using this function the position will be darker on the screen DIGITAL SETUP LINE OUT RF REMOD OP MODE DYNAMIC RANGE DUAL MONO EXIT SETUP OP MODE DYNAMIC RANGE DUAL MONO EXIT SETUP OP MODE DYNAMIC RANGE DUAL MONO EXIT SETUP OP MODE DYNAMIC RANGE DUAL MONO EXIT SETUP OP MODE DYNAMIC RANGE DUAL MONO EXIT SETUP OP MODE DYNAMIC RANGE DUAL MONO EXIT SETUP STEREO MONO L MONO R MIX MONO DIGIT...

Page 19: ... this button each time it will automatically execute the following operation in an order of FM1 FM2 FM3 AM1 AM2 Press TA when TA is on it means the unit is automatically track RDS radio channels Press SEL to adjust other functions please refer to pic 3 In the radio state press APS button it will automatically seek radio channels in the whole band and preset the strongest radio channels For details...

Page 20: ...king RDS channel press this button shortly can cancel RDS function TA In RDS mode press this button can output TA signal and check RDS channel is exist or not if no RDS signal TFT will show NO TA TP 1 PTY RDS button press once will show music mode POP press 1 6 function memory button every group have 2 channel 2 Press PTY button twice and then press 1 6 function memory button every button have 3 c...

Page 21: ... unit has FM1 FM2 FM3 AM1 AM2 Bands Each band can store 6 stations so a total 30 preset stations Note After preset station unit will cancel the former preset stations 4 Mono Stereo Selection In radio mode press ST PTOG button on remote control or ST touch position on display to choose mono stereo program Note In radio mode start up the stereo function automatic touch the ST button again on the dis...

Page 22: ...UTO NTSC TV system Note This function can only be worked by the remote control 6 Slow Play Press SLOW button on remote control to slow play The level of slow playing is as follows Sequence is Note This function can only be worked by the remote control 7 Zoom In Zoom Out Press ZOOM button on remote control to zoom in zoom out the picture The levels are as follows Note 1 This function can only be wo...

Page 23: ...o select the L R or STEREO track 12 Multi Subtitle If the DVD disc is recorded with multi subtitle you can switch the languages of subtitle Press the sub t button repeatedly to change the language Note 1 It just can be worked by the remote control 2 It only for the DVD disc which is recorded with multi wubtitle 3 If there is a sign on the cover of the DVD disc means theat it has several subtitle 1...

Page 24: ...During auto browsing press pause button stop the screen press ZOOM button to zoom in or zoom out the picture During manual browsing you can press ZOOM button to zoom in or zoom out picture directly 4 Under zoom in picture you can move the picture by Note You can not move picture in normal mode and zoom out mode 17 Setup Press SETUP button display will show the system set up menu and the submenu se...

Reviews: