


Bosch Security Systems
Divar
| Installation Manual | Menu system
EN
| 5-7
T
IME
/D
ATE
>
•
Select a time zone from the list. (Daylight saving time is adjusted
accordingly.)
•
Fill in the actual time and date.
•
Select either a 12-hour or a 24-hour clock format.
•
Select from three date formats which show either the month (MM), the
day (DD) or the year (YYYY) first.
•
Set
Daylight Saving
to
Yes
to enable it. Fill in the day, month and time of
both change-overs and the offset if it differs from the information
associated with your time zone.
>> SYNCHRONIZE
•
Use the
Synchronize
function to set the time of the unit from the time of
the network. (Synchronize only works if the Divar time is within 7½
minutes of the server time.) Fill in the IP address of the network time
server.
•
The time and date of all other connected units are automatically
synchronized every hour from the time and date of the unit with DVR
ID 1.
V
IEW
S
ETTINGS
>
The
View Settings
menu allows you to set up the display of the individual
cameras. You can also set the sequence in which the cameras are displayed and
the duration. Use the
Configure Monitors
submenu to set up the monitor
displays.
>> CAMERA SETUP
Use the
Camera Setup
menu to access the submenus for setting the camera
names, for locking cameras and for controlling cameras.
>>> Camera name
•
Select a camera by pressing a camera key on the unit. The number
of the camera is the number of the connector at the rear of the unit
to which it is connected.
•
Enter a name for the selected camera. The name can be up to 16
characters long.
>>> Camera lock-out
•
Locked cameras are not visible during normal use.
•
Place a check mark under the number of the camera you wish to
lock or press a camera key on the unit to switch the lock on or off.
•
Select the
Set Password
submenu and fill in a 4-digit password to
restrict access to the camera lock-out menu.
>>> Camera control
•
Set the
Auto Camera Contrast
to
On
to let the system
automatically adjust the contrast for each camera.
•
If you set the
Auto Camera Contrast
to
Off
, you can access the
Adjust Contrast
submenu.
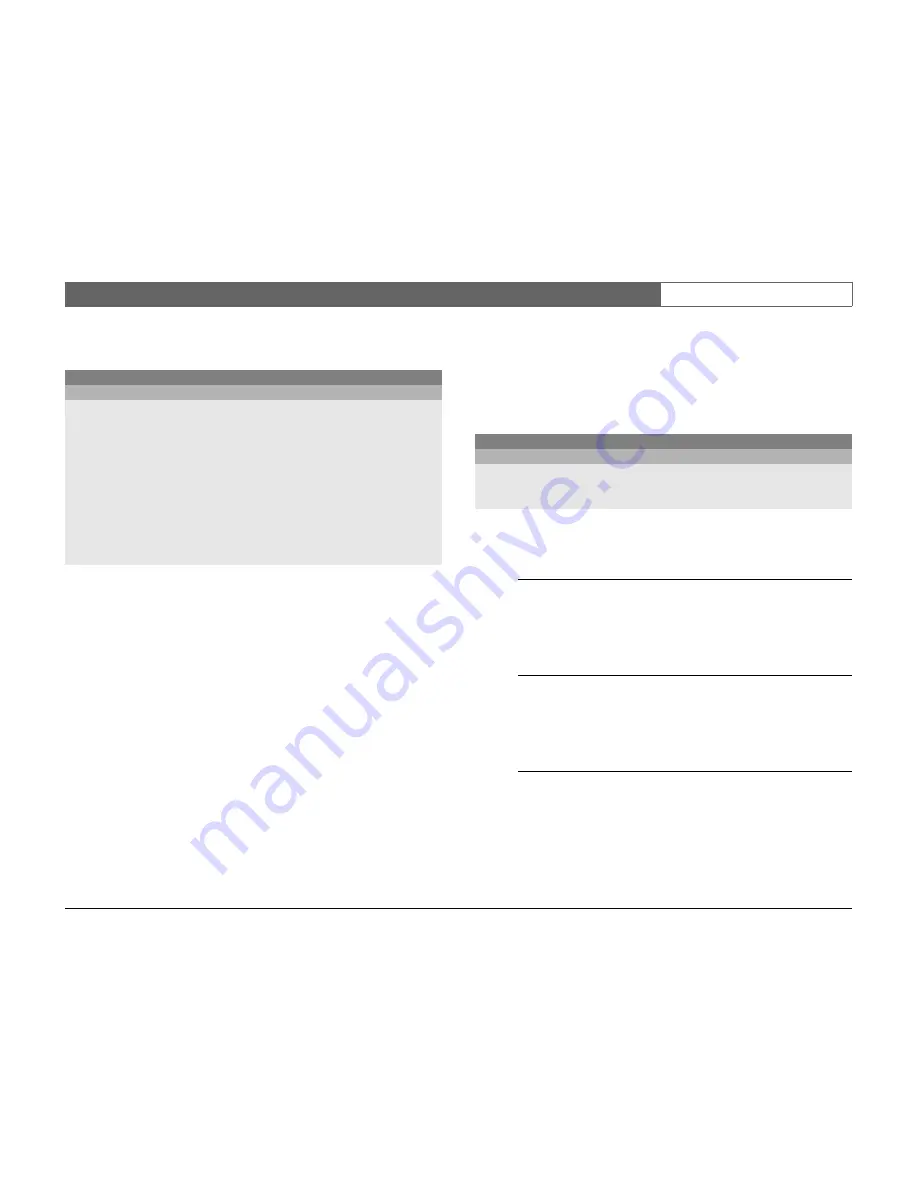
MAIN MENU
TIME/DATE
TIME ZONE GMT
+01:00 WEST-EUROPE
TIME FORMAT
24 HOUR
TIME
14:00:17
DATE FORMAT
YYYY-MM-DD
DATE
2002-06-19
SYNCHRONIZE
>
DAYLIGHT SAVING
YES
START DATE/TIME
LAST SUN MAR 02:00
END DATE/TIME
LAST SUN SEP 03:00
OFFSET
01:00
MAIN MENU
VIEW SETTINGS
CAMERA SETUP
>
SEQUENCES
>
CONFIGURE MONITORS
>
Summary of Contents for Divar
Page 1: ...Divar Digital Versatile Recorder Installation Instructions EN ...
Page 2: ......
Page 42: ...Bosch Security Systems Divar Installation Manual Hardware setup EN 4 10 ...
Page 58: ...Bosch Security Systems Divar Installation Manual Menu system EN 5 16 ...
Page 66: ...Bosch Security Systems Divar Installation Manual Using the Configuration Tool EN 6 8 ...
Page 78: ...Bosch Security Systems Divar Installation Manual Technical specifications EN 8 4 ...
Page 79: ......


