Do Not Duplicate, Alter, or Copy without the Express Written Consent
of BlueSky Mast, Inc. Copyright 2015 BlueSky Mast, Inc. All Rights Reserved
AL2 Lift Series
Quick Reference Sheet
-
Primary and Secondary Guying
DEPLOYMENT
Read Manual Before Use
Refer to detailed instructions in the
AL2 Lift Series Manual at all times
39
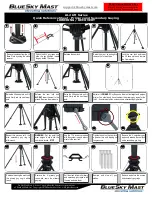
Confirm that the cable is taut
and the cam lock is locked.
Incremental Guying:
Loosen the guy ropes based on the length of the pole below the cam lock. See examples
above. If the length of the pole under the cam lock is 1 foot - slide the handle back 1 foot on each of the 4
primary guy ropes. This will allow you enough room to raise the mast and prepare to deploy the next pole.
Confirm the mast is straight and
the primary guy ropes are taut.
40
37
Raise the mast until 4 inches is
showing below the cam lock
and
LOCK THE CAM LOCK.
Make sure all 4 primary guy
ropes are taut and the mast is
straight.
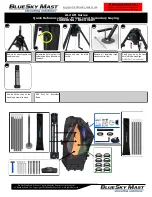
Lower the lift base plate, insert
a mast pole and raise it until the
poles nest together.
One at a time, slowly loosen the primary guy ropes by holding the guy
rope in front of the handle and sliding the handle back approx. 4 ft.
Doing this will give you enough slack to add another mast pole.
NOTE:
The mast will lean, but
will straighten up as you raise
the next mast pole.
When the primary guy ropes go taut or if the mast begins to lean exces-
sively - Stop and Lock the Cam Lock. Now adjust all 4 PRIMARY GUY
ROPES and make sure the mast is straight and perpendicular.
Adjusting the Primary Guy Ropes
Hold the rope in front of the guy handle and slide the handle back to
loosen or forward to tighten.
Raise the mast until the primary
guy ropes go taut.
Incremental
guying may be required.
Release the cam lock and raise
the mast until the 4 primary guy
ropes go taut.
Lower the last pole to the
ground and lock the cam lock.
Adjust the 4 primary guy ropes
and make sure the mast is
straight and perpendicular.
Repeat this process until you
have deployed all mast poles.
38
41
42
43
44
45
46
47
48
49
50
51


