!
15
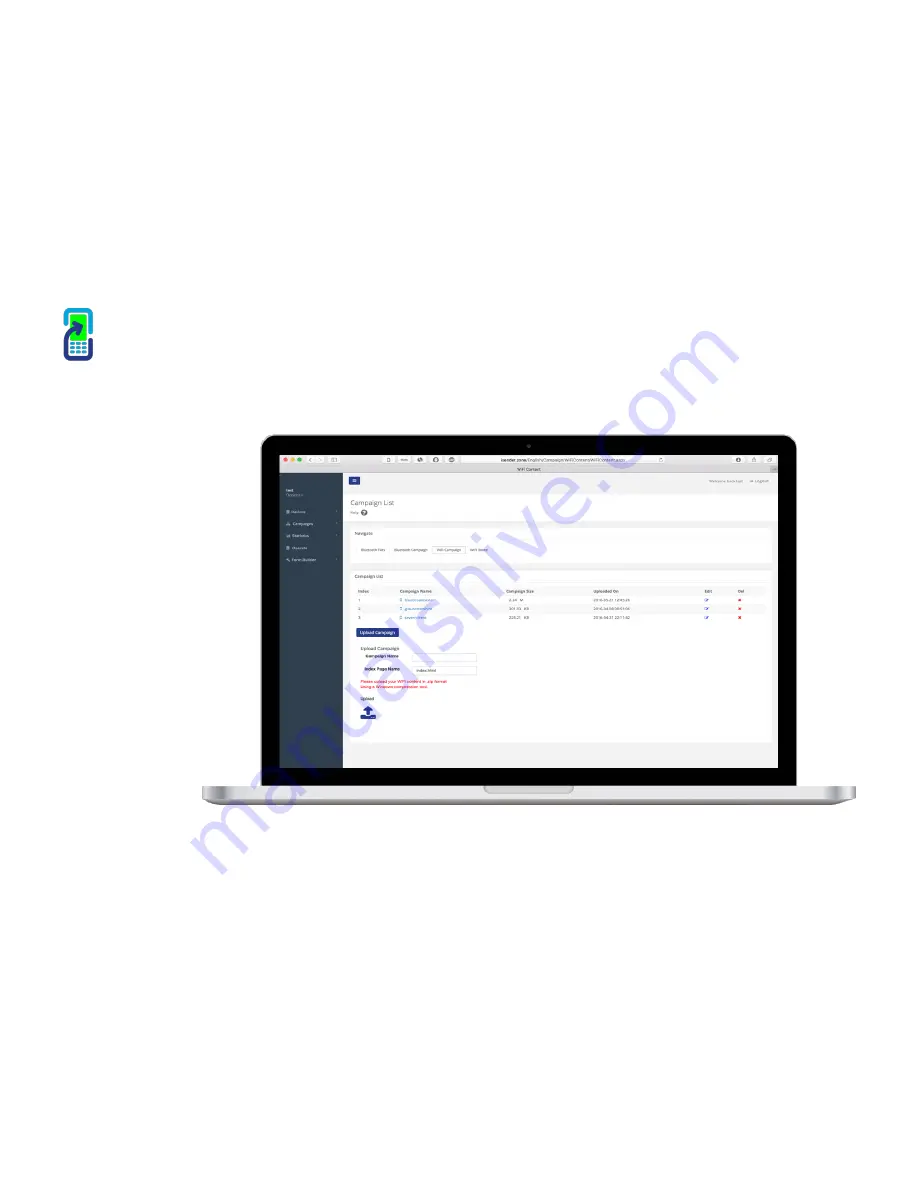
To create a new WiFi campaign you must first upload the content or file that you want to send out to the portal.
To do this simply click on the
‘Campaigns’ main menu,
then ‘WiFi Campaign’.
Complete the Campaign
name field and the ‘Index
Page Name’ field.
The ‘Index Page Name’ field
must be ‘index.html’ and a
file called index.html must be
contained in your HTML
content and zipped up.
When done, click on the
‘Upload Campaign’ button
to select the zip file you want
to send out from your
computer.
NB: WiFi Marketing will only
work in certain file formats
so be sure that your content
is in an HTML format.
Please ensure that the
HTML content you want to
upload is zipped in a
Windows compression tool.
So the file you
upload ends in
the .zip
format.
Once completed you will see the campaign populate in your campaigns list. You can also check its working by clicking on the small phone icon on the left of
your campaign name. When the phone pop up opens you should see your content showing in there if its correct.
iSender Portal
Campaigns - WiFi Campaign


