


B. VGA Input
Choose PC-RGB input, and connect projector with VGA device as below
.
3. Select relevant icon and enter into the submenu.Movie for video files
Photo for picture files Music for audio file display TEXT for txt files display.
4. Press “OK” to choose the files you need to play, and press “
▶||
To
display.
If you want to play certain files,press “OK” to confirm, and then press
▶
||
to display.
”
Switch to projection by computer:
Win 7 system: press"Fn"+”P”
Other system: press"Fn”+”F*”
Please Google for details.
During operation the 5V USB port can be used to charge a cellphone or tablet.
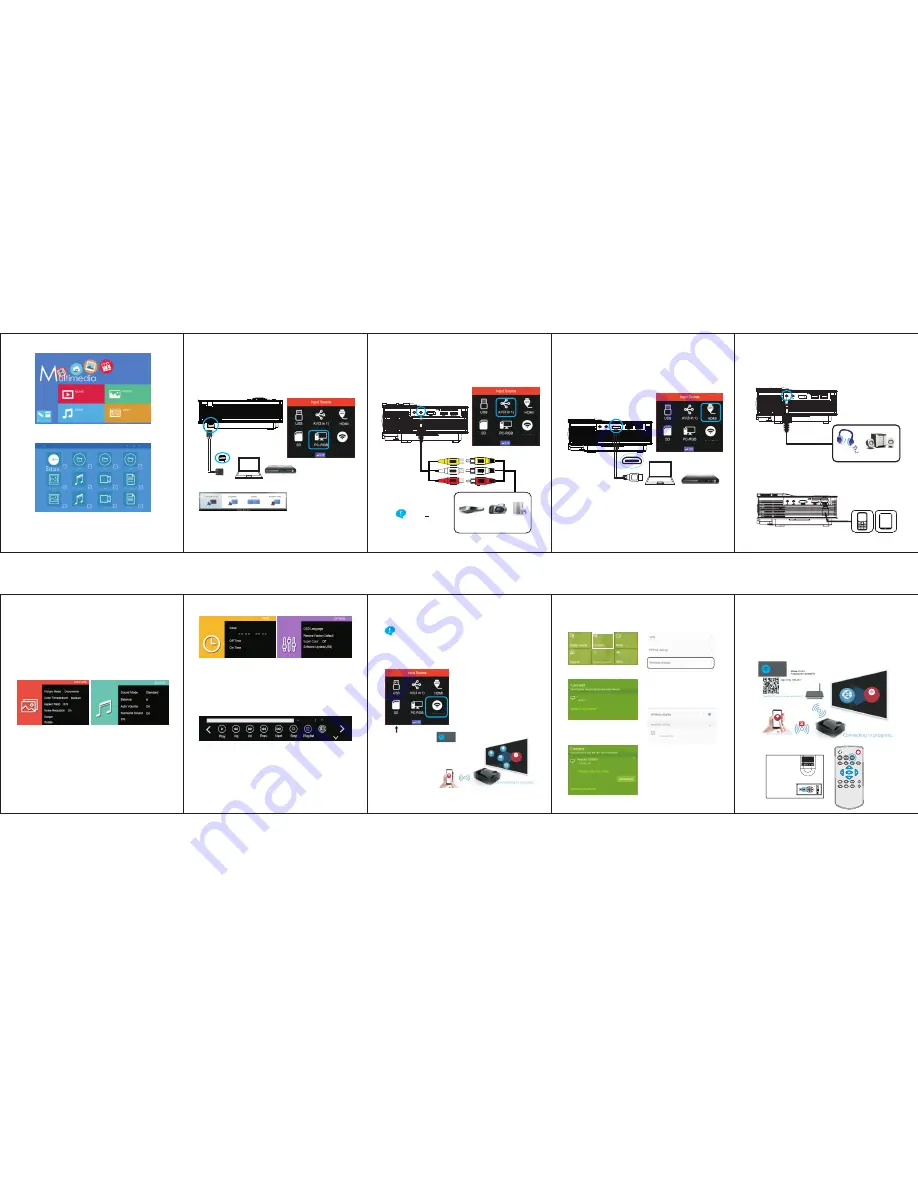
C. AV Input
Choose AV input, and connect projector as
shown below. Supports both PAL and NTSC input.
D. HDMI Input
1. Choose HDMI input, then connect projector as shown below
2. Format
Support:576P480P720P1080P640*480 800*600 1024*768 1280*720
1440*900 1920*1080 1366*768 1280*800 1440*960 1600*1200 1680*1050.
This projector supports MHL cable and I-push connections.For a detailed
setup guide please refer to the related MHL or I-push device user guide.
,
,
,
,
,
,
,
,
,
,
,
,
,
,
E.
Audio Output
Can connect with 3.5mm head phones or audio devices.
F.
Other Connection
While working, 5V out can be used to charge cellphone or tablet .
OSD Menu Functions
B. Menu Item
Picture Menu
:
Available adjustments are:
picture mode, color temperature
aspect ratio, noise reduction,
screen and rotate.
Audio Menu
:
Available adjusting items are:
Sound mode, balance, auto
volume, surround sound and EQ.
A. Operation
Press “Menu” on the remote control, or “
三
”on the projector to get
OSD,
and then press “
◀/▶
until you get right menu. Use“
▼/▲
”to choose the
submenu you need to adjust.
”
Time Menu
Available adjusting items are:
Clock, off time, on time
:
While playing videos by USB or SD, press the “OK” button to enter the
submenu. In this
menu you can adjust playback and other settings.
Setup Menu
Available adjusting items are:
OSD Language
Restore Factory Default
Super Color
Software Update(USB)
:
Wireless Display
Wireless display function works on mobile devices with Android,
windows 8.1,IOS systems and macbook, DOES NOT support PC
or laptop with windows system. Please make sure your devices
support wireless display or airplay.
Step1: Press Input
and select BW-
Link mode, enter
BW-Link page.
For Android & Windows Phone
Step 2: You will see a page with
Mode(Miracast/DLNA) and
SSID, stay at Miracast page
and go to your mobile Devices.
If it’s not Miracast Mode, press
OK to switch, please wait for
few seconds till it’s changed.
b.Then click find device to begin
connection setup.
c.When connection succeeds,
mobile screen content will be
displayed on both your mobile
and projector.
For Android Phone
b.Go into this function and turn it
on, your mobile will begin searching
for BW-Link devices. Click the
BW-
Link device to begin connection.
Step 2: Stay at the mode DLNA with SSID and password (Press OK to
switch from Miracast), then go to your mobile devices.
Step 3:
For Windows Phone
Yellow Video
White - Audio
Red - Audio
-
Yellow
white
red
Video
Audio
Audio
High Definition Component
Video Input
Analog Audio Output
c.When connection succeeds,your
computer screen content will be
displayed on both your computer
and projector.
For IOS Devices(iPhone & Macbook):
Step 1: Press Input and select BW-Link mode, enter BW-Link page. Make
sure your ISO version supports Airplay function.
BW-Link
BW-Link
BW-Link
BW-Link
BW
-Link
WI-FI Ready
SSID
:
BW-Link-1E000CE
Mode:Miracast
BW
-Link
WI-FI Ready
BW-Link-XXXXXXX
BW-Link-XXXXXXX
SSID
:
BW-Link-1E000CE
BW
-Link
WI-FI Ready
BW
-Link
WI-FI Ready
BW
-Link
WI-FI Ready


