3
SETTING UP THE BLISSLIGHTS SPRIGHT SMART
Before operating your Spright Smart, please read the “Before you Begin” section and “Notice” section of this
user guide.
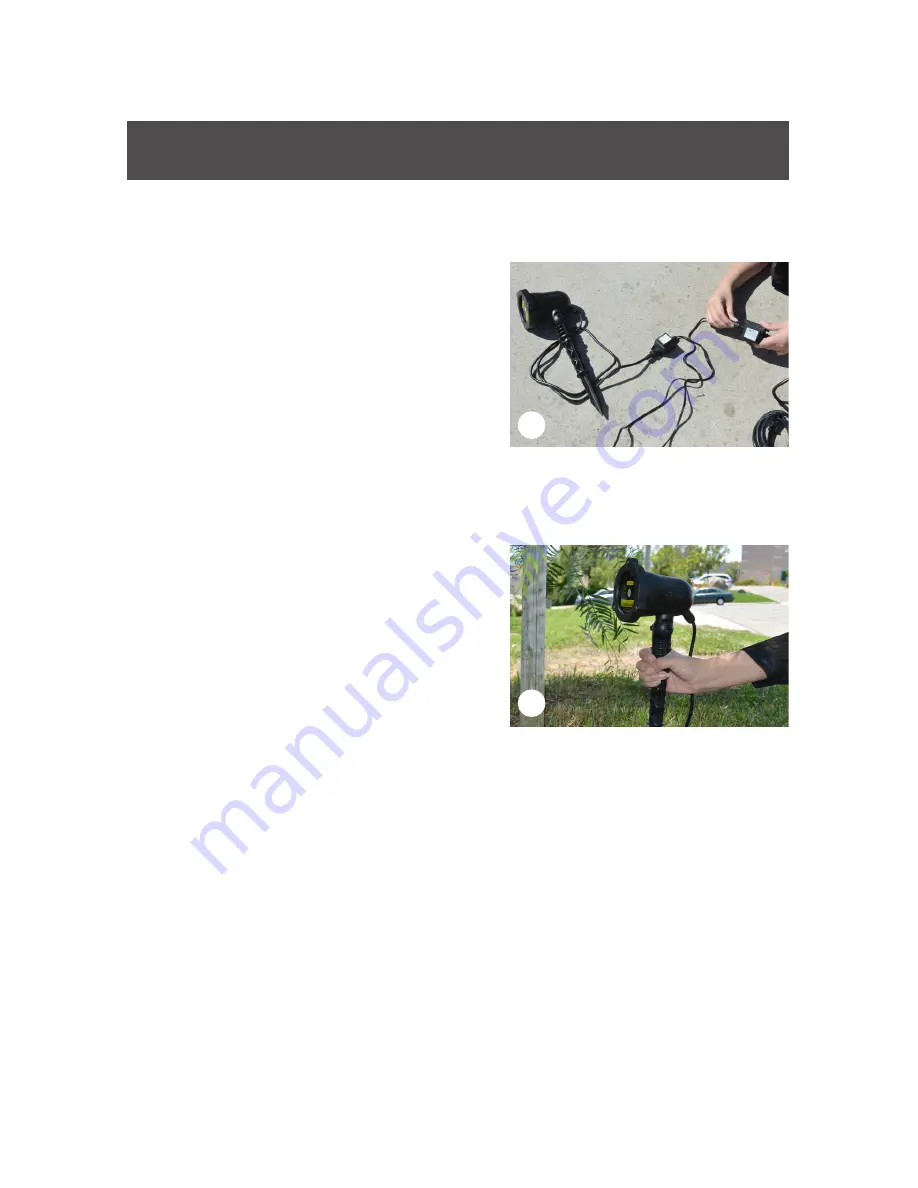
STEP 1 : First locate the 2-prong plug
connected to the cable exiting the
BlissLights Spright Smart head. If using the
timer, plug this end into the matching hole
on the end of the timer and screw the cap
on to complete the water tight seal. Then
plug the two prong connector on the timer
into the matching holes on the end of the
12V Manufacturer provided transformer.
Screw the cap to complete the water tight
seal. Next plug the standard 3-prong plug
on the other end of the transformer into an
outdoor/Indoor outlet.
STEP 2 : Stake the BlissLights Spright Smart
into the desired location. To attach or
detach the stake, twist the stake into place
on the bottom of the Spright Smart.
Do
not use fixture head to stake light into
the ground, grasp by stake only
. Use the
thumb screw on the side of the fixture to
adjust the angle.
INSTALLATION TIPS
•
For scheduled or nighttime-only operation, use with a timer. Do not connect the
light to a dimmer pack, it will damage the light. Use with manufacturer provided
transformer only.
•
The darker the area the light is being used in, the brighter the projection. Try to stay
away from areas with street lights or other bright lights.
•
If you are going to hang the BlissLights Spright Smart, it is recommended that, for
safety purposes, your lights are properly mounted using a suitable hanging clamp and
safety cable.
•
The BlissLights Spright Smart will cover an area of about 30’ X 30’ for every 10 feet
away from surface (equivalent to the size of about 2 two-car garages).
1
2
Summary of Contents for Spright Smart
Page 9: ......


