background image

18

www.blaubergventilatoren.de

KOMFORT LE

TECHNICAL MAINTENANCE

Regular technical supervision and maintenance of the unit are required to 

ensure the product long service life and non-stop operation. 

Disconnect the unit from power mains prior to any maintenance 

operations.

Warning! Consider the unit sharp edges! Fulfil maintenance 

operations in work gloves! 

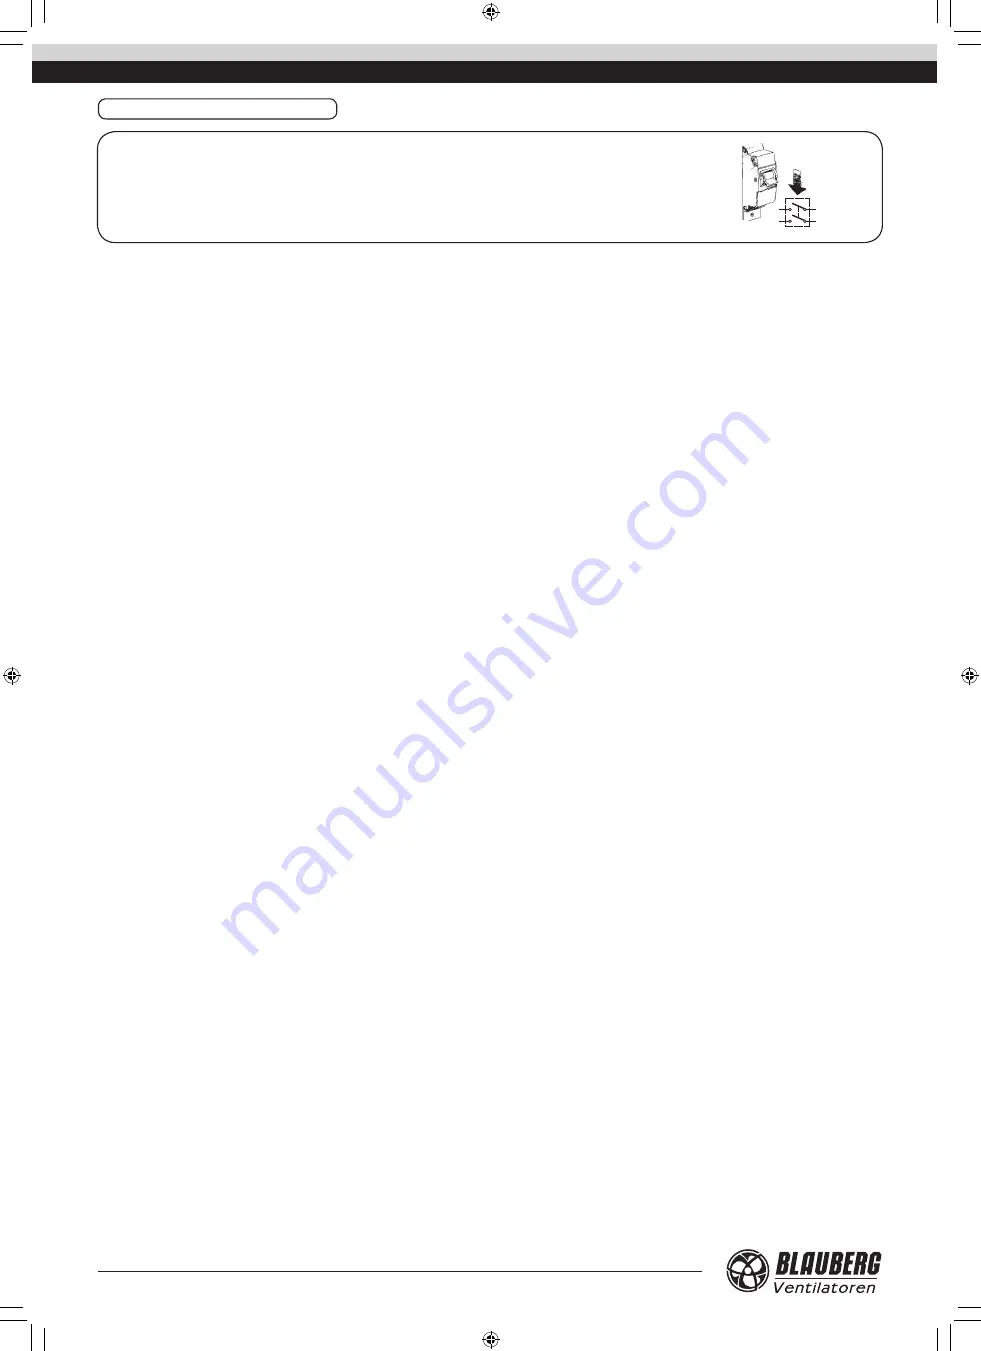
QF

WARNING!

Cut power supply to the unit off by turning the automatic electric switch QF to OFF position prior to 

any maintenance operations. Take steps to prevent re-activation of the automatic switch.

Fulfil the unit maintenance 3-4 times per year. 

The unit technical maintenance includes regular cleaning and other works:

1. Filter maintenance (3-4 times per year).

Dirty filters increase air resistance and decrease air capacity of the unit. Clean the filter with a vacuum cleaner or flush it with water. After two consecutive 

cleanings the filter must be replaced. Install dry filters only!  Contact a local distributor for the filters stated above in the section «Technical data». 

Dirty filters are not considered as a warranty case!

Replace immediately humid and mouldy filters!

2. Heat exchanger maintenance (once per year). 

The heat exchanger must be regularly cleaned to maintain high heat exchanger efficiency even in case of the regular filter cleaning. 

Clean it with warm detergent solution. Remove the heat exchanger from the unit and flush it with warm detergent solution. Install the dry heat exchanger 

back to the unit. 

3. Fan maintenance (once per year). 

The regular filter cleaning may not completely prevent the dust ingress into the unit, which results in the unit capacity decrease. 

Clean the fan with a soft cloth or a brush. Cleaning with water, abrasive detergents, sharp object or chemicals is not allowed. 

4. Condensate drain system maintenance (once per year). 

Extract air particles may accumulate in the condensate drain system and cause its clogging. Pour a drain pan under the unit with water to check free water 

flow. Clean a U-trap and the drain system if required. 

5. Supply air flow control (twice per year). 

Check the supply grille and remove foreign objects to maintain free air intake. 

6. Air ducts maintenance (once in 5 years).

The regular unit maintenance in compliance with the above rules may not completely prevent dust ingress into the air ducts which may result in air flow 

decrease. The air duct maintenance consist in periodical cleaning or replacement. 

7. Exhaust grilles and intake diffuser maintenance (as required).

Remove the exhaust grille and the intake diffuser and flush those with warm detergent solution.

Check the ductworks thread connections periodically.

KOMFORT_LE_v2(2)_EN.indd   18

10.08.2015   12:00:53

Summary of Contents for KOMFORT LE Series

Page 1: ...OPERATION MANUAL KOMFORT LE AIR HANDLING UNIT WITH HEAT RECOVERY KOMFORT_LE_v2 2 _EN indd 1 10 08 2015 12 00 42 ...

Page 2: ...sign 4 Operating logic 4 Delivery set 5 Technical data 6 Mounting 10 Condensate drainage 11 Control panel mounting 11 Connection to power mains 12 Unit control 17 Troubleshooting and fault handling 18 Technical maintenance 19 Acceptance certificate 19 Connection certificate 19 Warranty card CONTENTS KOMFORT_LE_v2 2 _EN indd 2 10 08 2015 12 00 42 ...

Page 3: ... Transportation of the unit is allowed by any vehicle provided the unit is transported in the original package and is protected against weather and mechanical damages Use hoist machinery for handling and transportation to prevent possible mechanical damages of the unit Fulfil the requirements for transportation of the specified cargo type during cargo handling operations Store the unit in a dry an...

Page 4: ...e actuated at 90 C with manual restart The built in G4 extract cassette filter and F7 supply cassette filter provide efficient extract and supply air filtration The unit includes an integrated control system a multifunctional control panel with LCD display The delivery set includes a 10 m long cable for connection of the control panel to the unit For KOMFORT LE 350 3 LE600 4 unit the terminal bloc...

Page 5: ...PM min 1 1150 1100 1100 1350 1650 1850 1100 1150 Sound pressure level at 3 m distance dB A 24 45 28 47 28 47 32 48 48 60 49 65 Transported air temperature C from 25 up to 55 from 25 up to 50 from 25 up to 50 from 25 up to 55 from 25 up to 45 from 25 up to 40 from 25 up to 45 from 25 up to 40 Casing material aluzinc aluzinc Insulation 25 mm mineral wool 25 mm mineral wool Extract filter G4 G4 Suppl...

Page 6: ...100 119 111 KOMFORT LE500 3 996 403 954 149 1057 554 497 100 119 111 KOMFORT LE530 4 996 403 954 159 1057 554 497 100 119 111 KOMFORT LE600 4 996 403 954 199 1057 554 497 100 119 111 A C E F G B ØD H I K M L Model Dimensions mm A B C D E F G H I K L M KOMFORT LE800 9 1117 460 1071 249 1176 832 698 613 80 126 154 386 KOMFORT LE1200 9 1117 460 1071 249 1176 832 698 613 80 126 154 386 KOMFORT LE1700 ...

Page 7: ...may reduce air flow The mounted air ducts must not be deformed Provide airtight connection of the air ducts to the unit spigots and fittings The unit mounting position must provide condensate drainage and access to the terminal box for electric connection and access to the service panel for maintenance and filter replacement While mounting install a ventilation grille an outer hood a disk valve or...

Page 8: ...unting connect each unit to an individual U trap Direct condensate withdrawal with no connection to the drain system is not allowed Fig 7 Condensate drainage m in 3 drain pipe U trap sewage system connecting hose connecting hose min 3 А В А В 60 mm CONNECTION TO POWER MAINS WARNING Read the operation manual prior to any electric installations Connection of the unit to power mains is allowed by a q...

Page 9: ...n is placed inside of the terminal box The terminal clamp marking corresponds to the marking on the wiring diagram Route the cables to the terminal box through the cable lead in on the unit side panel to preserve the electrical protection class The fixed electrical wiring must be equipped with an automatic switch that is used for connection of the unit to power mains with a gap on all poles at lea...

Page 10: ...k 3 1 Remove the data cable 2 Route the cable to the control panel installation place 3 Install the control panel fig 10 as follows 3 1 Route the cable through the opening in the bottom cover 3 2 Fix the bottom cover of the control panel in the installation place The screw head must not be in contact with the control panel circuit board otherwise the equipment may be damaged 3 3 Strip the cable fo...

Page 11: ...ck the operation parameters In case of emergency like heater overheating communication circuit break the control system is cut off and the alarm information is displayed on the control panel The filter replacement warning is shown on the display with set periodicity All user settings are saved in the non volatile storage of the control panel The temperature sensors are supplied pre wired The conne...

Page 12: ...n mode confirmed by the blinking green LED light indicator and turns off in 2 minutes The parameters are selected and edited via the user menu see below Unit shutdown procedure Shutdown of electric heating elements Changeover to low speed and running with low speed for 2 minutes Activation of Heater blowing mode The green LED light is blinking This mode is used for cooling of the electric heating ...

Page 13: ...m the main window press Temperature setting Service menu Speed stage Navigation between the menu items use the buttons press or press Back one level and entering the main window press Entering the current menu item for editing press 5 1 Main menu Is used to edit the most important operating parameters 5 1 1 Temperature setting Entering the menu item Temperature setting select the required item pre...

Page 14: ...n of the warning signal from the control panel The factory setting is 99 days Entering the menu item Service menu select the required item press Temperature setting Service menu Speed stage Entering the menu item Filter replacement timer select the required item press Clock and calendar Day Timer Filter replacement timer Editing the time period set the required value Filter replacement after days ...

Page 15: ...dule If this mode id activated the unit turns on in set time operates in compliance with set parameters with automatic fan speed and temperature control according to set parameters of week schedule Main window with activated week timer is displayed as follows room set Vent Н Heat Entering the menu item Service menu select the required item press Temperature setting Service menu Speed stage Enterin...

Page 16: ...nger freezing this way In case of the heat exchanger freezing danger the bypass damper located in the supply air side is opened The supply air flows through the bypass damper and the extract air flows through the heat exchanger and heats and frozen heat exchanger surface After defrosting of the heat exchanger and increase of the extract air temperature the bypass damper os closed and the supply ai...

Page 17: ...es not start when the unit is on No power supply or wrong connection to power mains Connect the unit to power mains Troubleshoot the connection error Jammed motor soiled impeller blades Remove the motor jam clean the impeller blades Automatic switch tripping Short circuit in power grid Turn the unit off and contact the unit seller for troubleshooting Low air flow Too low set speed Set higher speed...

Page 18: ...at exchanger efficiency even in case of the regular filter cleaning Clean it with warm detergent solution Remove the heat exchanger from the unit and flush it with warm detergent solution Install the dry heat exchanger back to the unit 3 Fan maintenance once per year The regular filter cleaning may not completely prevent the dust ingress into the unit which results in the unit capacity decrease Cl...

Page 19: ...ation of the laws of the Member States relating to electromagnetic compatibility This certificate is issued following test carried out on samples of the product referred to above Approval mark Manufacturing date ____________________ Company Name Date Signature The air handling unit with heat recovery KOMFORT LE350 3 KOMFORT LE500 3 KOMFORT LE530 4 KOMFORT LE600 4 KOMFORT LE800 9 KOMFORT LE1200 9 K...

Page 20: ...www blaubergventilatoren de KOMFORT LE v 2 2 EN KOMFORT_LE_v2 2 _EN indd 20 10 08 2015 12 00 53 ...

Reviews: