Polishing/Sanding
MODEL
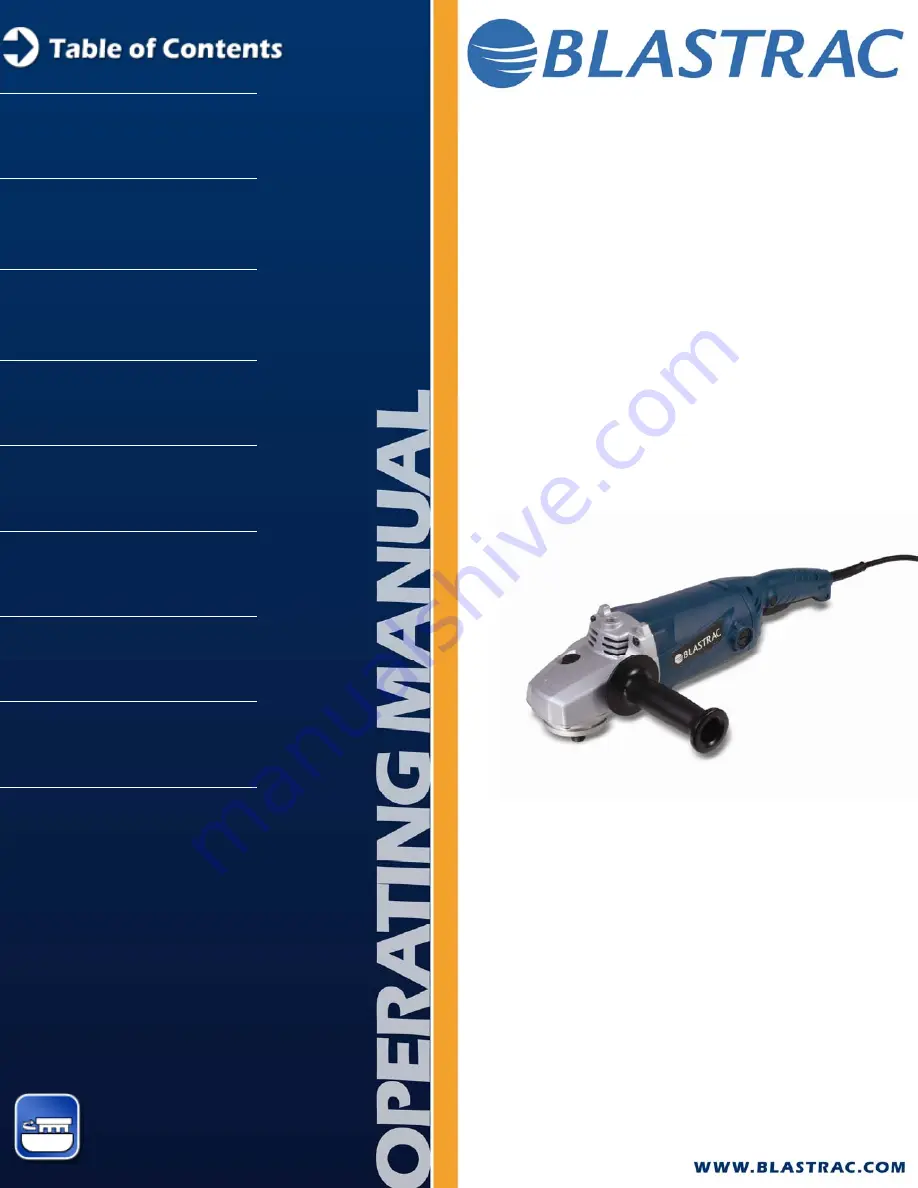
BL-183 / BL-233
Sander/ Polisher
General Safety Rules
1
Specific Safety Rules
2
Symbols 3
Additional Safety Rules 4
General Information
5
Functional Description
6
Operation 7
Maintenance 8
Page 1: ...hing Sanding MODEL BL 183 BL 233 Sander Polisher General Safety Rules 1 Specific Safety Rules 2 Symbols 3 Additional Safety Rules 4 General Information 5 Functional Description 6 Operation 7 Maintenan...
Page 2: ...ipes radiators ranges and refrigerators There is an increased risk of electric shock if your body is earthed or grounded c Do not expose power tools to rain or wet conditions Water entering a power to...
Page 3: ...e power source and or the battery pack from the power tool before making any adjustments changing accessories or storing power tools Such preventive safety measures reduce the risk of starting the pow...
Page 4: ...ol g Do not use a damaged accessory Before each use inspect the accessory such as abrasive wheels for chips and cracks backing pad for cracks tear or excess wear wire brush for loose or cracked wires...
Page 5: ...to climb out or kick out The wheel may either jump toward or away from the operator depending on direction of the wheel s movement at the point of pinching Abrasive wheels may also break under these...
Page 6: ...2008 Safety Warnings Specific for Polishing Operations a Do not allow any loose portion of the polishing bonnet or its attachment strings to spin freely Tuck away or trim any loose attachment strings...
Page 7: ...er to ensure prevention of life and injury Follow these instructions and take special care in these circumstances In addition to these instructions the general safety precautions and accident preventi...
Page 8: ...UAL OCTOBER 2008 Indications where consultation with the manufacturer is required Instructions relating to periodic checks Reference to important instructions contained in the Operating Instructions W...
Page 9: ...utlet only one way If the plug does not fit fully in the outlet reverse the plug If it still does not fit contact a qualified electrician to install a polarized outlet Do not change the plug in any wa...
Page 10: ...regarding awareness of safety and hazards Personnel must tie back long hair and not wear loose clothing or jewelry including rings There is a risk of injury through items getting caught or being drawn...
Page 11: ...ntenance work c Make sure that only authorized personnel operate or work on the machine d Define responsibilities of the machine operator with regard to traffic safety regulations and inform him not t...
Page 12: ...in tools with care Keep cutting tools sharp and clean Properly maintained tools with sharp cutting edges are less likely to bind and are easier to control c Check for misalignment or binding of moving...
Page 13: ...d inspection work on the period of time limits specified in these Operating Instructions as well as any information on the replacement of parts and equipment must be undertaken and or complied with d...
Page 14: ...ipment in the Safety off position involves 9 Switching off the grinding machine 9 Switching off the dust collector if being used 9 Waiting for all drives to stop 9 Pulling out mains plug 9 Securing ag...
Page 15: ...BL 183 BL 233 SANDER POLISHER SECTION 5 GENERAL INFORMATION INSTRUCTION MANUAL OCTOBER 2008 5 1 Range of application 5 2 Description of the machine CONTENTS SECTION 5 GENERAL INFORMATION...
Page 16: ...y 180 mm 7 230 mm 9 Rated speed 8500 min 1 6600 min 1 Spindle thread 5 8 11UNC 5 8 11UNC Overall length 481 mm 19 481 mm 19 Net Weight 4 8 kg 10 6 lbs 4 8 kg 10 6 lbs Be sure to check the nameplate on...
Page 17: ...BL 183 BL 233 SANDER POLISHER SECTION 6 FUNCTIONAL DESCRIPTION INSTRUCTION MANUAL OCTOBER 2008 6 1 Range of application 6 2 Description of the machine CONTENTS SECTION 6 FUNCTIONAL DESCRIPTION...
Page 18: ...8 Use the BL 183 BL 233 for the following applications only Sanding and grinding concrete surfaces For removing rust from steel surfaces as well as finishing Surface finishing wood Polishing painted m...
Page 19: ...OLISHER SECTION 6 FUNCTIONAL DESCRIPTION INSTRUCTION MANUAL OCTOBER 2008 Item No Part Description 1 Aux Handle 2 Switch 3 Spindle Shaft 4 Lock Button 5 Spindle Lock 6 Safety Lever 6 2 DESCRIPTION OF T...
Page 20: ...BL 183 BL 233 SANDER POLISHER SECTION 7 OPERATION INSTRUCTION MANUAL OCTOBER 2008 7 1 Operating Instructions CONTENTS SECTION 7 OPERATION...
Page 21: ...4 while the switch is engaged To release continuous operation depress the switch 2 and release To lock the spindle from rotation press and hold the spindle locking button 5 Turn the spindle shaft 3 un...
Page 22: ...andle can be attached to either side or on top Make sure it is tight before use Never cover the air vents since they must always be open for proper motor cooling The key to efficient operating is cont...
Page 23: ...BL 183 BL 233 SANDER POLISHER SECTION 8 MAINTENANCE INSTRUCTION MANUAL OCTOBER 2008 8 1 Care and Maintenance 8 2 Replacement Parts CONTENTS SECTION 8 MAINTENANCE...
Page 24: ...ld be performed by an AUTHORIZED SERVICE CENTER or other QUALIFIED SERVICE ORGANIZATION Special attendance and regular maintenance of the machine are imperative for functioning and safety Pay attentio...
Page 25: ...TENANCE INSTRUCTION MANUAL OCTOBER 2008 Part Number 05 32113 Part Description Brush Set BL 183 BL 233 Part Number 05 32111 Part Description Cord Set BL 183 BL 233 Part Number 05 32112 Part Description...