102-A00 page 6/16
OPERATION
HEATING HEADS / JACKETS (HXLJ8G)
NOTICE:
Maximum recommended heating jacket steam pressure
is 150 PSI (10.3 bar).
Jacketed heads are recommended for heating highly viscous
liquids, or to “thaw out” liquids that have congealed in the
pumping chamber and packing area.
Hot oil or steam can be circulated through the jacketed heads
by 1” NPT connections above and below the shaft.
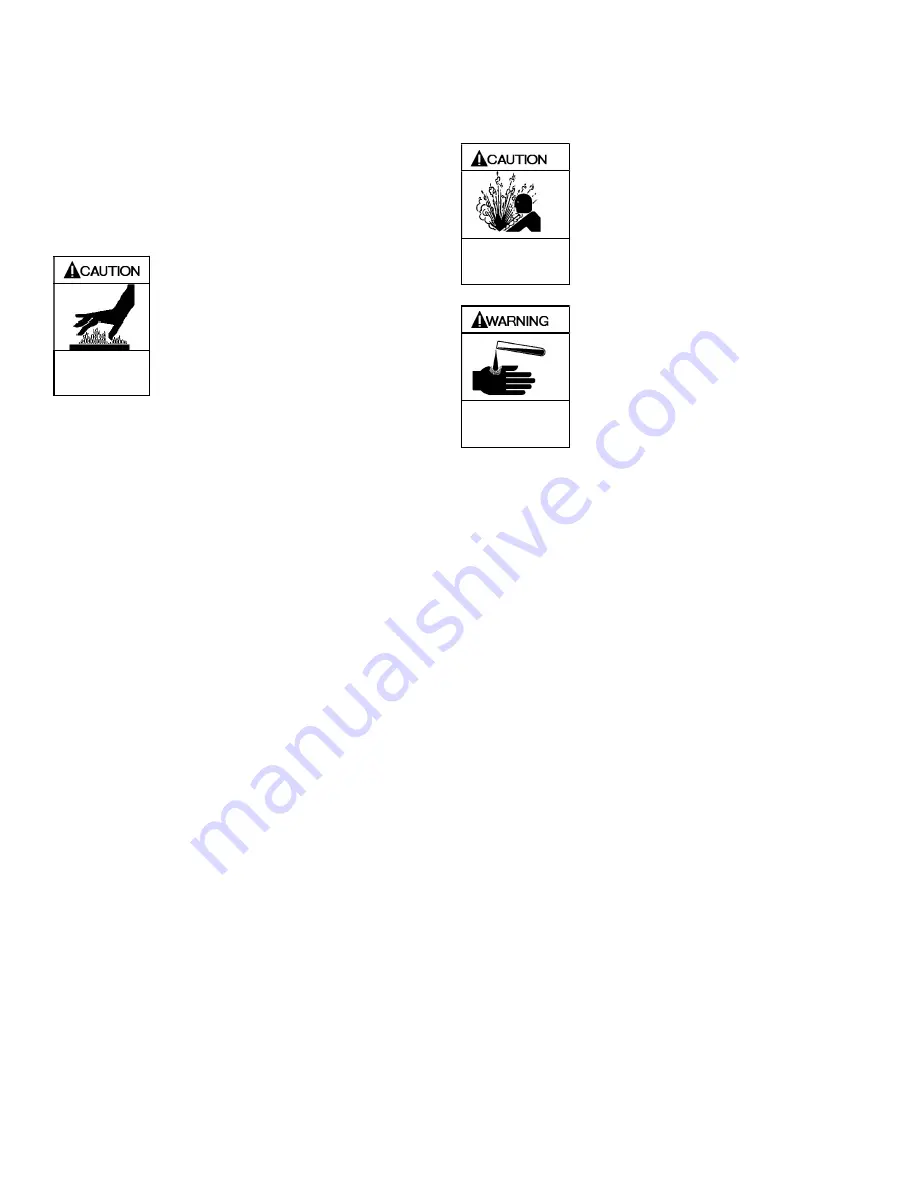
Pumps fitted with heating devices have
hot surfaces that can cause serious
personal injury.
Extreme heat can
cause injury or
property damage.
FLUSHING THE PUMP
NOTICE:
If flushing fluid is to be left in the pump for an extended
time, it must be a lubricating, non-corrosive fluid. If a
corrosive or non-lubricating fluid is used, it must be
flushed from the pump immediately.
1. To flush the pump, run the pump with the discharge
valve open and the intake valve closed. Bleed air into
the pump through the intake gauge plug hole or through
a larger auxiliary fitting in the intake piping. Pump air for
30 second intervals to clean out most of the pumpage.
2. Run a system compatible flushing fluid through the pump
for one minute to clear out the remainder of the original
pumpage.
3. To remove the flushing fluid, follow step 1 above.
NOTICE:
After flushing the pump some residual fluid will remain in
the pump and piping.
NOTICE:
Properly dispose of all waste fluids in accordance with
the appropriate codes and regulations.
PUMP RELIEF VALVE
NOTICE:
The pump internal relief valve is designed to protect the
pump from excessive pressure and must not be used as
a system pressure control valve.
HXL pump models are offered with an optional relief valve
assembly bolted onto the pump casing. Pumping volatile
liquids under suction lift may cause cavitation. Partial closing
of the discharge valve WILL result in internal relief valve
chatter and is NOT recommended. For these applications,
Install an external system pressure control valve, and any
necessary bypass piping, back to the storage tank.
A system pressure control valve is also recommended when
operating for extended periods (more than 15 seconds)
against a closed discharge valve.
RELIEF VALVE SETTING AND
ADJUSTMENT
Incorrect settings of the pressure
relief valve can cause pump
component failure, personal injury,
and property damage.
Hazardous pressure can
cause personal injury or
property damage
Relief valve cap is exposed to
pumpage and will contain some fluid
Hazardous or toxic
fluids can cause
serious injury.
The factory relief valve pressure setting is marked on a metal
tag attached to the valve cover. The relief valve must be set
at least 10 - 20 psi (0.7-1.4 bar) higher than the maximum
system operating pressure or the system pressure control
valve setting.
DO NOT remove the R /V Cap OR adjust the relief valve
pressure setting while the pump is in operation.
1.
To INCREASE the pressure setting,
remove the relief
valve cap, loosen the locknut, and turn the adjusting
screw
inwar
d, or clockwise. Replace the valve cap.
2.
To DECREASE the pressure settin
g, remove the relief
valve cap, loosen the locknut, and turn the adjusting
screw
outwar
d, or counterclockwise. Replace the valve
cap.
Refer to the individual Blackmer pump parts lists for various
spring pressure ranges. Unless specified otherwise, pumps
are supplied from the factory with the relief valve adjusted to
the mid-point of the spring range.


