3
2
USB PnP Installation
3
1. Attach the USB cable to an available USB port on the PC.
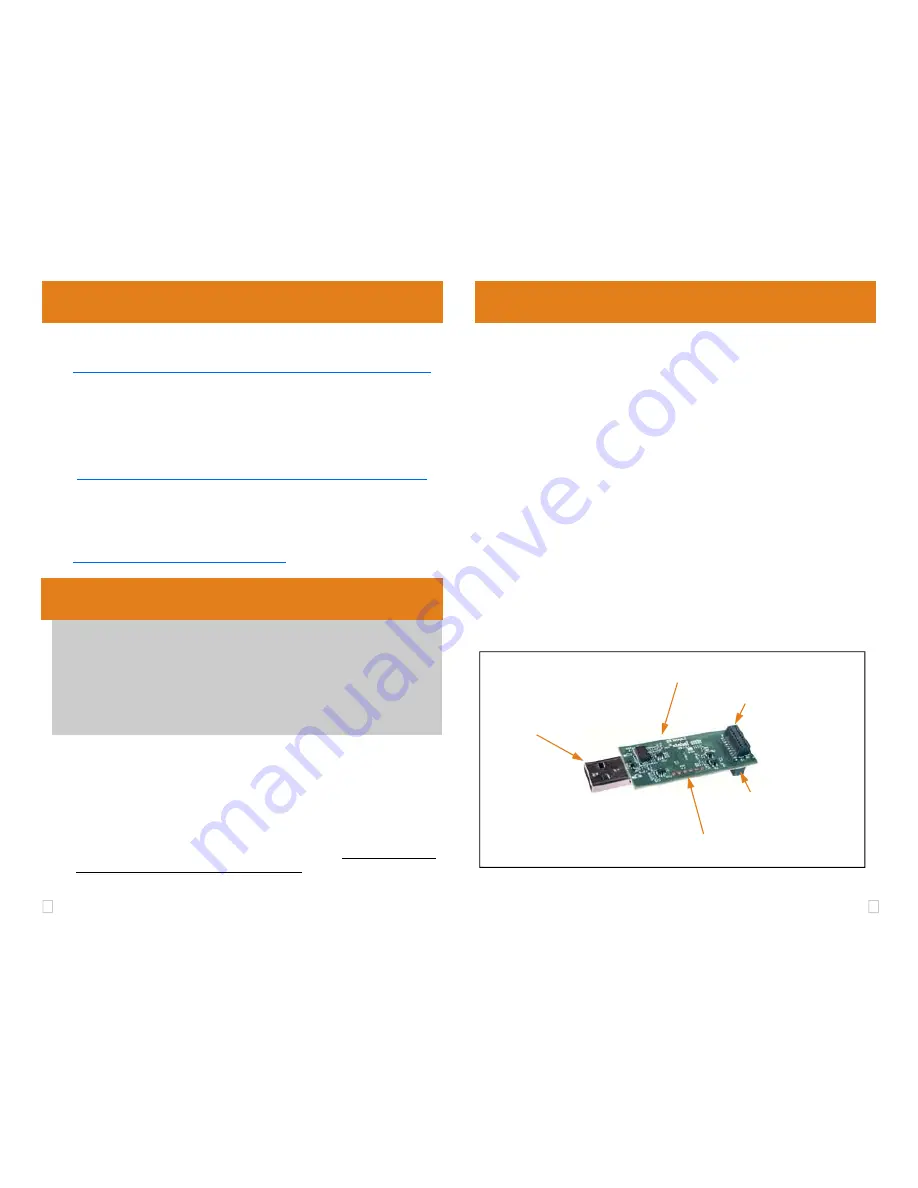
2. Then attach the other end of the USB cable (Female-A connector) to the
USB-A connector of the
USB100
Emulator (see Figure 1).
3. Follow the Plug and Play installation for the Windows device driver (see
section 3 on USB PnP Installation for more information).
4. You can now attach the emulator’s JTAG cable assembly (the 14-pin,
2x7 JTAG connector or the 20-pin 2x10 JTAG connector shown in figure
1) to the corresponding header on the target board. Make sure the tar-
get board is
not powered
when connecting!
5. Setup and start Code Composer Studio (see section 4 on CCStudio
Setup).
1
Emulation Driver Installation
2
Hardware Installation
W A R N I N G
Be careful to connect interface connector with the correct orienta-
tion. Pin 1 on the interface cable should match Pin 1 on the DSP sys-
tem connector. The JTAG cable assembly features a "keyed" con-
nector to minimize the chance of error.
Do not force connector into position. Forcing them may damage the
connector or the interconnected boards and systems.
FIGURE 1—USB100 JTAG Emulator
(angled view)
Windows 2000/XP/Vista
1. If not already connected, connect the USB cable to the computer and to
the
USB100
emulator.
2. Follow the Windows “Found New Hardware” wizard prompts.
3. You can select the “automatic” option for locating drivers.
4. If the automatic option did not locate them, you can manually specify the
location.
These files were installed to your system during Code Com-
poser Service Pack 12 Installation—section 1. The typical location for
these files is folder: C:\CCStudio_v3.3\ftdi\bin.
5. When completed, Windows Device Manager will show the device under
the Universal Serial Bus controllers as TI XDS100 Channel A and TI
XDS100 Channel B.
6. Now follow the Code Composer Studio Setup—Section 4
Optional:
If the steps above do not install the drivers, run the following Batch file to complete the driver
installation for the USB100 board, “C:\CCStudio_v3.3\cc\bin\ftdi\install_ftdi.bat”
Emulator Pod
(3.0 x 1.0 x 0.6 inches)
14-pin keyed JTAG Connector
USB -A
Connector
JTAG Scan Chain Test points
20-pin keyed JTAG Connector
CCStudio v4
Drivers are installed as part of CCStudio v4. For more information on
CCStudio v4, please see following link:
http://tiexpressdsp.com/index.php/CCSv4
CCStudio v3.3 SR 12 or later
For other CCS 3.3 versions see this link:
http://tiexpressdsp.com/wiki/index.php?title=XDS100#XDS100_Installation_Instructions
The
USB100
Emulator emulation drivers that are needed by Windows and
CCStudio for operation, are packaged with CCStudio SR12. SR12 can be
obtained using one of the following two methods.
1. Use the CCStudio Update Advisor, Check for Updates feature.
2. Use this link (
requires a my.TI login
):
https://www-a.ti.com/downloads/sds_support/CCSv3.3ServiceReleases.htm


