2
3
Configuration and Test
5
•
Install CCS v4.2 FIRST. Do not attach hardware until step 1 is completed.
•
Place the
BH560v2
module in desired location so that the JTAG cable can
reach your target board’s JTAG connector.
•
Attach the JTAG cable assembly to the target board.
Make sure the target is
not powered
when connecting!
•
Attach the supplied
BLUE
LAN network cable to the LAN connector on the
PoE injector as shown in figure 4.
2
Emulator Cable Assembly
3
LAN PC Connection
•
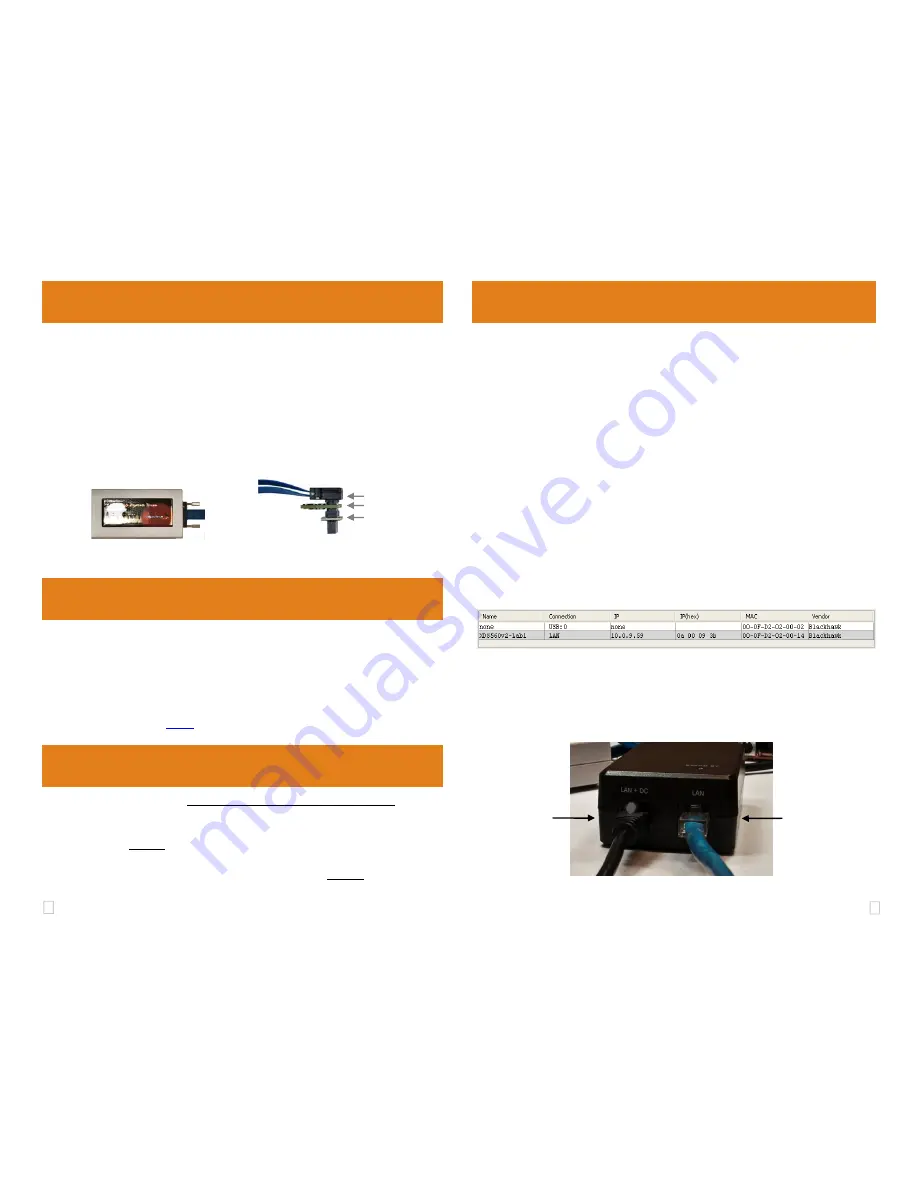
Attach the buffer board to the JTAG cable by pressing the connectors together
with the correct orientation making sure the cable side of the buffer board is
facing the cable (figure 2B).
•
Attach the pin converter that matches the JTAG connection of your target
board to the buffer board (figure 2B).
•
Connect the other end (with thumbscrews) to the emulator pod. You do this by
pressing the cable to the
BH560v2
pod’s cable connector and then gently tight-
ening the thumbscrews (figure 2A).
For additional details please refer to the BH506v2 installation guide
.
•
Launch the
BH560v2Config
Utility either from the desktop shortcut or from your
programs start menu.
The utility will search for the
BH560v2
on the network. By default the
BH560v2
is set to
obtain DHCP IP address from your router, the address will be displayed under the device
section in the utility. If, for some reason, the unit is not located you can enter the device
list information manually, or use the USB connection to configure the unit.
For more details, please refer to the Bh560v2Config User Guide.
It is accessible
from the utilities help menu.
•
The utility is graphical and intuitive, allowing you to perform tests or changes set-
tings by highlighting a device shown in the device list (see figure 3).
•
For example, you can set a Static IP address , by following these steps
−
Click on the “
Edit Device Parameters
” button.
−
Highlight the “
ipConfig
” parameter in the list.
−
Modify the value from “
dhcp
” to your desired static ip value (i.e. 10.0.9.1).
−
Click on the “
Set
” button.
−
Click on the “
Reboot
” button to restart the emulator
Powering the
BH560v2
unit, can take
20 seconds
for the device to BOOT.
PoE Switch:
If you have a Power over Ethernet (PoE) switch, you can connect
the unit directly to it for data and power using the supplied
BLACK
network cable.
PoE Injector:
If powering using a PoE injector (power supply), connect the unit’s
RJ45 to the PoE supply using the supplied
BLACK
network cable
to the
LAN+DC
PoE injector port as shown in figure 4.
FIGURE 3 - BH560v2 Config Utility Device Section
PoE Injector
LAN
Connection
PoE Injector
LAN+DC
Connection
FIGURE 4 - PoE Injector’s RJ45 Connections
LAN
LAN + DC
4
Power
FIGURE 2A - BH560v2 and Cable
assembly
JTAG Cable
Buffer Board
Pin Converter
FIGURE 2B - Buffer board and Pin
Converter assembly


