background image

7” Video Screen Manual v1.1 Dec 2015 


12 

7. Programming Content 


Once you have edited and converted your video or images into the 

correct format you will need to put them onto an SDHC card. The 

way you store content (in folders) will determine how it is 

activated. 

1. The included SD Card is a pre-loaded template (it comes with 

each folder already set-up) If you are not using a button you must 

delete the folder. To use other SDHC cards make sure they are 

formatted to FAT32 first, then create the appropriate folders. 

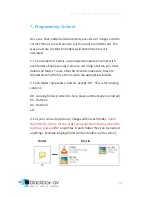
2. Each folder represents a button, except ‘00’ - This is for looping 

content. 

00 - Looping folder (content in here plays automatically on startup) 

01 - Button 1 

02 - Button 2 

etc. 


3. Put your converted video or images within each folder, 

name 

them 00, 01, 02 etc. for the order you want them to play when the 

button is pressed 

(for single files in each folder they can be named 

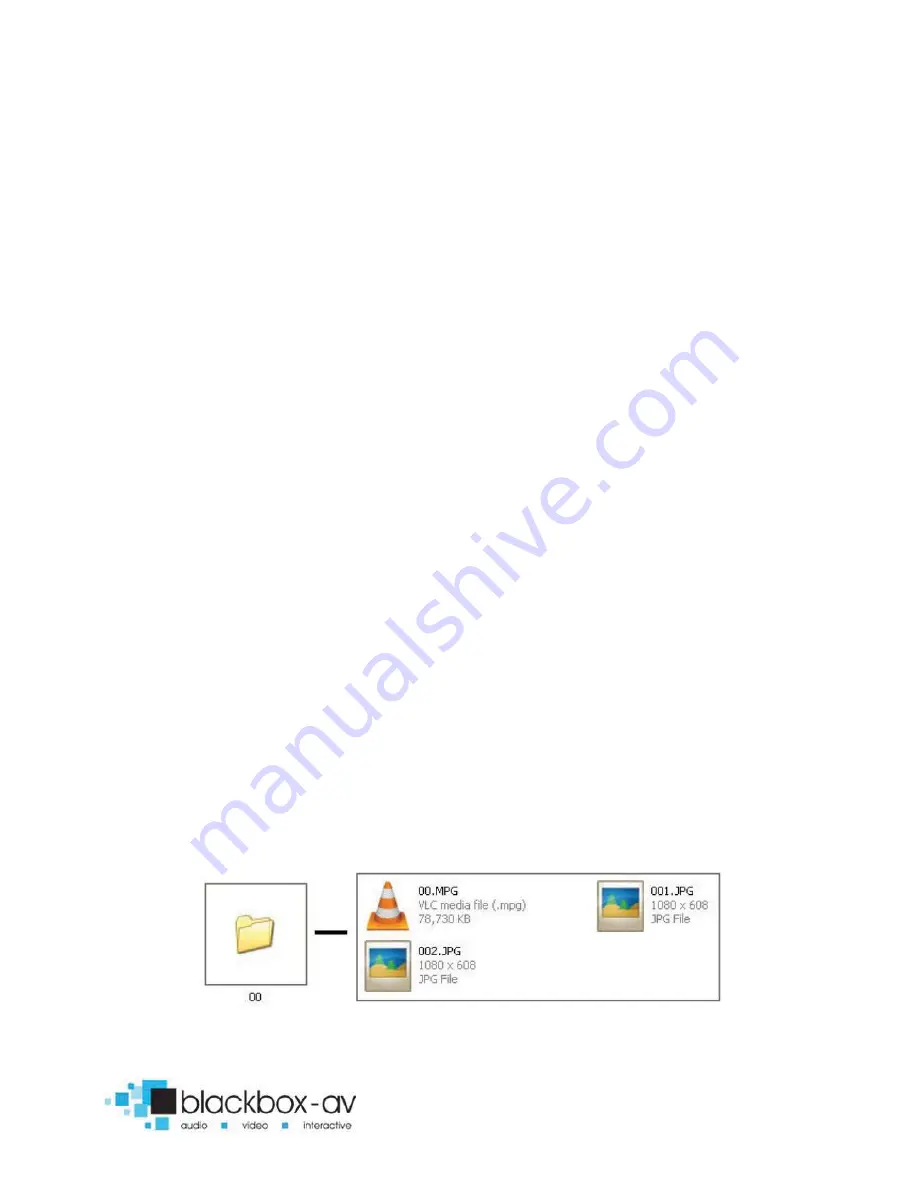
anything). Example looping folder (button folders are the same);    


Folder  


Files in 


Summary of Contents for 10 Video Screen

Page 1: ...7 Video Screen Manual v1 1 Dec 2015 ...

Page 2: ...ctions 7 4 1 Connect Speakers 8 4 2 Connect Buttons 8 4 3 Insert SD Card 8 5 Formats 9 5 1 Optimal Playback 10 6 Remote Control 10 6 1 Remote Control Buttons 11 6 2 Factory Reset 11 7 Programming Content 12 8 Automatic Power on off 13 9 Slideshow Options 14 Image Orientation 14 10 Reformatting Instructions 15 ...

Page 3: ...isplay and distribute media communication videos and images in a small compact manner Thanks to the open frame design and inbuilt mounting wings it can be built into signage or other such installations The 7VS supports a wide range of digital media files which are stored on an SD Card A remote is also supplied for easy player control it can be looping or up to 8 button activated 2 Features Media F...

Page 4: ...ese Image Slideshow Playback Picture Rotation Portrait Vertical or Landscape Horizontal Slideshow Transitions 14 Different transition effects Slide intervals 1 to 60 seconds If you need to reformat any files we recommend Format Factory This can be downloaded for free here http www pcfreetime com See more in the Reformating Instructions section ...

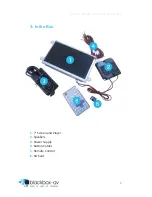
Page 5: ...7 Video Screen Manual v1 1 Dec 2015 6 3 In the Box 1 7 Screen and Player 2 Speakers 3 Power Supply 4 Button Cables 5 Remote Control 6 SD Card ...

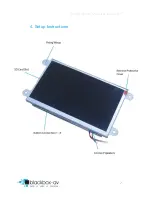
Page 6: ...7 Video Screen Manual v1 1 Dec 2015 7 4 Setup Instructions ...

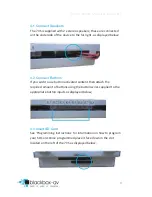
Page 7: ...elow 4 2 Connect Buttons If you wish to use button activated content then attach the required amount of buttons using the button wires supplied to the appropriate button inputs as displayed below 4 3 Insert SD Card See Programming Instructions for information on how to program your SD Card Once programmed place it face down in the slot located on the left of the 7VS as displayed below ...

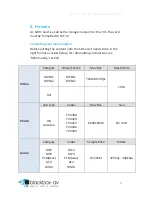
Page 8: ... it needs to be in the right format as listed below for reformatting instructions see Reformating section Video Category Codec FourCC Max Res Max Bitrate MPEG1 MPEG2 MPEG1 MPEG2 720x480 30fps 10M AVI Photo Sub Type Codec Max Res Size JPG Baseline YUV400 YUV420 YUV422 YUV440 YUV444 8000x8000 No Limit Audio Category Codec Sample Rate Bitrate MP2 MP3 PCM wav AC3 WMA MP2 MP3 PCM wav AC3 WMA 8 320Khz 3...

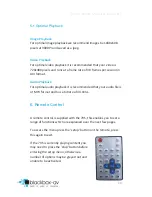
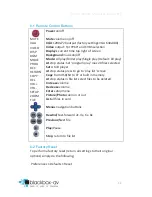
Page 9: ... Playback For optimal audio playback it is recommended that your audio file is of MP3 format and has a bitrate of 44 1Khz 6 Remote Control A remote control is supplied with the 7VS this enables you to set a range of functions which are explained over the next few pages To access the menu press the setup button on the remote press this again to exit If the 7VS is currently playing content you may n...

Page 10: ... All play At stop status Set program play max 20 files selected Set A to B player At stop status press to go to play list screen Copy from USB SD to CF or built in memory At stop status in file list select files to be deleted Increase volume Decrease volume Enter setup menu Picture Photo zoom in or out List all files in card Menus navigation buttons Rewind Fast forward 2x 4x 6x 8x Previous Next fi...

Page 11: ...button you must delete the folder To use other SDHC cards make sure they are formatted to FAT32 first then create the appropriate folders 2 Each folder represents a button except 00 This is for looping content 00 Looping folder content in here plays automatically on startup 01 Button 1 02 Button 2 etc 3 Put your converted video or images within each folder name them 00 01 02 etc for the order you ...

Page 12: ... on off A useful feature of the 7VS is that you can programme it to power up and turn off at a set time each day This is done with the following settings First you must set the right time Setup Clock setup enter in the details using navigation buttons Then you can set automatic power on off times Setup Timer power setup enter your power off and on times using the navigation buttons Then activate t...

Page 13: ... 03 jpg 04 jpg 05 jpg The player will then scroll through these images and then loop back to the start Image Transitions Timings You have a choice of slideshow transitions and timing to access these go to Setup Picture Setup Transition Select transition Setup Picture Setup Interval Select Time 1 60 seconds Image Orientation If you are using your screen in portrait orientation you can rotate images...

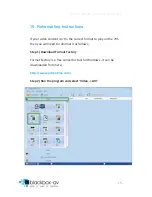
Page 14: ... content isn t in the correct format to play on the 7VS then you will need to reformat it as follows Step 1 Download Format Factory Format Factory is a free convertor tool for Windows it can be downloaded from here http www pcfreetime com Step 2 Run the program and select Video AVI ...

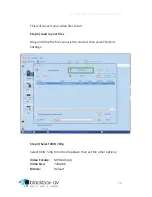
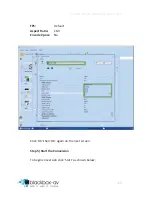
Page 15: ... video files to AVI Step 3 Load in your files Drag and drop the files you wish to convert then select Output Settings Step 4 Select XVID 720p Select XVID 720p from the dropdown then set the other options Video Encode MPEG4 Xvid Video Size 720x480 Bitrate Default ...

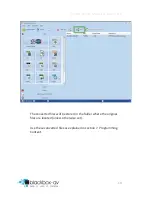
Page 16: ...7 Video Screen Manual v1 1 Dec 2015 17 FPS Default Aspect Ratio 16 9 Encode 2 pass No Click OK then OK again on the next screen Step 5 Start the Conversion To begin conversion click Start as shown below ...

Page 17: ...Screen Manual v1 1 Dec 2015 18 The converted files will be stored in the folder where the original files are located unless otherwise set Use these converted files as explained in section 7 Programming Content ...

Reviews: