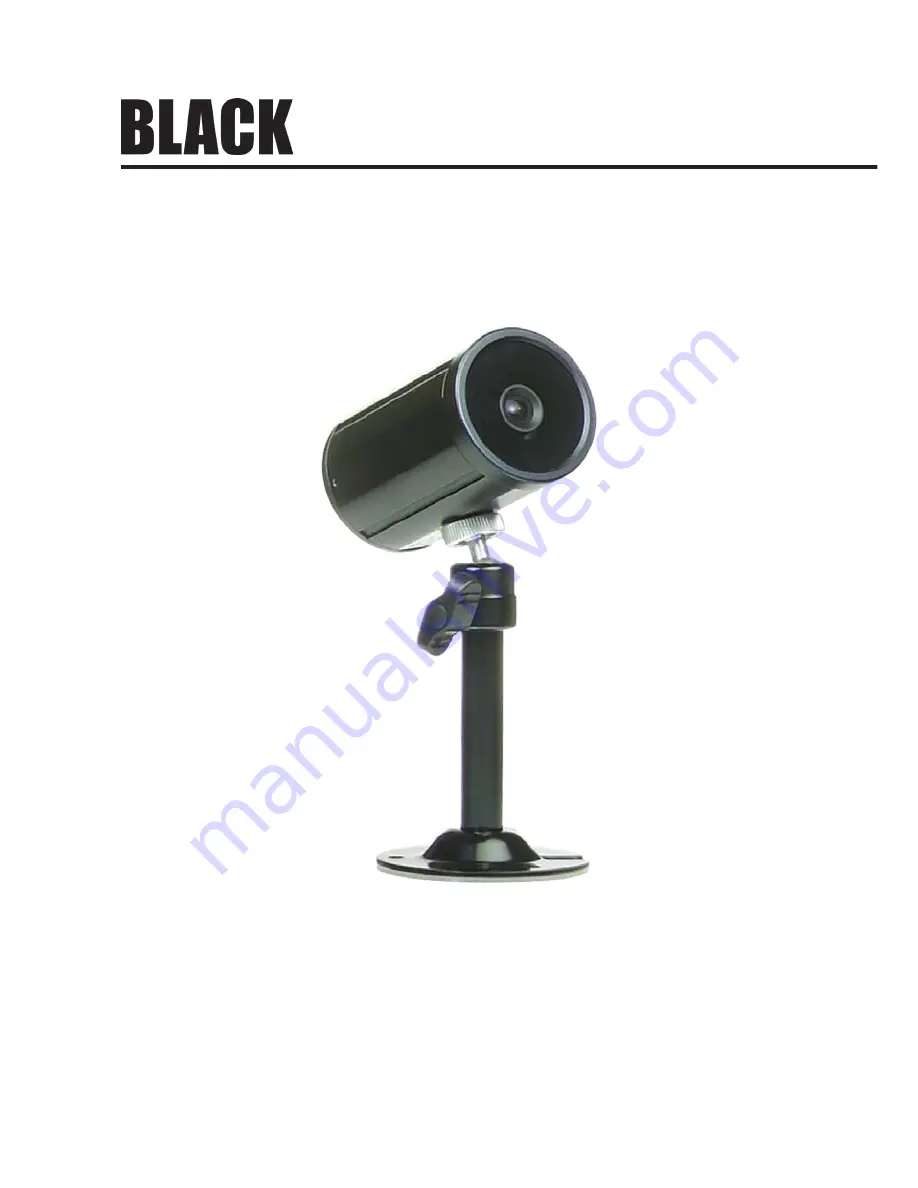
BLK-HDC10M 2-Megapixel Full-HD
C-mount Bullet Camera User Manual
Please read this manual before using your camera, and always follow the instructions for safety and proper use. Save this manual for future reference.
BLK-HDC10M_CM
Page 1: ...Megapixel Full HD C mount Bullet Camera User Manual Please read this manual before using your camera and always follow the instructions for safety and proper use Save this manual for future reference...
Page 2: ...n which case the user will be required to correct the interference at his own expense LEGAL NOTICE Observint Technologies Observint products are designed to meet safety and performance standards with...
Page 3: ...explosion if battery is incorrectly replaced Replaced only with the same or equivalent type recommended by the manufacturer Dispose of used batteries according to the manufacturer s instructions A sui...
Page 4: ...adhered to 8 Do not install near any heat sources such as radiators heat registers stoves or other apparatus including amplifiers that produce heat 9 Do not defeat the safety purpose of the polarized...
Page 5: ...tions 3 SECTION 2 Installation 4 2 1 Camera installation bracket setup 4 SECTION 3 Configuration Setup 6 3 1 Menu operation 6 3 2 EXPOSURE menu 7 3 3 WHITE BALANCE menu 7 3 4 WDR BLC menu 8 3 5 DAY NI...
Page 6: ...vi...
Page 7: ...rts 720p 50 fps 720p 60 fps 1080p 25 fps 1080p 30 fps Video outputs HD SDI CVBS S N ratio More than 50 dB OSD menu for setup and configuration Power source 6 Vdc 15 Vdc Camera body Lens Mounting holes...
Page 8: ...ctor Provides CVBS output to local monitor setup equipment through the service video output test cable cable provided Power input terminal 12 Vdc input terminals Observe the polarity indicated when ap...
Page 9: ...Mount Box Camera User Manual SECTION 1 INTRODUCTION 1 2 System connections 12 Vdc 160 mA input BLK HDC10M camera unit Service video output test cable Local setup monitor HDcctv DVR monitor BNC cable C...
Page 10: ...k knob Lock nut Mounting surface Ceilingmountinstallation Wallmountinstallation 2 Attach the camera unit to the mounting bracket see above Tighten the lock nut sufficiently to secure the camera to the...
Page 11: ...put test cable 8 Power on the local setup monitor 9 While observing video from the camera loosen the gimbal lock knob and aim the camera at your surveillance target field of view 10 Tighten the gimbal...
Page 12: ...s in the menu Use this button to select an item or adjust the parameters Rock joystick right u Moves the cursor to the right in the menu Use this button to select or adjust the parameters of the selec...
Page 13: ...0000 1 30000 indicates option for PAL cameras only DSS Digital Slow Shutter Setup the DSS level Options OFF X2 X3 X4 AGC MAX Set imager maximum gain 0 23 dB INITIAL Set the EXPOSURE menu to initial va...
Page 14: ...WB PUSH LOCK mode correct the White Balance camera setting INITIAL Reset theWHITE BALANCE menu settings 3 4 WDR BLC menu MODE Set the WDR BLC mode Options OFF WDR BLC WDR Wide Dynamic Range Use to aut...
Page 15: ...er to initialize the WDR BLC setting 3 5 DAY NIGHT menu This submenu is used to convert the outputimagebetweenCOLORandBWdependingonenvironment D N MODE Options COLOR Display the output image in color...
Page 16: ...HLMASK Use this function to improve the visual recognition of license plates and other objects by suppressing or masking strong light sources HLMASK LEVEL Set HLMASK level 0 20 steps HLMASK COLOR Set...
Page 17: ...feature to block areas of the screen such as apartment windows etc to ensure personal privacy maximum 30 areas covered ZONE NO Number associated with the configured privacy area 0 29 MASK MODE Enable...
Page 18: ...DISPLAY menu SYSTEM SHADING DET Lens shading detection function Sets the shading calibration that the lens will perform Only occurs when the entire screen is viewed in white light Options OFF ON DEFE...
Page 19: ...ount Box Camera User Manual SECTION 3 CONFIGURATION SETUP 3 8 FACTORY DEFAULT Use this feature to reset all options to the factory default settings 3 9 EXIT Select this option to save all settings and...
Page 20: ...000 1 10000 1 30000 Sense up x 2 x 3 x4 AGC Off 0 dB 23 dB White balance AUTO Manual PUSH LOCK Sensitivity 0 1 lux S N ratio 50 dB Video output HD SDI CVBS Day Night OFF ON Digital D N LENS Board Lens...
Page 21: ...1 5000 1 7000 1 10000 1 30000 indicates settings for PAL cameras only indicates settings for NTSC cameras only DSS Digital Slow Shutter OFF X2 X3 X4 AGC MAX 0 23 dB INITIAL RETURN WHITE BALANCE WB MOD...
Page 22: ...s 10 s AGC THRS 0 20 MARGIN 0 20 INITIAL RETURN IMAGE SHARPNESS 0 10 MIRROR OFF ON FLIP OFF ON DZOOM Digital Zoom 1x 20x SHADING OFF ON D WDR OFF ON DNR OFF LOW MIDDLE HIGH INITIAL RETURN HLMASK OFF...
Page 23: ...have an intermediate device set the 75 Hi Z properly and check the terminals If an auto iris lens is being used adjust the brightness level The MOTION DETECTION function is not working Is MOTION DETEC...
Page 24: ...18 APPENDIX B CAMERA DIMENSIONS APPENDIX B Camera Dimensions Camera unit dimensions 2 95 Mounting hole 1 4 20 UNC depth 0 18 Mounting hole 1 4 20 UNC depth 0 18 1 77...
Page 25: ...19 2 MP Full HD C Mount Box Camera User Manual APPENDIX B CAMERA DIMENSIONS Bracket dimensions 3 82 1 42 3 0 14 2 36 1 63...