


Page 7
System Installation and Setup
Follow the steps below to install and setup your system. For more information, refer to the user manual provided on the
CD.
1.
Plan your entire installation carefully, considering:
Position of the cameras to effectively cover your surveillance targets. Avoid locations and orientations where
bright light might shine on or reflect onto the camera lens.
Security of the camera and the cabling to the DVR. Is it easy for an intruder to disable the cameras?
Location of the DVR. Is it in a secure location? Is the temperature and humidity within specifications?
2.
Install your cameras in accordance with the manufacturer’s instructions.
3.
Connect the video/audio and power extension cables to the cameras, then route them to the location of the DVR.
Note that video extension cables connectors are usually different at each end; the end with the male power connector
attaches to the camera drop cable, the end with the female power connector attaches to the power source and DVR.
4.
Place the DVR on a clean, flat surface. Do not apply power to the DVR at this time.
Plug the USB mouse to the USB port on the DVR.
Connect a monitor to the VGA connector on the back of the DVR.
5.
Connect the video extension cable from each camera to a video port on the back of your DVR.
If the camera location has a microphone, also attach the audio cable to an audio input connector on the back of
the DVR.
6.
Attach the power extension cable to the cameras to the recommended power source to power them on.
7.
Power on the DVR.
Connect the power adapter to the DC12V power connector on the back of the DVR.
Power on the monitor.
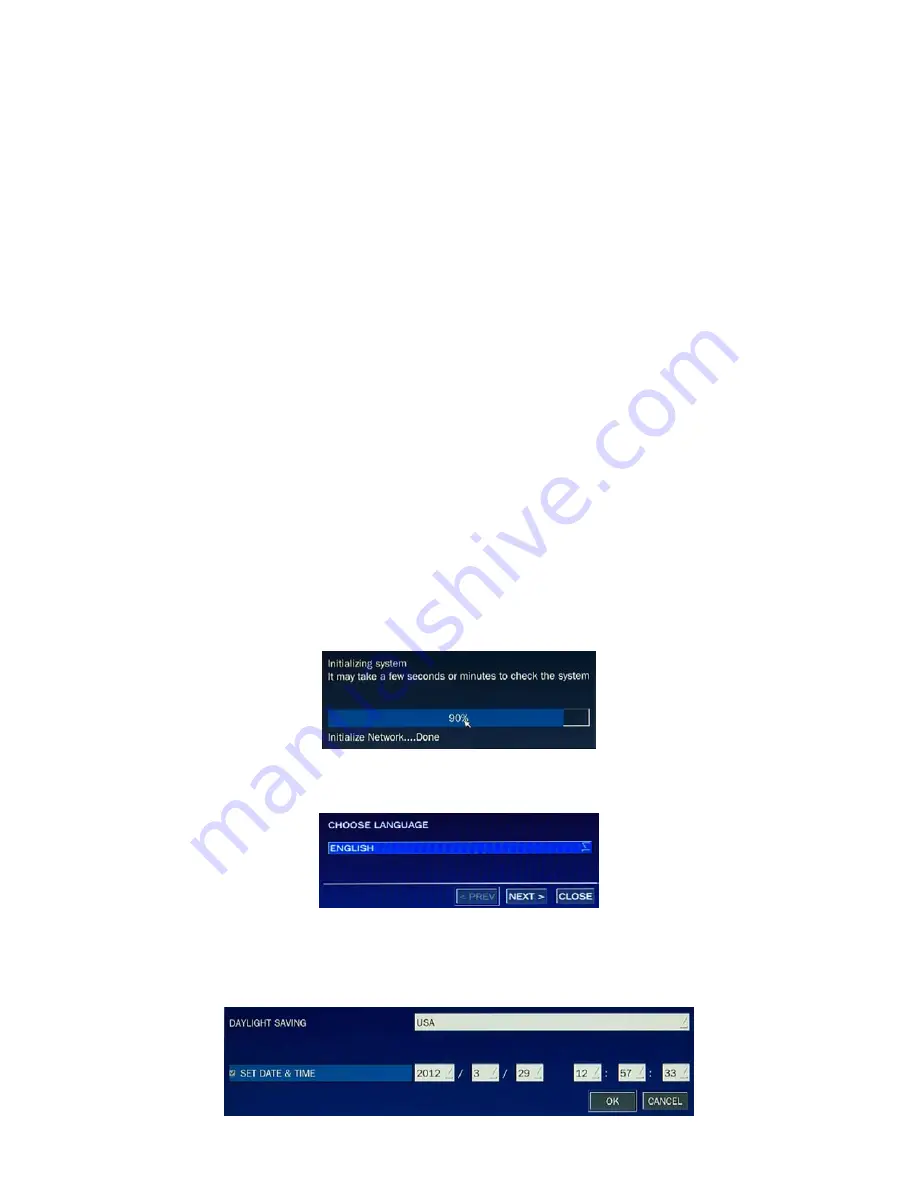
Connect the power cable to the power adapter and to a standard 120 VAC outlet. When the DVR is powering on,
an initialization window will appear.
8.
When the CHOOSE LANGUAGE window opens, use the mouse to open the dropdown list, select the language you
prefer to use, then click Next. NOTE: You can also change the language setting later through the SETUP menus.
9.
In the DAYLIGHT SAVING window, use the mouse to open the dropdown menus and select the DLS region, date and
time. When the correct date and time is shown, click Next. NOTE: The date and time setup in the DVR is used to
timestamp recorded video recordings. It is very important that this be set correctly if video recordings are used as
evidence.


