2
EDID LEARN
The KVM switch is designed to learn a connected
monitor’s EDID upon power up. In the event of connecting
a new monitor to the KVM, a power re-cycle is required.
The KVM switch will indicate the unit’s EDID learn
process is active by flashing the front panel’s LEDs in
sequential order. Starting with the LED above button “1”
on the front panel, each LED will flash green for
approximately 10 seconds upon beginning the EDID learn.
Once all the LEDs stop flashing, the LEDs will cycle and
the EDID learn will be complete.
If the KVM switch has more than one video board (such
as dual-head and quad-head models), then the unit will
continue to learn the EDIDs of the connected monitors
and indicate the progress of the process by flashing the
next port selection green and push button blue LEDs
respectively.-
A monitor must be connected to the video output port
located in the console space at the back of the KVM
switch during the EDID learn process.
If the read EDID from the connected monitor is identical
to the current stored EDID in the KVM switch, then the
EDID learn function will be skipped.
A full Manual can be downloaded from:
WWW.BLACKBOX.COM
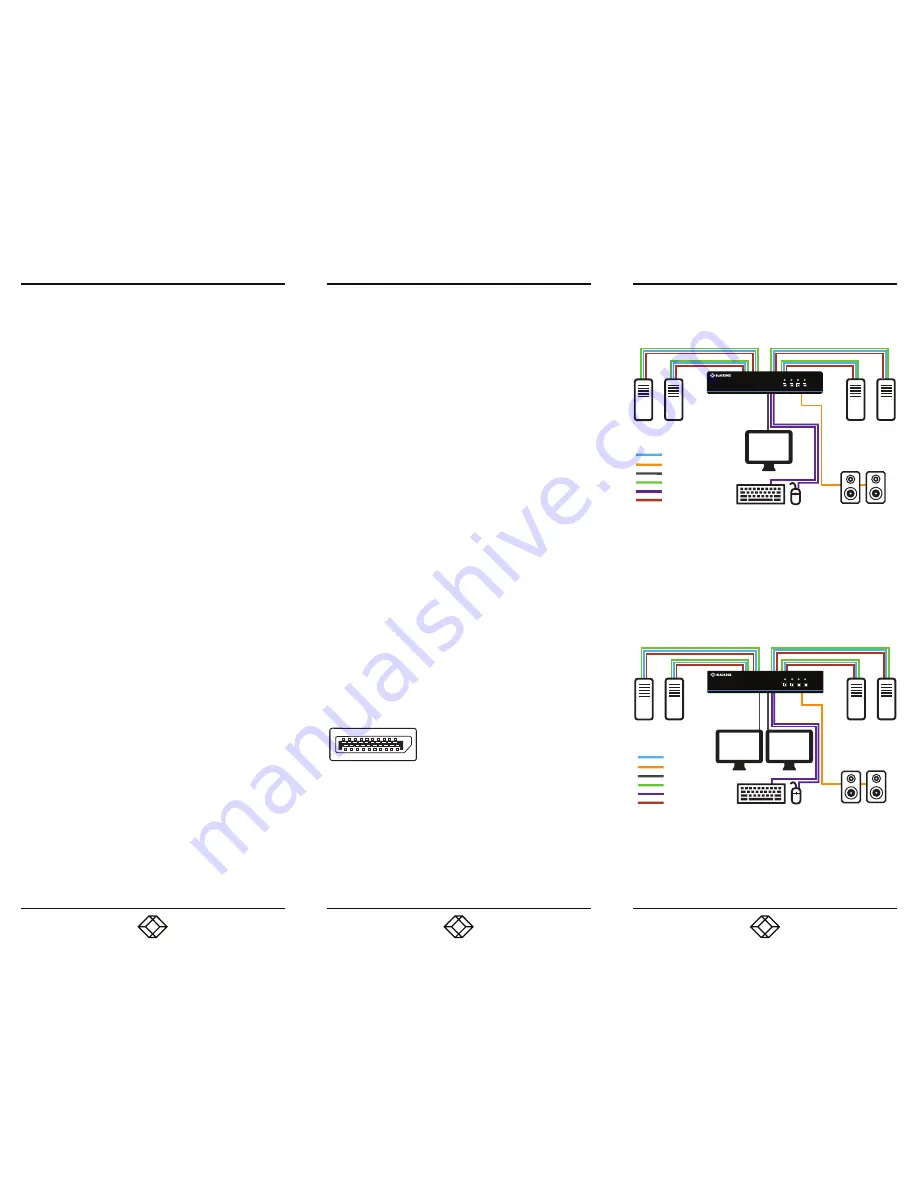
HARDWARE INSTALLATION
1. Ensure that power is turned off or disconnected from
the unit and the computers.
2. Use a DisplayPort cable to connect the DisplayPort
output port from each computer to the corresponding
DisplayPort IN ports of the unit.
3. Use a USB cable (Type-A to Type-B) to connect a USB
port on each computer to the respective USB ports
of the unit.
4. Optionally, for CAC models, connect a CAC (Common
Access Card, Smart Card Reader) to the CAC port in
the user console interface.
5. Optionally, connect a stereo audio cable (3.5-mm to
3.5-mm) to connect the audio output of the computers
to the AUDIO IN ports of the unit.
6. Connect monitor(s) to the DisplayPort OUT console
port of the unit using a DisplayPort cable.
NOTE: You can connect one monitor to the single-head
KVM switch and two monitors to the dual-head
KVM switch.
7. Connect a USB keyboard and mouse in the two USB
console ports.
8. Optionally, connect stereo speakers to the AUDIO OUT
port of the unit.
9. Finally, power on the KVM switch by connecting
a 12-VDC power supply to the power connector,
and then turn on all the computers.
NOTE: The computer connected to port 1 will always be
selected by default after power up.
NOTE: You can connect up to 4 computers to the 4 port
KVM switch.
FIGURE 3. DUAL-HEAD APPLICATION DIAGRAM
1
2
3
4
4 PORT DP W/ AUDIO
SECURE KVM SWITCH
DP OUT
AUDIO IN
USB IN
USB OUT
AUDIO OUT
DP IN
SS4P-DH-DP-U
FIGURE 2. SINGLE-HEAD APPLICATION DIAGRAM
FIGURE 1. DISPLAYPORT CONNECTOR
1
2
3
4
4 PORT DP W/ AUDIO
SECURE KVM SWITCH
DP OUT
AUDIO IN
USB IN
USB OUT
AUDIO OUT
DP IN
SS4P-SH-DP-U
QUICK START GUIDE
QUICK START GUIDE
QUICK START GUIDE
DisplayPort connector
1.877.877.2269
BLACKBOX.COM
3
1.877.877.2269
BLACKBOX.COM
4
1.877.877.2269
BLACKBOX.COM


