background image

BLACK BOX

®

User’s Manual

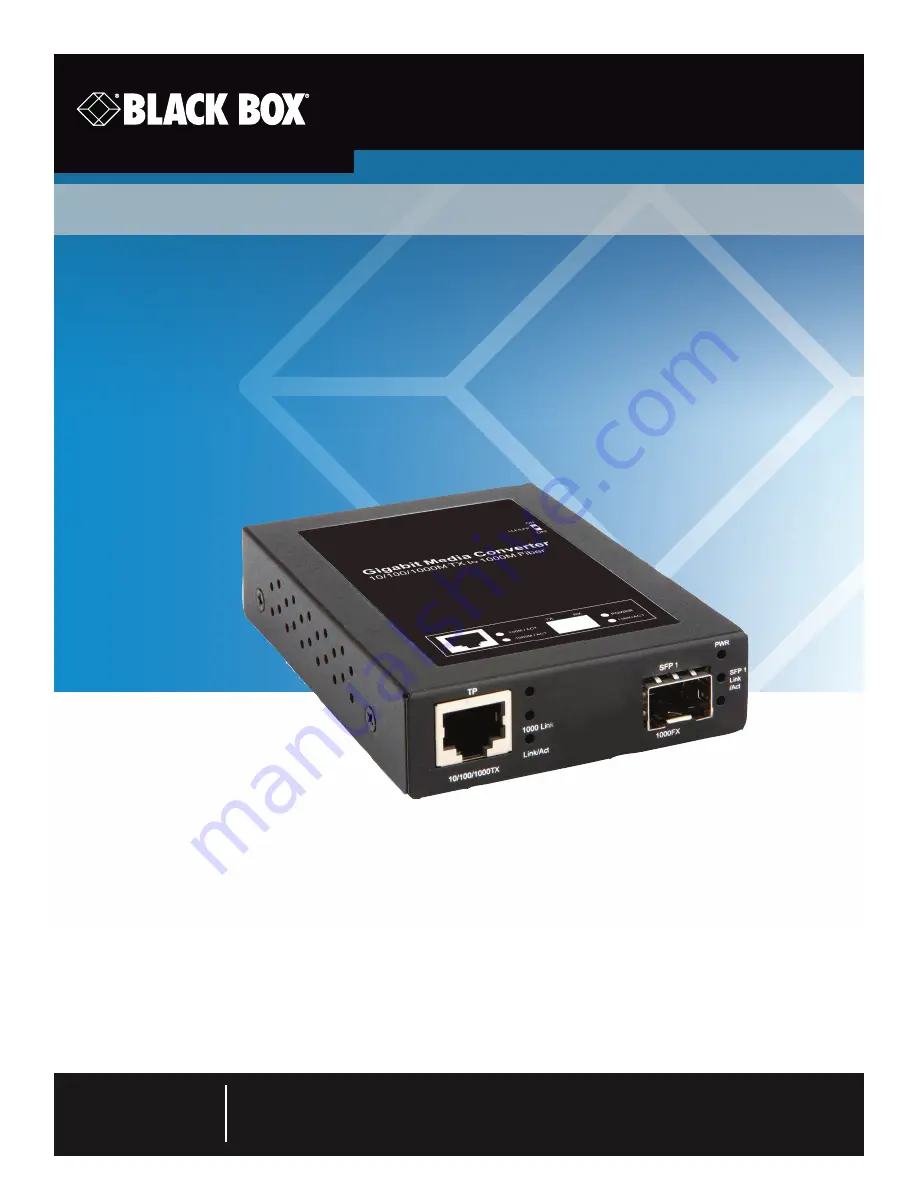
Link 10/100/1000BASE-T to 100-/1000-Mbps SFP fiber connections.

Gigabit Media Converter

LGC220AE

Order toll-free in the U.S.: Call 877-877-BBOX (outside U.S. call 724-746-5500)

FREE technical support 24 hours a day, 7 days a week: Call 724-746-5500 or fax 724-746-0746

Mailing address: Black Box Corporation, 1000 Park Drive, Lawrence, PA 15055-1018

Web site: www.blackbox.com   •   E-mail: [email protected]

Customer 

Support 

Information

Summary of Contents for LGC220AE

Page 1: ...Order toll free in the U S Call 877 877 BBOX outside U S call 724 746 5500 FREE technical support 24 hours a day 7 days a week Call 724 746 5500 or fax 724 746 0746 Mailing address Black Box Corporation 1000 Park Drive Lawrence PA 15055 1018 Web site www blackbox com E mail info blackbox com Customer Support Information ...

Page 2: ...hnical experts in less than 60 seconds Trademarks Used in this Manual Black Box and the Double Diamond logo are registered trademarks of BB Technologies Inc Microsoft Windows and Internet Explorer are registered trademarks of Microsoft Corporation Mozilla and Firefox are registered trademarks of the Mozilla Foundation Google and Chrome are registered trademarks of Google Inc Any other trademarks m...

Page 3: ...en the equipment is operated in a commercial environment Operation of this equipment in a residential area is likely to cause interference in which case the user at his own expense will be required to take whatever measures may be necessary to correct the interference Changes or modifications not expressly approved by the party responsible for compliance could void the user s authority to operate ...

Page 4: ...an el flujo de aire por los orificios de ventilación 10 El equipo eléctrico deber ser situado fuera del alcance de fuentes de calor como radiadores registros de calor estufas u otros aparatos incluyendo amplificadores que producen calor 11 El aparato eléctrico deberá ser connectado a una fuente de poder sólo del tipo descrito en el instructivo de operación o como se indique en el aparato 12 Precau...

Page 5: ...reme temperature changes even within the product s operating temperature range may cause malfunctions DO NOT install this product in a location near any sources of water or liquid DO NOT stack this product with other network devices directly on top of one another Stacking network devices directly without applying a mounting rack will cause this product to overheat DO NOT install this product on an...

Page 6: ...4 2 4 Port Configuration 15 4 2 5 MIB Counter 16 4 2 6 SNMP Configuration 16 4 2 7 VLAN 17 4 2 8 Q in Q 18 4 2 9 Port Policy 19 4 2 10 CoS Policy 19 4 3 Remote Setting 20 4 3 1 802 3ah Function 20 4 3 2 Loopback Test 20 4 3 3 802 3ah Status 21 4 4 Tools 21 4 4 1 System Reboot 21 4 4 2 Save and Restore 21 4 4 3 Firmware Upgrade 22 5 Telnet 23 5 1 Telnet Overview 23 5 2 Network Information 23 5 3 Co...

Page 7: ...sted pair 1000BASE T CAT5 5e 6 UTP STP up to 328 feet 100 m Connectors 1 RJ 45 1 SFP cage Indicators RJ 45 port 1 100 Mbps Act 1000 Mbps Act LED SFP port 1 Link Act LED Per unit 1 Power LED Environment Temperature Tolerance Operating 32 to 122 F 0 to 50 C Storage 4 to 194 F 20 to 90 C Humidity 10 to 90 noncondensing Power 5 VDC 2A power supply or powered by USB 2 0 interface Consumption 10 watts D...

Page 8: ...iber with Extended Diagnostics 850 nm Multimode LC 300 m LFP412 SFP 1 25 Gbps Fiber with Extended Diagnostics 1310 nm Multimode LC 2 km LFP413 SFP 1 25 Gbps Fiber with Extended Diagnostics 1310 nm Single Mode LC 10 km LFP414 SFP 1 25 Gbps Fiber with Extended Diagnostics 1310 nm Single Mode LC 30 km LFP416 SFP with SGMII Interface 1 25 Gbps Copper 10 100 1000BASE T Extended Diagnostics LFP431 SFP 1...

Page 9: ...0 1000BASE T to 100 1000 Mbps SFP Media Converter Table 2 3 describes its components 1 3 4 2 5 Figure 2 1 Media converter Table 2 3 Media converter components Number in Fig 2 1 Component Description 1 RJ 45 connector Links to 10 100 1000BASE T device 2 TP port LEDs 1000 Mbps and Link Act LEDs 3 SFP slot Houses SFP module 4 SFP port LEDs Link Act LEDs 5 Power LED Lights when power is on 6 on back o...

Page 10: ...onverter is properly installed on your network and that every PC on this network can access the media converter via the Web browser 1 Verify that your network interface card NIC is operational and that your operating system supports TCP IP protocol 2 Power up the media converter power and connect your computer to the media converter 3 The media converter default IP address is 192 168 2 1 The media...

Page 11: ... response time 2 Check the security and firewall settings of your computer 3 Try a different Web browser 4 Clear your Web browser s browsing history For more information refer to the Appendix IP Configuration for Your PC 3 2 Preparation for Telnet Interface If your Windows OS is Win XP Win 2000 or early version you can access the Telnet console by the default command If your OS is Windows 7 or a l...

Page 12: ...ess of your media converter default value is 192 168 2 1 and Port number default Telnet 23 SSH 22 Then click on Open to start the PuTTy session console Figure 3 4 PuTTy configuration screen After you click on Open you can see the cipher information in the popup screen Press Yes to accept the Security Alert 3 You are now in the media converter s telnet configuration interface Figure 3 5 Telnet inte...

Page 13: ...k address software version and device description You can also enable disable Remote Device Control If enabled you can configure the device and view its information remotely 4 2 Local Setting You can configure the media converter locally here in the Local Setting 4 2 1 IP Configuration Figure 4 2 IP Configuration screen This media converter embeds a DHCP client You can enable disable this function...

Page 14: ...the media converter s configuration Web page here The password must be alphanumeric characters a z A Z 0 9 and _ and is case sensitive You must input the old password when setting a new password Press the Apply button to apply the changes you ve made For security issues you cannot change the login name 4 2 3 Converter Configuration Figure 4 4 Converter configuration screen ...

Page 15: ...d for Link Loss Carry Forward to take effect Forward CRC Error Frame Packets with CRC error will still be transmitted if this function is enabled If this function is disabled packets with CRC error will be dropped instead Forward Pause Frame The media converter will forward pause frames and regard them as normal packets if this function is enabled Management Packet High Priority QoS will be enable...

Page 16: ...nters screen You can view the media converter s MIB counters in this page Press the Clear button to reset all counters to zero or press the Refresh button to refresh the page 4 2 6 SNMP Configuration Figure 4 7 SNMP Configuration screen You can make SNMP settings on this page Table 4 2 SNMP settings Option Description SNMP Ability Enable or Disable SNMP functions Trap Mode SNMP will send trap even...

Page 17: ...e Tag The media converter will remove VLAN tags from packets and add new tags The tag inserted will be the ingress port s Default Tag which is indexed by port Port based VLAN index This is replacement processing for tagged packets and insertion for untagged packets Remove Tag The media converter will remove VLAN tags from packets if these packets are tagged during transmission The media converter ...

Page 18: ...ess the Apply button to apply the settings 4 2 8 Q in Q Figure 4 10 Q in Q Functions Configuration screen You can set the Q in Q function on this page Table 4 4 Q in Q functions Function Description Q in Q Enable Enable disable the Q in Q function Out Layer VLAN Tag User defined Q in Q out layer VLAN tag Ether type Out Layer VLAN VID User defined Q in Q out layer VLAN tag VID VLAN Tag Priority dec...

Page 19: ...nnection port it will be handled according to the priority value you set here Press the Apply button to apply the settings 4 2 10 CoS Policy Figure 4 12 CoS policy screen Each port of the media converter contains four queues Queue 3 has the highest priority while queue 0 has the lowest priority When receiving VLAN and IEEE 802 1p priority tagged packets the media converter will handle these packet...

Page 20: ...on screen You can set 802 3ah OAM in this page Enable disable 802 3ah function and set its mode as passive or active mode Press the Apply button to apply the settings 4 3 2 Loopback Test Figure 4 14 802 3ah Loopback test You can start 802 3ah loopback test here on this Web page with the number of packets and packet length value you set Press the Apply button to apply the settings ...

Page 21: ...m Reboot Press the System Reboot button to restart the system All settings will be kept 4 4 2 Save and Restore Figure 4 16 Configuration Setting screen Table 4 5 Save and Restore settings Setting Description Backup Save all the settings of the media converter to a file Restore Restore all the settings of the media converter from a pre saved configuration file Factory Set all parameters to the fact...

Page 22: ...are Upgrade screen You can update the media converter s firmware in this Web page Press the Browse button to select the firmware from your PC then press the Update button to start updating the firmware NOTE It might take 60 seconds to update the firmware Do not interrupt this process or your media converter might malfunction ...

Page 23: ...ns or view system status input the number of the option you would like to perform If you re having trouble connecting to the configuration interface via telnet refer to Section 3 2 Preparation for Telnet Interface 5 2 Network Information Figure 5 2 Network Information screen You can view your media converter s port link status by typing 1 in the telnet interface To view other status information ty...

Page 24: ...t interface To refresh the menu type 0 in the telnet interface To leave this sub menu press the escape key on your keyboard 5 3 1 IP Configuration Figure 5 4 IP Configuration screen You can set the media converter s IP address by typing 1 in the Configure Local sub menu After you type 1 the system will prompt you to input the IP address in the format of X X X X ...

Page 25: ... media converter s settings to their default values type 2 in the Configure Local sub menu 5 3 3 Save Configure Figure 5 6 Save Configure screen To save your media converter s current settings type 3 in the Configure Local sub menu 5 3 4 Reset Figure 5 7 Reset screen To reboot your media converter type 4 in the Configure Local sub menu ...

Page 26: ...fresh the menu type 0 in the telnet interface To leave this sub menu press the escape key on your keyboard 5 4 1 802 3ah Configuration Figure 5 8 802 3ah Configuration screen You can configure IEEE 802 3ah OAM function as shown in the figure above 5 4 2 Loopback Test Figure 5 9 Loopback test screen Start the loopback test here as shown in the figure above ...

Page 27: ...e 27 Chapter 5 Telnet 5 5 MIB Counter To view the media converter s MIB counters type 5 in the telnet interface Figure 5 10 MIB Counter screen 5 6 Close Connection To disconnect the telnet connection type 6 in the telnet interface ...

Page 28: ...ow to set the IP address properly in a Microsoft Windows 8 environment Setting IP address in other Microsoft operating system such as Windows Vista or Windows 7 is similar 1 Open Network and Sharing Center in Control Panel and click on Change adapter settings as shown in Figure A 1 Figure A 1 Change adapter settings option 2 A Network Connections window will pop up showing all the network connecti...

Page 29: ...724 746 5500 blackbox com Page 29 Appendix IP Configuration for Your PC 3 An Ethernet Status window will pop up Click on the Properties button as shown in Figure A 3 Figure A 3 Ethernet status screen ...

Page 30: ...blackbox com Page 30 Appendix IP Configuration for Your PC 4 An Ethernet Properties window will pop up Double click on the Internet Protocol Version 4 TCP IPv4 Figure A 4 Select Internet Protocol Version 4 TCP IPv4 ...

Page 31: ...ult your product s IP address should be 192 168 2 1 You can set any IP address for your PC as long as it s not the same as your media converter s IP address and is in the same network segment as your media converter s IP address Press OK to apply the TCP IPv4 settings Connect to your media converter using a Web browser i e Internet Explorer Chrome or Firefox Figure A 5 Internet Protocol Version 4 ...

Page 32: ...7 Tech support available in 60 seconds or less Copyright 2014 Black Box Corporation All rights reserved Black Box and the Double Diamond logo are registered trademarks of BB Technologies Inc Any third party trademarks appearing in this manual are acknowledged to be the property of their respective owners Black Box Tech Support FREE Live 24 7 Tech support the way it should be Great tech support is ...

Reviews: