


Remote Console Manager (LE1204A-3G) Quick Start Guide
4
NOTE: On applying power, the “SIM” LED on top of the Remote Console
Manager will go on solid, indicating that the SIM has been inserted and
detected.
Step 3: Set up the Remote Console Manager.
The default Remote Console Manager IP address is 192.168.0.1 (subnet
mask 255.255.255.0). With a Web browser on any computer that is
connected through the LAN to the serial device server:
• Enter https://192.168.0.1 into the address bar.
NOTE: The LAN-connected computer must have an IP address in the same
network range (192.168.0.xxx) as the Remote Console Manager. If this is not
convenient, you can use the ARP Ping command to set the IP address (refer
to the user manual for details). The Remote Console Manager also has its
DHCP client enabled by default, so it will automatically accept any network
IP address assigned by any DHCP server on your network—and will then
respond at both 192.168.0.1 and its DHCP address.
Log in using the default system user name: root, and the default
password: default. A Welcome screen listing the basic configuration steps
is displayed.
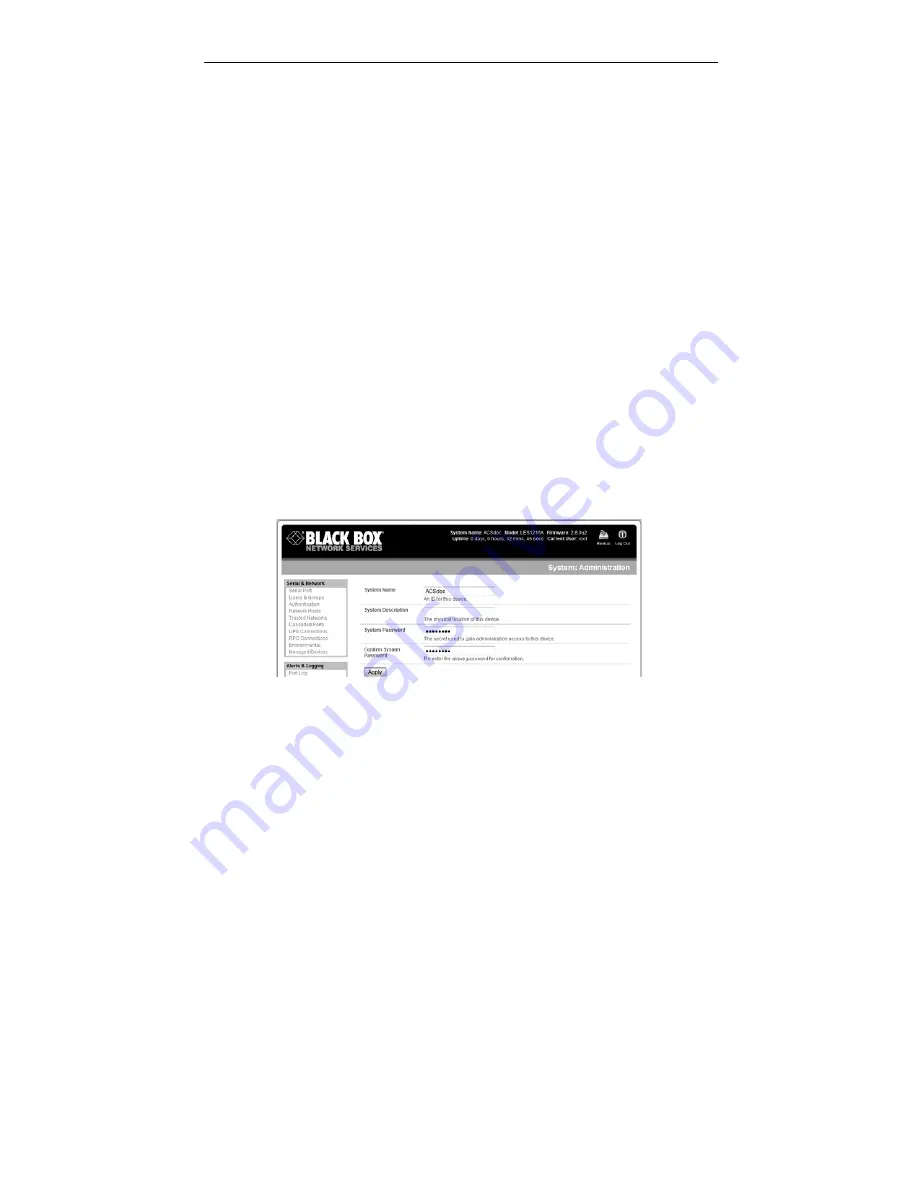
Select “System: Administration,” enter and confirm a new system
password, and click “Apply.”
Figure 2. System: Administration screen.
To assign your Remote Console Manager a static IP address or to
permanently enable DHCP, select “System: IP” then “Network Interface”
and check “DHCP” or “Static” for configuration method.


