tool and charger to your local
Black+Decker service center.
5. The tool should be recharged
when it fails to produce sufficient
power on jobs which were
easily done previously. DO NOT
cONTINUe using product with its
batteries in a depleted condition.
Assembly
WARNING
:
avoid
accidentally switching the tool on
during assembly.
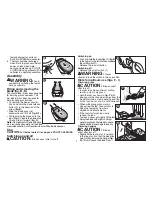
Fitting and removing the
blade (fig. B - D)
The shear blade (4) has been designed
for trimming grass and weeds. The
trim blade (5) has been designed for
trimming hedges and shrubs.
• To remove the blade cover (6).
Push and hold the blade release
button (3) in the direction of the
arrow (
fig. B)
• Slide the blade cover (6)
backwards and lift it off (
fig. B-1).
• While holding the blade onto the
pins (
Fig. c), locate the blade cover
(6) and slide it forward (
fig. D).
Note: No alignment of blade with drive
pin is required and operation of the blade
cover release button is not required when re-fitting the blade cover.
use
cAuTION:
Let the tool work at its own pace. DO NOT OvERLOAD.
Switching on and off
cAuTION:
Blades coast after turn off.
7
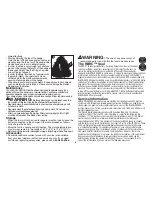
Switching on
• Push and hold the lock button (2) (
fig. E)
to the right or to the left and then squeeze
the on/off switch (1).
• Release the lock-off button.
Switching off
• Release the on/off switch (1).
WARNING
:
Never
attempt to lock the switch in the on position.
hints for optimum use (figs. F - I)
Trimming grass
cAuTION:
Blades coast
after turn off.
• In order to achieve optimum cutting
results, only cut dry grass.
• Hold the tool as shown in
fig. F & G.
keep your other hand well away from the
blade. Maintain a stable working position
so that you do not slip. Do not overreach.
• When cutting long grass, work in
stages from the top. Take small cuts.
• Keep the tool away from hard
objects and delicate plants.
• If the tool starts running slowly,
reduce the load.
• To make a closer cut, slightly tilt the tool.
• Spray the blade with a light coating of
general purpose oil before first use and
whenever the blades begin to look dry.
Trimming hedges
cAuTION:
Blades
coast after turn off.
• Slightly tilt the tool (up to 15° relative
to the line of cut) so that the blade tips
point slightly towards the hedge (
fig.
h). This will cause the blades to cut
2
1
B
c
1
2
D
E
F
G
h


