background image

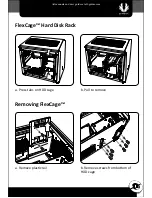
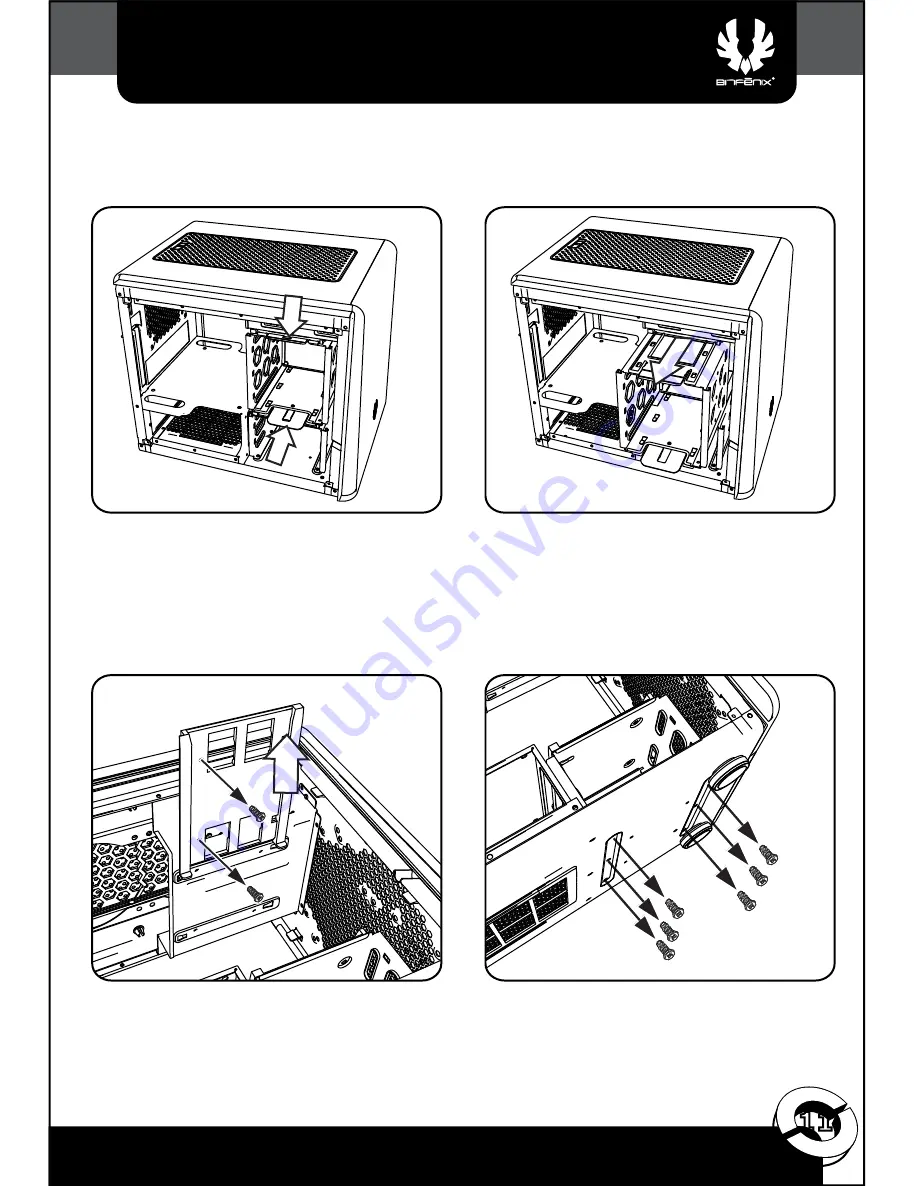
FlexCage™ Hard Disk Rack

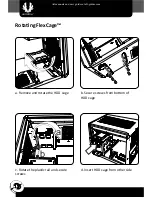
Removing FlexCage™

b. 

Remove screws from bottom of 

HDD cage

a. 

Remove plastic rail

b. Pull to remove

a. Press tabs on HDD cage

11

All manuals and user guides at all-guides.com

Summary of Contents for phenom mini-itx

Page 1: ...Quick Installation Guide All manuals and user guides at all guides com a l l g u i d e s c o m...

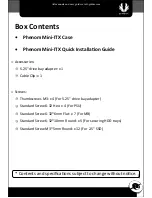
Page 2: ...Screws Thumbscrews M3 x 4 For 5 25 drive bay adapter Standard Screw 6 32 Hex x 4 For PSU Standard Screw 6 32 6mm Flat x 7 For MB Standard Screw 6 32 10mm Round x 5 For securing HDD trays Standard Scre...

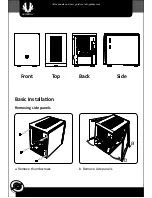
Page 3: ...Removing side panels a Remove side panels b Remove thumbscrews Basic Installation Front Top Back Side a b 02 All manuals and user guides at all guides com...

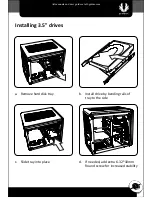
Page 4: ...a 6 32 10mm Round screw for increased stability Installing 3 5 drives a Remove hard disk tray b Install drive by bending rails of c Slide tray into place tray to the side 03 All manuals and user guide...

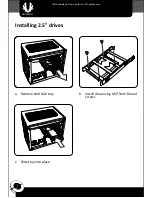
Page 5: ...b Install drive using M3 5mm Round screws c Slide tray into place a Remove hard disk tray Installing 2 5 drives 04 All manuals and user guides at all guides com...

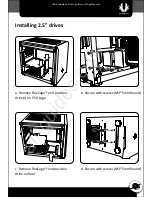
Page 6: ...n drive s on PSU cage c Remove FlexCage and position drive on oor d Secure with screws M3 5mm Round b Secure with screws M3 5mm Round Installing 2 5 drives 05 All manuals and user guides at all guides...

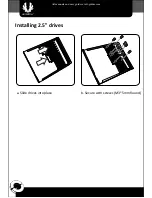
Page 7: ...Installing 2 5 drives a Slide drives into place b Secure with screws M3 5mm Round 06 All manuals and user guides at all guides com...

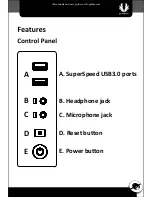
Page 8: ...D Reset button B Headphone jack C Microphone jack A SuperSpeed USB3 0 ports E Power button D E A B C 07 All manuals and user guides at all guides com...

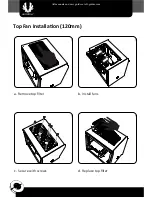
Page 9: ...a b Remove top lter Install fans c Secure with screws Top Fan Installation 120mm d Replace top lter 08 All manuals and user guides at all guides com...

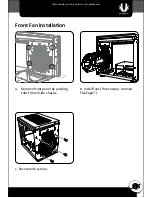
Page 10: ...Front Fan Installation b Install fans If necessary remove FlexCage c Secure with screws a Remove front panel by pushing tabs from inside chassis 09 All manuals and user guides at all guides com...

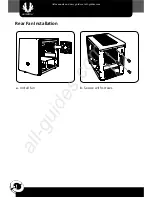
Page 11: ...a b Install fan Secure with screws Rear Fan Installation 10 All manuals and user guides at all guides com a l l g u i d e s c o m...

Page 12: ...FlexCage Hard Disk Rack Removing FlexCage b Remove screws from bottom of HDD cage a Remove plastic rail b Pull to remove a Press tabs on HDD cage 11 All manuals and user guides at all guides com...

Page 13: ...exCage b Secure screws from bottom of HDD cage a Remove and rotate the HDD cage d Insert HDD cage from other side c Rotate the plastic rail and secure screws a b 12 All manuals and user guides at all...

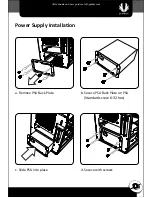
Page 14: ...Power Supply Installation b Secure PSU Back Plate on PSU Standardscrew 6 32 hex a Remove PSU Back Plate d Secure with screws c Slide PSU into place 13 All manuals and user guides at all guides com...

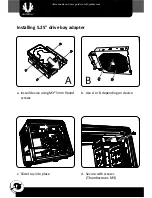
Page 15: ...or B depending on device d Secure with screws Thumbscrews M3 A B Install device using M3 5mm Round screws Slide tray into place Installing 5 25 drive bay adapter 14 All manuals and user guides at all...

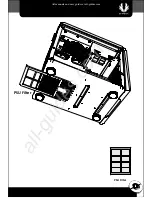
Page 16: ...PSU Filter PSU Filter 15 All manuals and user guides at all guides com a l l g u i d e s c o m...

Page 17: ...trict New Taipei City Taiwan R O C For the most updated information please visit our official website http www bitfenix com 2013 BITFENIX Co Ltd All Rights Reserved All trademarks are registered to th...

Page 18: ...All manuals and user guides at all guides com...

Reviews: