1
1
3
2
2
2
1
3
Setting Up the Remote Control
NOTE:
Be sure the clock is set to the correct time before scheduling cleaning sessions.
NOTE:
To cancel a scheduled cleaning session, press and hold the Schedule Button on
the remote.
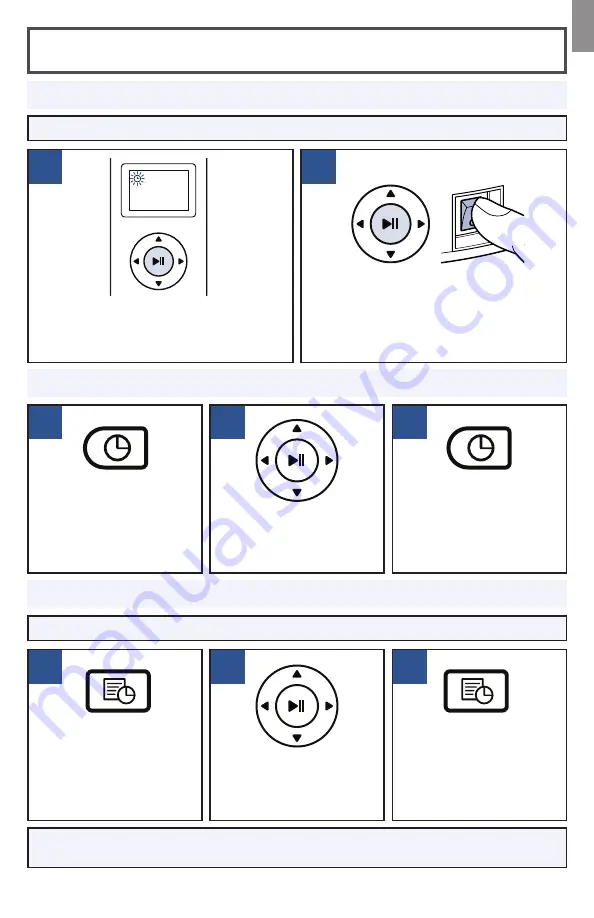
Set the time by pressing
the Clock Button on the
Remote Control and
holding until the icon
flashes on the Remote
Control display.
Use the directional
arrows to set the hour
and minute.
Press the Clock Button
again to save the time
setting.
NOTE:
The robot will
beep once to confirm
the time has been saved.
Press the Schedule
Button on the Remote
Control. The icon will
begin to flash on the
Remote Control display.
Use the directional
arrows to set the hour
and minute for your
robot to start cleaning.
Press the Schedule
Button again to save the
schedule setting.
NOTE:
The robot will
beep once to confirm the
schedule has been saved.
Schedule Cleaning Sessions
Set the Clock
Pair the Remote to the Robot
While the Power Switch on the side of the
robot is OFF (0), press and hold the Play
Button on the remote for 5 seconds until
the clock icon on the display flashes.
Continue to hold the Play Button and
turn the robot ON (I).
NOTE:
The robot will beep three times to
indicate that it has successfully paired.
NOTE:
Be sure to install batteries in the remote.
EN
5


