


5. Touch the <Keypad> icon for “Name” and enter the patient’s name. Touch <OK> to return
to the User Information screen.
6. Touch the <Keypad> icon for “Age” and enter the patient’s age. Touch <OK> to return to
the User Information screen.
7. Touch the <Keypad> icon for “Height” and enter the patient’s height. Touch <Next> to
advance to the Maze Control Training screen.
8. Touch <Skill Level> to increase or decrease the number of targets displayed on the graph.
Three skill levels are available from which to choose. Touch <Skill Level> until the desired
target configuration is displayed.
9. If desired, touch <Clear Tracing> to remove any tracing that remains on the screen from a
previous exercise session.
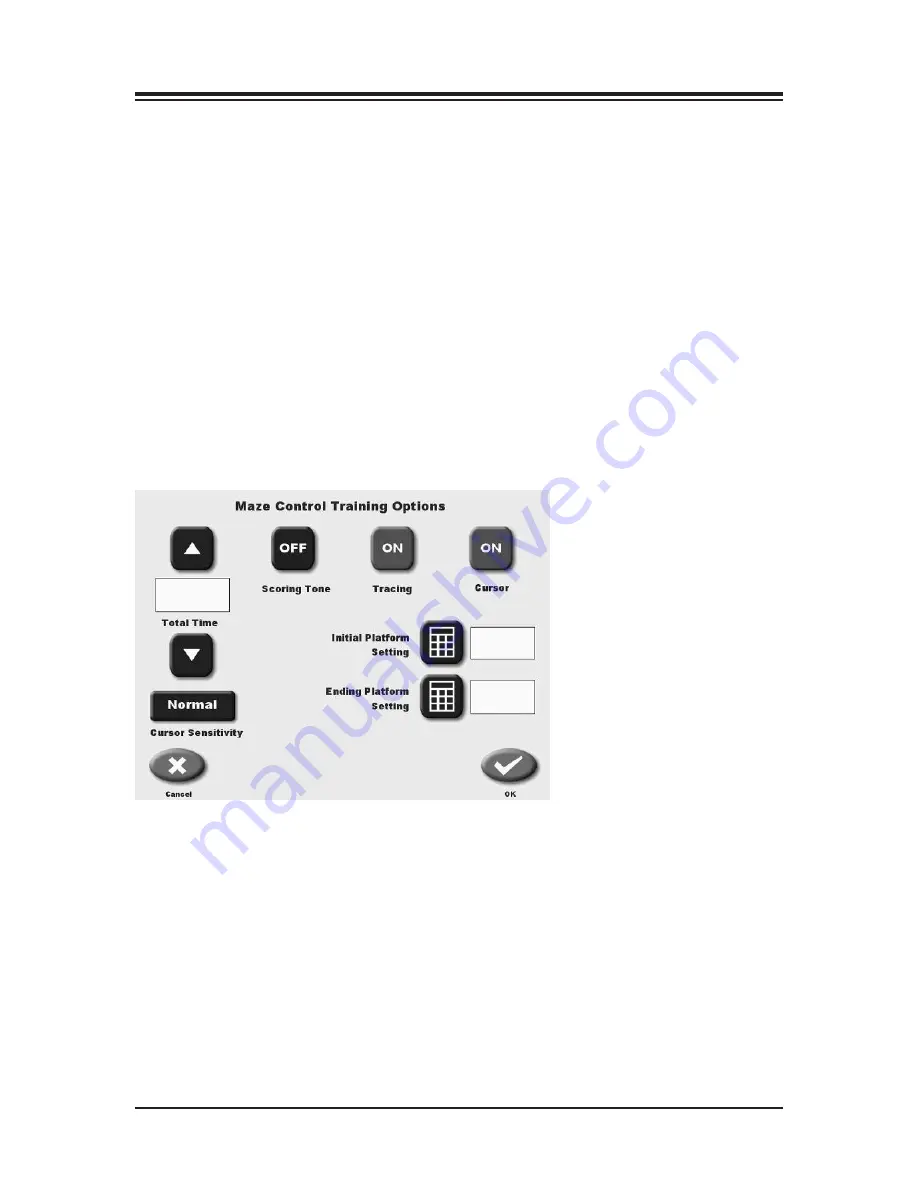
10. Touch <More Options> to advance to the Maze Control Training Options screen if desired.
Here you can set the total time for the exercise, enter initial and ending platform stability
settings, change sensitivity, and turn tracing ON/OFF. Touch <OK> to confirm your selec-
tions and return to the Maze Control Training Options screen, or <Cancel> to return to the
Maze Control Training Options screen without making changes.
Figure 7.5a. The Maze Control Training Options screen.
•
Use the <
▲
> or <
▼
> keys to set the total hits.
Increase Cursor Sensitivity
•
Some patients may find it difficult to move their center of gravity to reach objects in the
boundary areas of the field of play. This can often be compensated for by selecting a
shorter height for the patient. In the case of the Maze or Random control training, the
ability to increase the cursor sensitivity even more was added.
NOte:
Total time must be set before you can set beginning and ending platform stability.
CONTENTS
— 7-9 —
THE TRAINING MODES
Summary of Contents for 950-440
Page 47: ...Figure 8 11 A sample Athlete Single Leg Stability Results report CONTENTS 8 11 TESTING ...
Page 65: ...9 4 Limits of Stability Test Report bilateral stance 15 SERVICE PROCEDURES 9 7 REPORTS ...
Page 66: ...9 5 Athlete Single Leg Stability Test Report CONTENTS REPORTS 9 8 ...
Page 105: ... R 1 REPLACEMENT REPLACEMENT ...
Page 106: ...REPLACEMENT REPLACEMENT R 2 ...
Page 107: ...REPLACEMENT PARTS R 3 REPLACEMENT ...
Page 108: ...REPLACEMENT PARTS REPLACEMENT R 4 ...
Page 109: ...REPLACEMENT PARTS R 5 REPLACEMENT ...
Page 110: ...REPLACEMENT PARTS REPLACEMENT R 6 ...
Page 111: ...REPLACEMENT PARTS R 7 REPLACEMENT ...
Page 112: ...REPLACEMENT PARTS REPLACEMENT R 8 ...


