1
2
3
W
LAN
PWR
V1.1 - 20150223 - 5530000125
ADSL
bintec 4-Ge-LE
bintec-Router
(e. g. RS353j)
LAN
Remote location
Control centre
Internet
Data & Power
out
Data
in
5
2
3
4
4
1
1 Reset button
2 1 x 10/100/1000 Ethernet interface
3 Power connector
4 Antenna connectors (on the sides)
5 Slot for the SIM card
Connectors
No configuration is saved on the bintec-4Ge-LE, the parameter are re-sent each time
it is started.
Reset
Logging in to the configuration interface::
1
Enter the IP address 192.168.0.254 into your
browser's address line.
2
Use the following information to log in:
User:
admin
Password:
admin
3
Click
LOGIN
, to go to the configuration interface.
Starting the bintec-4Ge-LE
on the bintec router
Info
Manual, software and workshops:
You will find the latest manuals, the Dime Manager and additional information on our
website at
www.bintec-elmeg.com
.
Contact:
If you have any questions about your new product, or if you require further information,
the bintec elmeg GmbH Support Centre can be reached Monday to Friday,
between the hours of 9 am and 5 pm, on:
Phone: +49 911 9673 0; Fax: +49 911 688 0725
End customer hotline: 0900 1 38 65 93 (1,10 /min on land-lines in Germany)
For detailed information about the support and service we provide, please go to our
website at
www.bintec-elmeg.com
.
Installation:
Wall mounting:
Detailed instructions for wall mounting are provided.
Antennas:
Screw the standard antennas supplied on to the connectors provided for this purpose.
LAN:
To configure your device in the standard way via Ethernet, connect the port (ETH1) to the
PoE injector (Data & Power out). Now connect the bintec router to the PoE injector
(Data in).
POWER:
Use the power cable supplied to connect the PoE injector to the power supply.
Setting up and connecting
Basic Configuration Step 3
Once the PIN and the access point name (APN) have been sent to the
bintec-4Ge-LE
,
an attempt is made to connect to the Internet. The
bintec-4Ge-LE
passes the WAN IP
that is obtained from the mobile network to the router's Ethernet port via DHCP.
To do this, an interface with a VLAN tag needs to be created on the bintec router.
Go to
LAN -> IP Configuration -> Interfaces -> New
.
1. For
Address mode
, enable the
DHCP
option.
2. Enter the
VLAN ID
463
.
3. Confirm with
OK
.
NAT then needs to be enabled on this VLAN.
Go to
Network -> NAT -> NAT Interfaces
.
1. Check the box for
NAT active
for the
LEASED_EN1-0-1
interface.
2. Confirm with
OK
.
If the configuration has been successful, the WAN IP address will be displayed on the
bintec
router's Ethernet / VLAN interface.
Go to
LAN -> IP Configuration -> Interfaces
.
The
bintec
router is now fully configured.
Configuration with the software version including 9.1.7.
Next, a user-defined DHCP option needs to be created for the DHCP pool being used. To
do this, switch to the
SNMP Browser
view.
Go to
ip -> ipDhcpOptionTable -> New
.
1. The
GroupID
1
is used in our example.
2. The DHCP option number
43
is entered in the
Code
option.
3. Select
string
as the
ContentType
.
4. The APN and the PIN are entered in the following format as the
ContentString
:
antenna&routertype=generic&apn=internet.telekom&pin=xxxx
5. Enter the
ContentGroupID
1
.
6. Confirm your entries with
OK
.
In the next step, the
ipDhcpOptionTable
must be pointed to in the
ipDhcpPoolTable
.
Go to
ip -> ipDhcpPoolTable ->
.
1. For
OfferOptionsGroupID
, change the value to
1
.
2. For
AckOptionsGroupID
, change the value to
1
.
3. Confirm with
OK
.
Basic configuration Step 2
Basic configuration Step 1
The
bintec-4Ge-LE
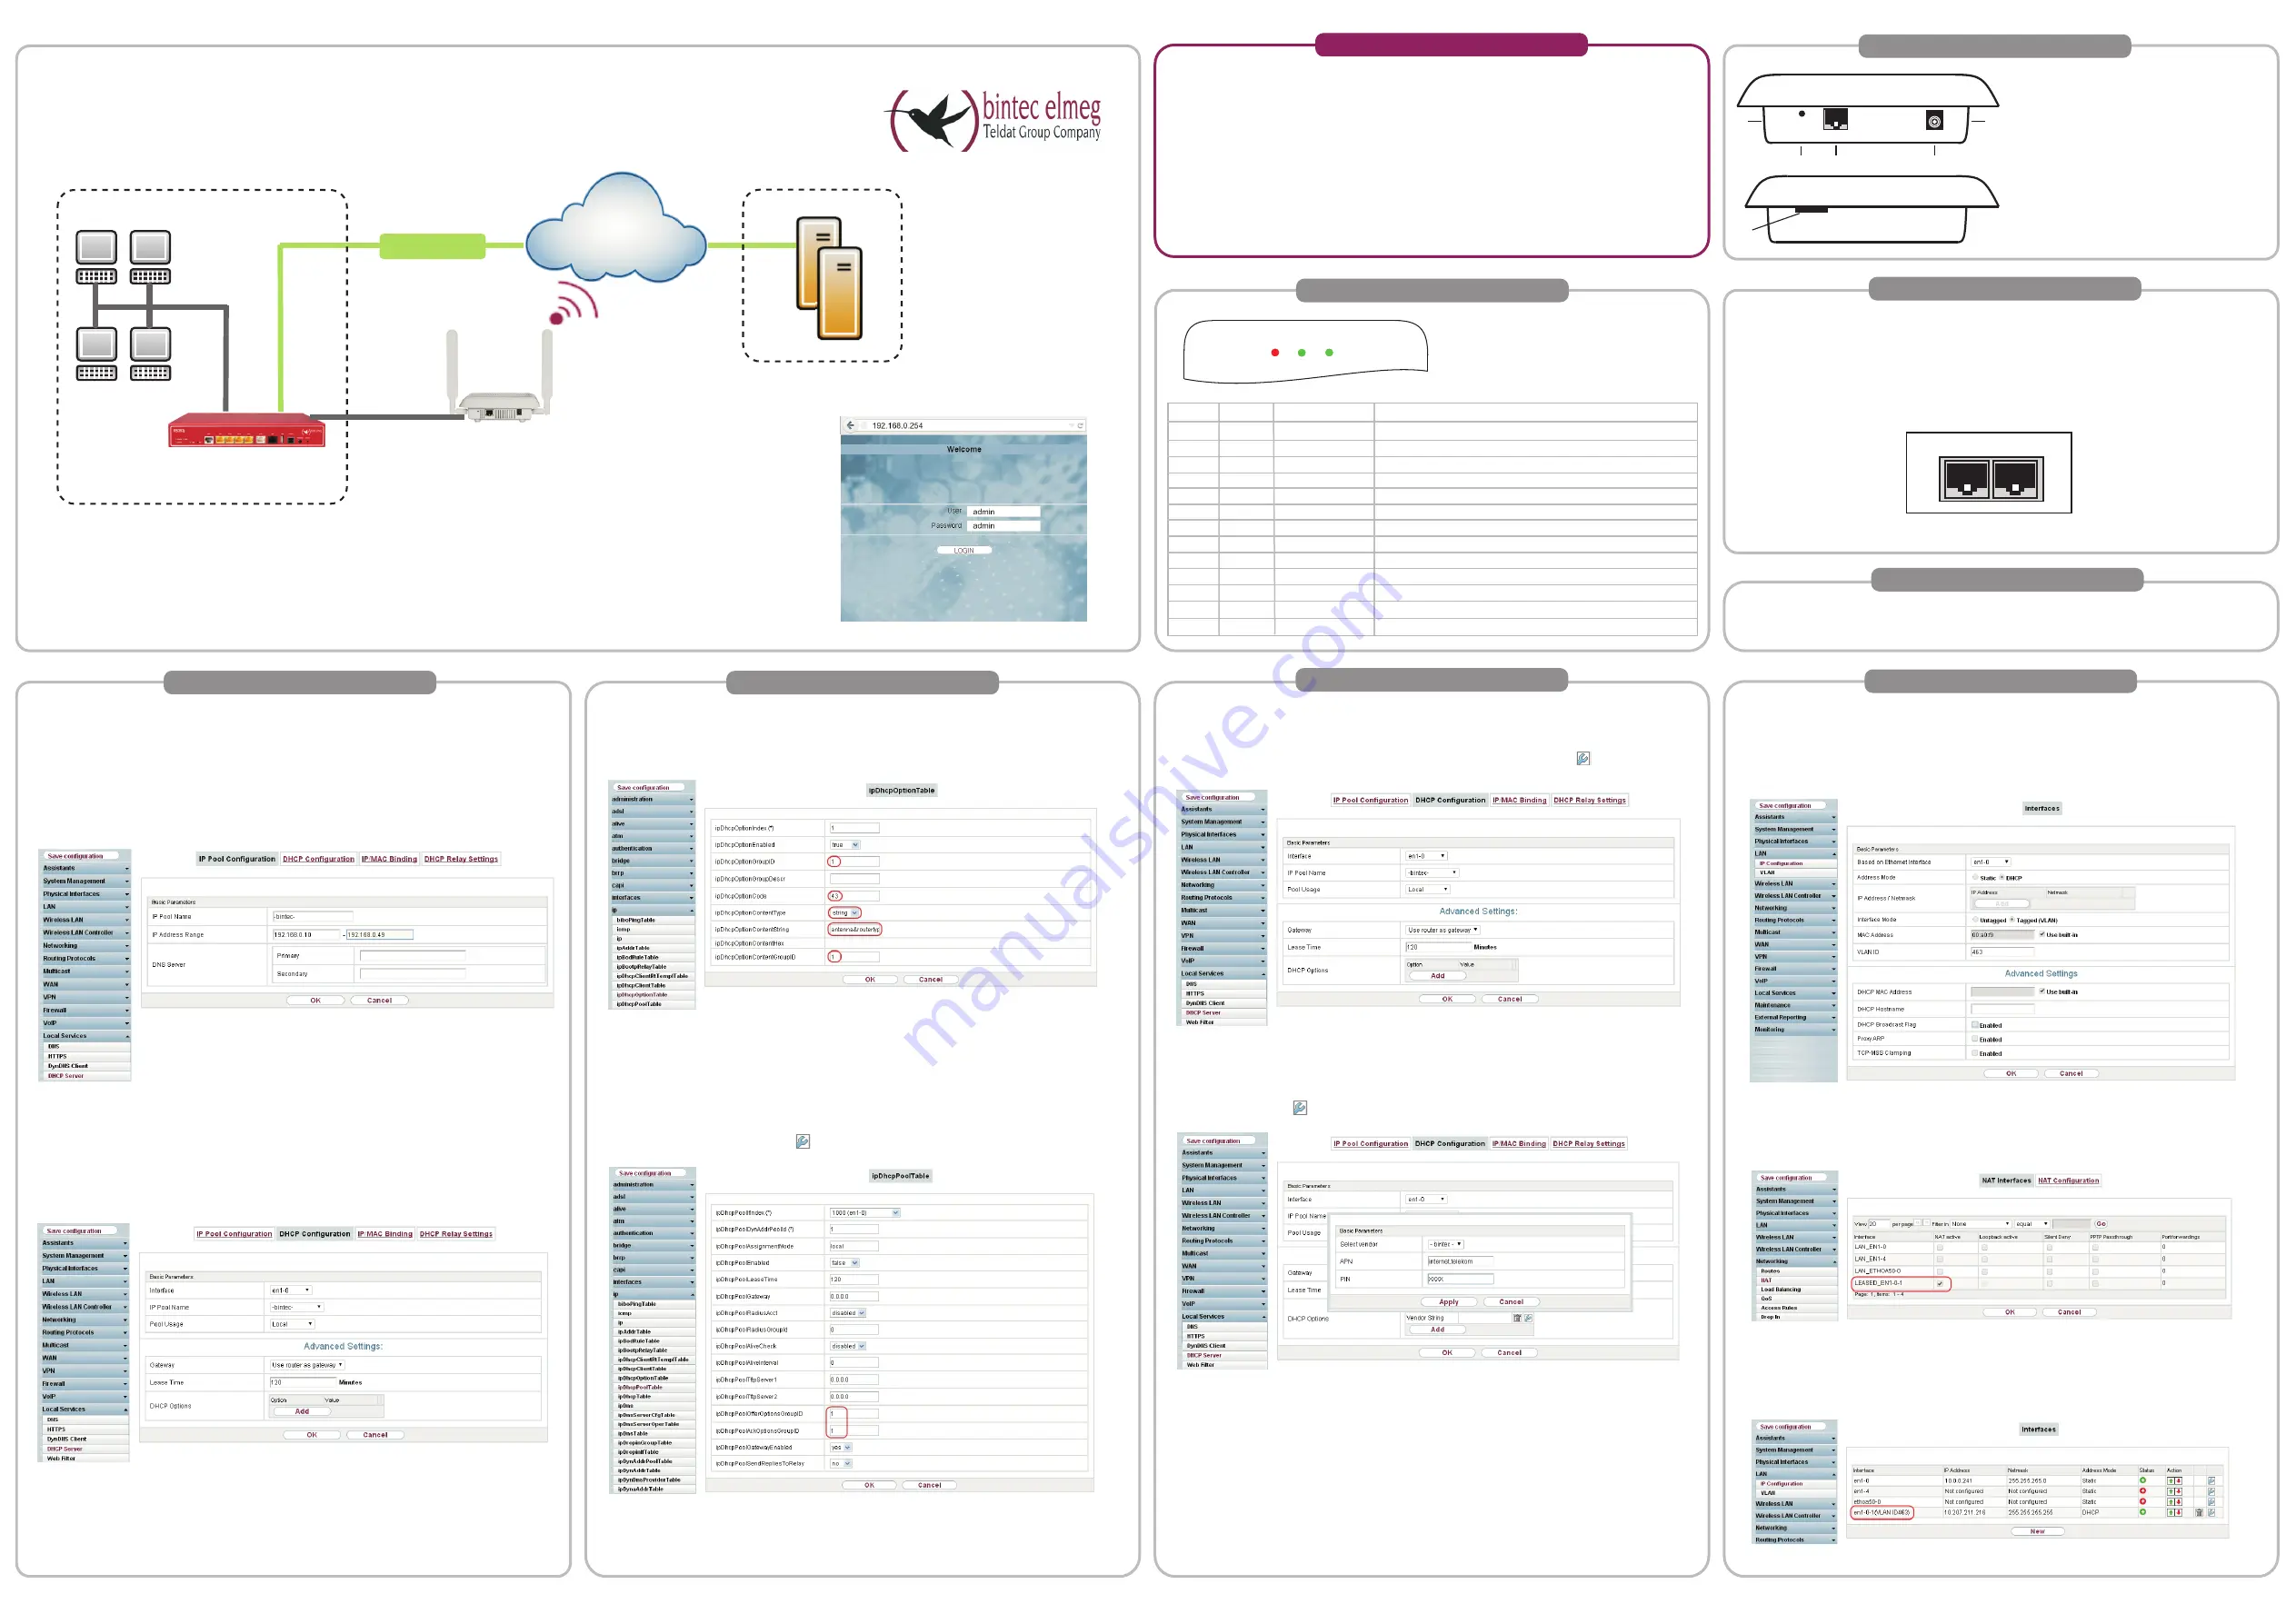
device is a UMTS/LTE add-on device for bintec routers which will give
existing IT networks an LTE (4G) connection.
Once the
bintec-4-Ge-LE
starts, a DHCP query is sent to the bintec router. The configuration
parameters (e. g. PIN and the SIM card's access point name (APN)) are sent as DHCP
option 43.
To do this, a DHCP pool is defined in the menu
Local Services -> DHCP Server -> IP
Pool Configuration -> New
.
1. For
IP pool name
, enter a description for the IP pool, e. g. -
bintec-
.
2. Enter the
IP address range
for the IP address pool.
3. Confirm with
OK
.
A DHCP server needs to be enabled for the
bintec-4Ge-LE
interface, and pointed at the
IP pool that you have just created.
Go to
Local Services -> DHCP Server -> DHCP Configuration -> New
.
1. Select the
interface
that is to be used to issue the addresses defined in the
IP address range
to querying DHCP clients, here e. g.
en1-0
.
2. Select the
IP pool name
configured in the IP pool, e. g.
-bintec-
.
3. Confirm with
OK
.
Configuration with software versions 9.1.8 and later.
A user-defined DHCP option now needs to be created for the DHCP pool being used.
Go to
Local Services -> DHCP Server -> DHCP Configuration ->
.
Go to
Advanced Settings
.
1. For
DHCP Options
, use
Add
to select the option
Vendor String
.
2. Select the Symbol to edit the
Vendor String
option.
3. For
Select manufacturer
, select
-bintec-
.
4. For
APN
(access point name) enter e. g.
internet.telekom
.
5. Enter the
PIN
.
6. Confirm your entries with
OK
.
Basic Configuration Step 2
LEDs
LED
Colour Status
Information
LAN
Green On
Connected
Green Flashing
Data via LAN
Orange Flashing
Auto-Test
Red
On
Disconnected
Power Green On/Off
Lights up when the power supply is connected
W
Off
System stopped
Red
On
Interface unavailable
Yellow On
Inactive
Yellow Flash. rapidly Not registered in the network or poor quality
Yellow Flash. slowly
GSM connection (GPRS)
Yellow Lit up
WCDMA (UMTS/HSDPA) or LTE connection
Green On
Connected
Green Flashing
Data transfer


